 Save
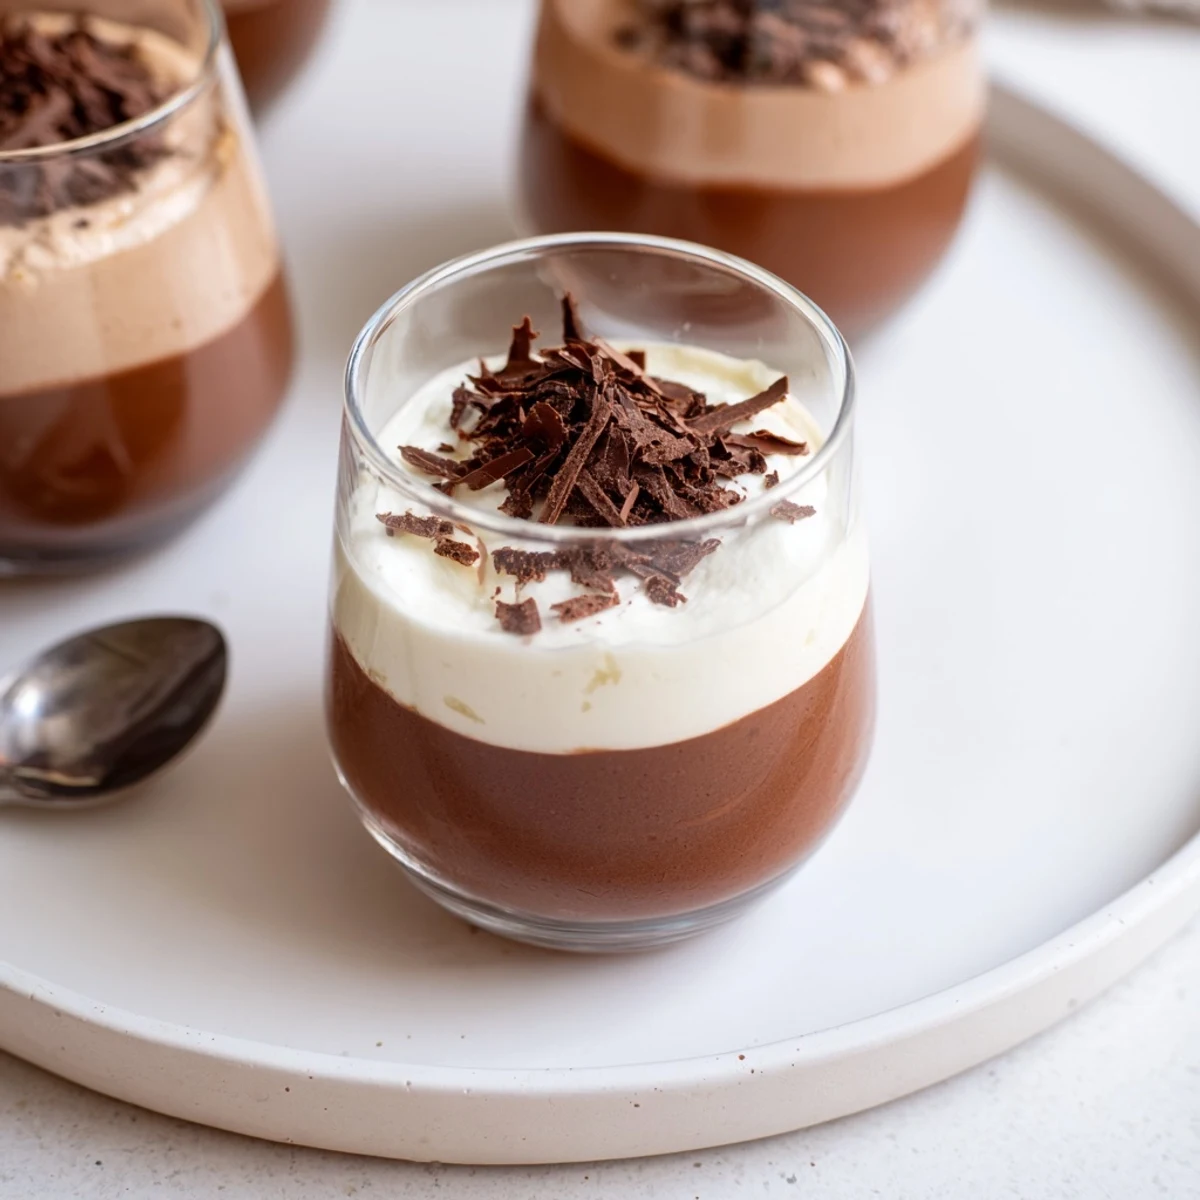
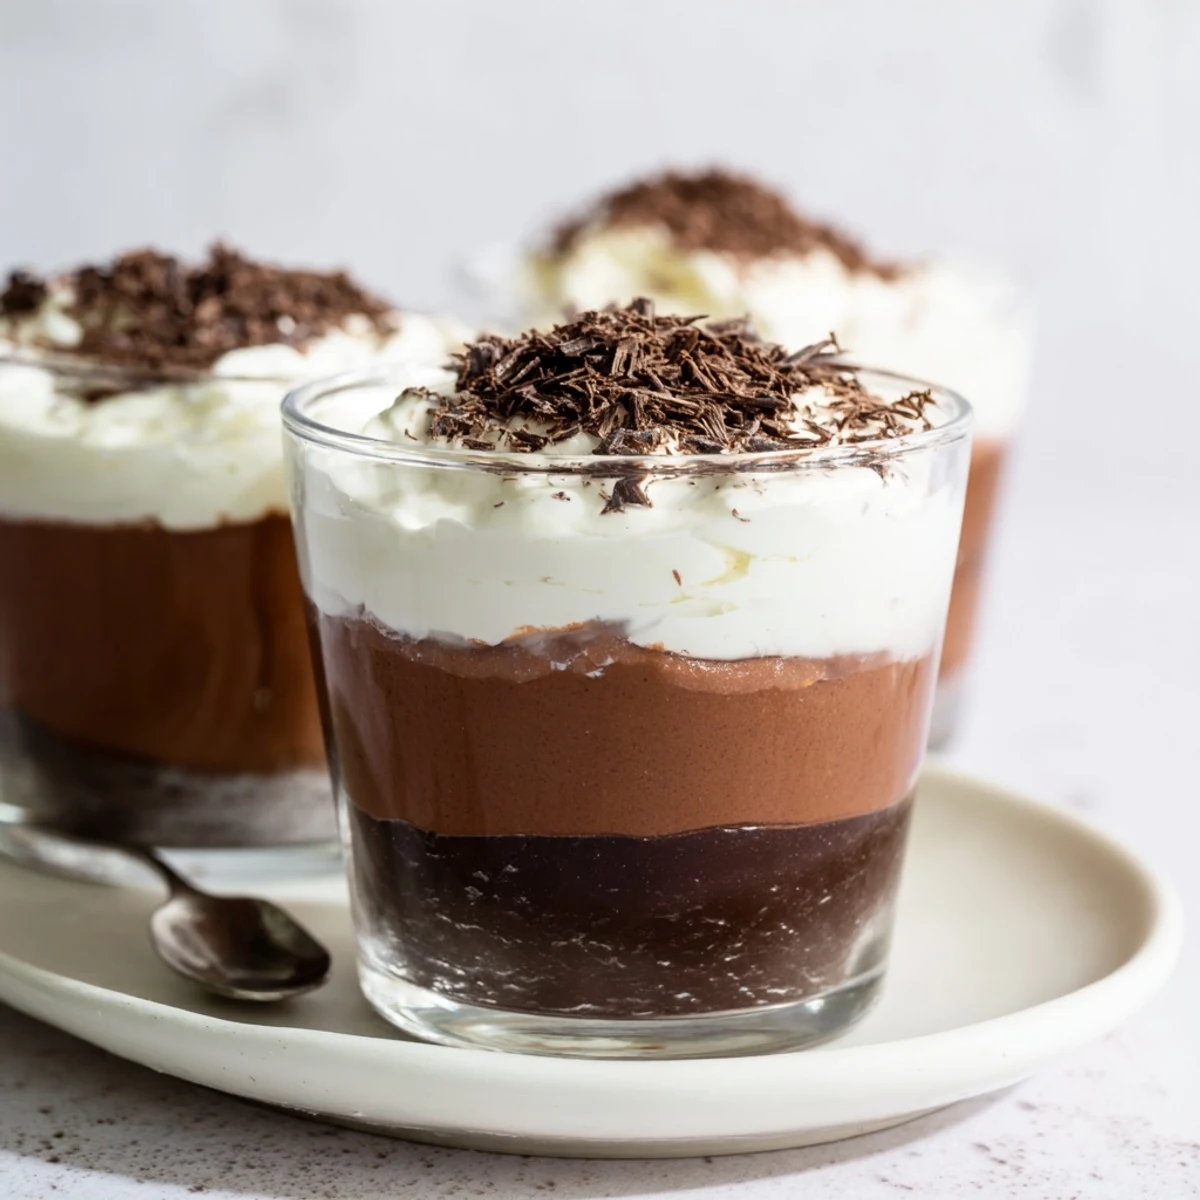
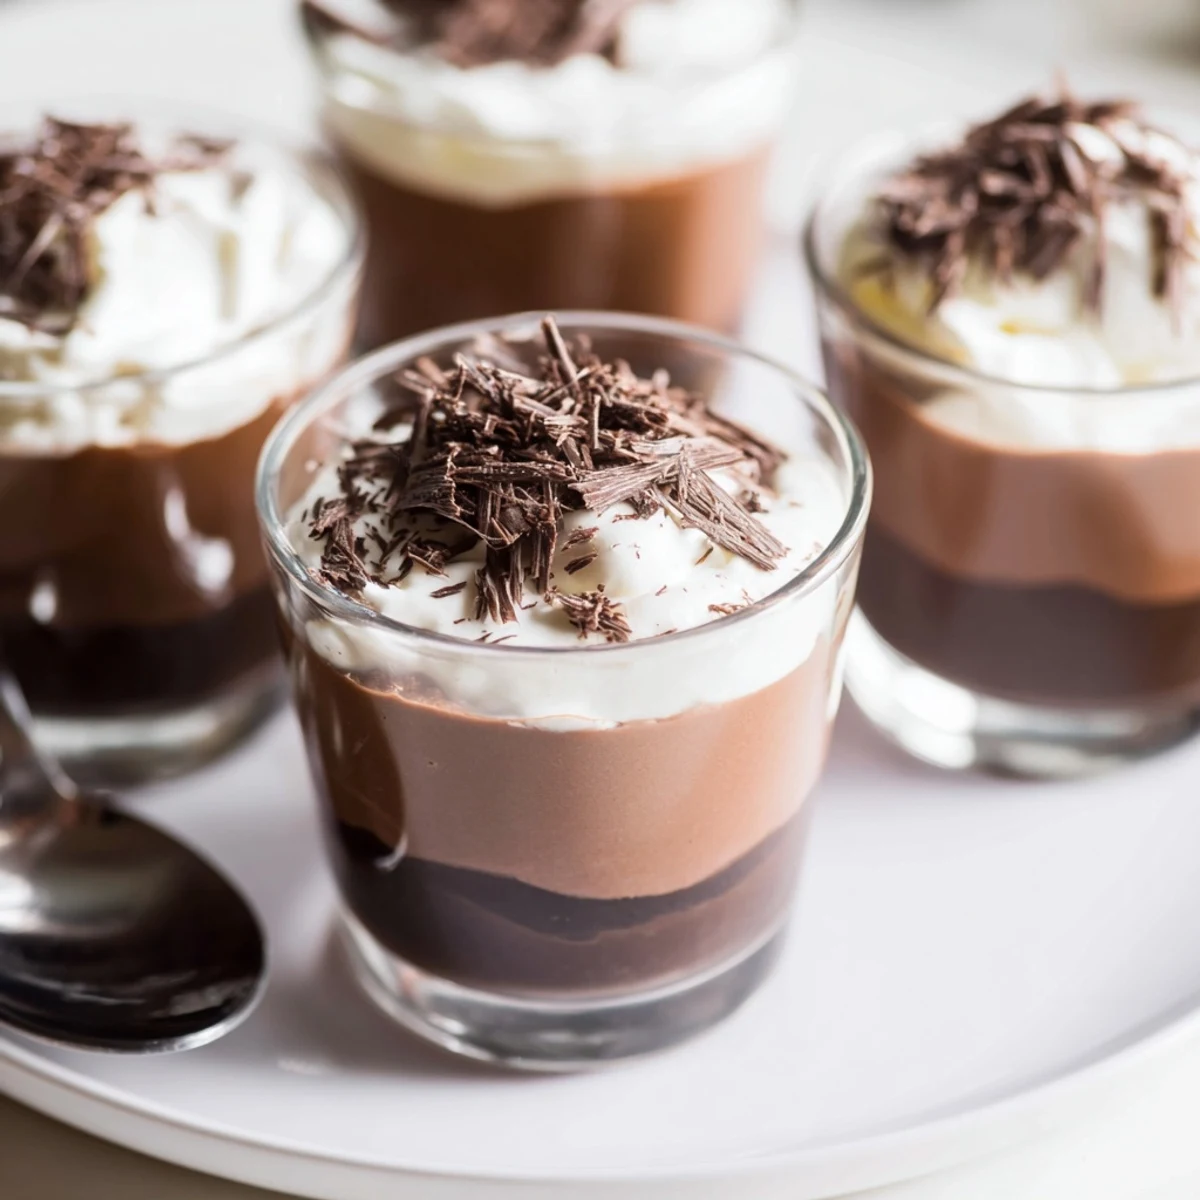
Save Layer silky dark, milk and white chocolate mousses into individual cups, starting with the darkest to keep clean layers. Melt chocolate gently, fold into egg yolks and sugar, then lighten with softly whipped cream. Chill between builds for sharp contrast and a quick freeze if short on time. Garnish with shavings or cocoa; add a splash of coffee liqueur to deepen flavor.
The first time I made Triple Chocolate Mousse Cups, it was a drizzly Saturday and I could hear rain ticking against the kitchen window as I stacked up bowls and chocolate bars. The swirl of different chocolates, each with its own temperament, made the whole counter smell like a patisserie. Sometimes it's the color contrast and anticipation of each bite that compels me to fuss with extra layers. Moments like that remind me how even prepping dessert can feel a little indulgent, especially when the reward looks as beautiful as these cups.
I once brought these mousse cups to a friend's dinner party, packing them in glasses cushioned with dish towels on the car seat beside me. Everyone thought I’d picked them up from a fancy bakery and the surprise on their faces when I said they were homemade is something I still grin about. It turned a simple weeknight into something worth remembering. Sharing them became half the fun.
Ingredients
- Dark chocolate (100g, minimum 60%): Choose high-quality with deep flavor; a gentle melt prevents seizing.
- Milk chocolate (100g): Balances richness with mellow sweetness; chop finely for even melting.
- White chocolate (100g): Its creaminess ties the trio together; splintered chunks melt faster.
- Egg yolks (3 large): Provide mousse its silkiness; separate when cold for ease.
- Sugar (4.5 tbsp): Brings out the best in each chocolate; whisk until the yolks lighten up.
- Heavy cream (300ml, cold): Cold cream whips lighter and higher; don't overwhip past soft peaks.
- Shaved chocolate or cocoa powder (garnish): Not just pretty—adds subtle crunch and aroma.
Instructions
- Start with the darkest delight:
- Melt your dark chocolate slowly in a bowl over simmering water—watch as it becomes glossy and inviting. Whisk some egg yolk with sugar until pale, then fold in the melted chocolate; the scent alone is worth pausing for. Gently whip your cold cream to soft peaks and fold it into the chocolate mixture, keeping as much air as possible. Spoon this into the bottoms of your serving cups and slide them into the fridge while you move on.
- Create the milk chocolate layer:
- Repeat the ritual—melt the milk chocolate, whisk egg yolk and sugar, fold them together, and lighten it all with whipped cream. Carefully spoon this luscious layer over the set dark chocolate, smoothing the edge with a small spatula if you want sharp lines. Keep the layering gentle so the sections remain distinct. Chill again.
- The white chocolate finale:
- The white chocolate can be fussier: melt it gently, cool slightly, and blend with the egg yolk and sugar until creamy. Fold in softly whipped cream—sometimes I use a piping bag here for a neater finish. Layer this last mousse atop the milk chocolate and let the whole batch rest in the fridge for about an hour or until beautifully set. Just before serving, scatter over shaved chocolate or dust with cocoa powder for a dramatic contrast.
 Save
Save The recipe had its moment when my niece demolished her cup, smearing chocolate across her cheeks and grinning through every creamy bite—it was more a celebration than dessert. It suddenly felt like making these mousse cups had woven itself right into the sweetest corners of our family gatherings. These little treats started popping up whenever something needed celebrating, no matter how small.
Bringing the Layers to Life
Temperatures are everything with this recipe—if your chocolate is too hot, the mousse goes grainy in a blink. I always let each melted chocolate rest for a few minutes before whisking in other ingredients. Even the pace of folding the cream matters; I find a slow, gentle hand makes the mousse cloud-light. The feeling when the final layer goes on and you see those perfect stripes is surprisingly satisfying.
Choosing the Right Chocolate
Using chocolates you genuinely love to eat makes all the difference—you’ll taste every nuance. One time, I swapped in an extra-dark single origin bar and it was intense but incredible. Don’t worry about spending a fortune, but avoid the super-sugary compound bars for best results. Always chop the chocolate finely so it melts smoothly and doesn’t scorch.
Serving and Make-Ahead Magic
These mousse cups are easy to make ahead and transport surprisingly well—I often chill them in jars for picnics. Chilling between layers isn’t just about setting, it’s a secret weapon for the cleanest visuals. When serving, let them sit at room temperature for just a few minutes—it wakes up the flavors.
- If you want sharper layers, freeze the cups for 20 minutes between additions.
- A dusting of espresso powder over the top gives a grown-up twist.
- Don’t skip reading the chocolate labels if you're serving to anyone with allergies.
 Save
Save There’s a kind of hush that falls when people get their first spoonful of these triple-layered mousse cups. Somehow, they always lead to laughter, requests for seconds, and a promise to make them again—especially together.
Recipe FAQs
- → How do I get distinct, clean layers?
-
Chill each layer until just set before adding the next. Start with the darkest mousse on the bottom, spoon or pipe gently, and keep movements steady to avoid disturbing the layer beneath.
- → What is the best method for melting chocolate?
-
Use a bain-marie for gentle, even heat, or microwave in short 10–15 second bursts, stirring between each burst. Avoid high heat to prevent seizing or a grainy texture.
- → How can I prevent a grainy or split mousse?
-
Let melted chocolate cool slightly before folding into egg yolks, and fold gently to retain air. Whip cream to soft peaks only—overwhipping can cause separation or a curdled feel.
- → Are there safe alternatives to raw egg yolks?
-
Use pasteurized egg yolks for safety. For an egg-free approach, stabilize whipped cream with dissolved gelatin or use aquafaba whipped to soft peaks and folded into melted chocolate.
- → How can I speed up chilling between layers?
-
Place cups in the freezer for 25–30 minutes between layers to set faster, but watch closely to avoid freezing the texture solid. Return to the fridge for final chilling to mellow temperatures.
- → What is the best way to store finished cups?
-
Cover and refrigerate for up to 48 hours. Add shaved chocolate or cocoa powder just before serving to maintain fresh appearance and texture.
