 Save
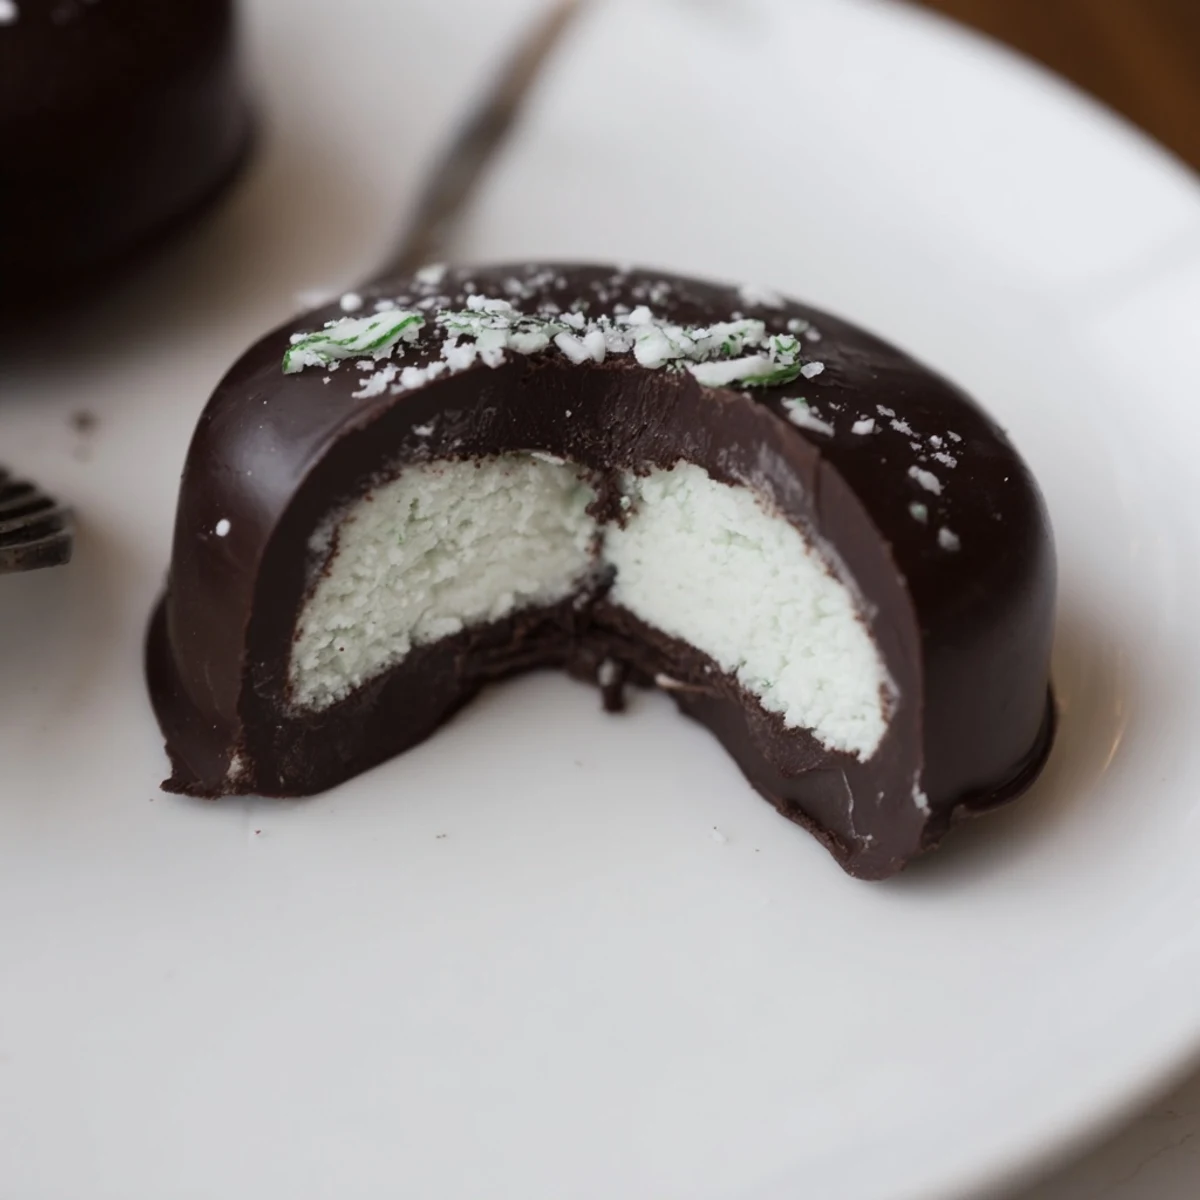
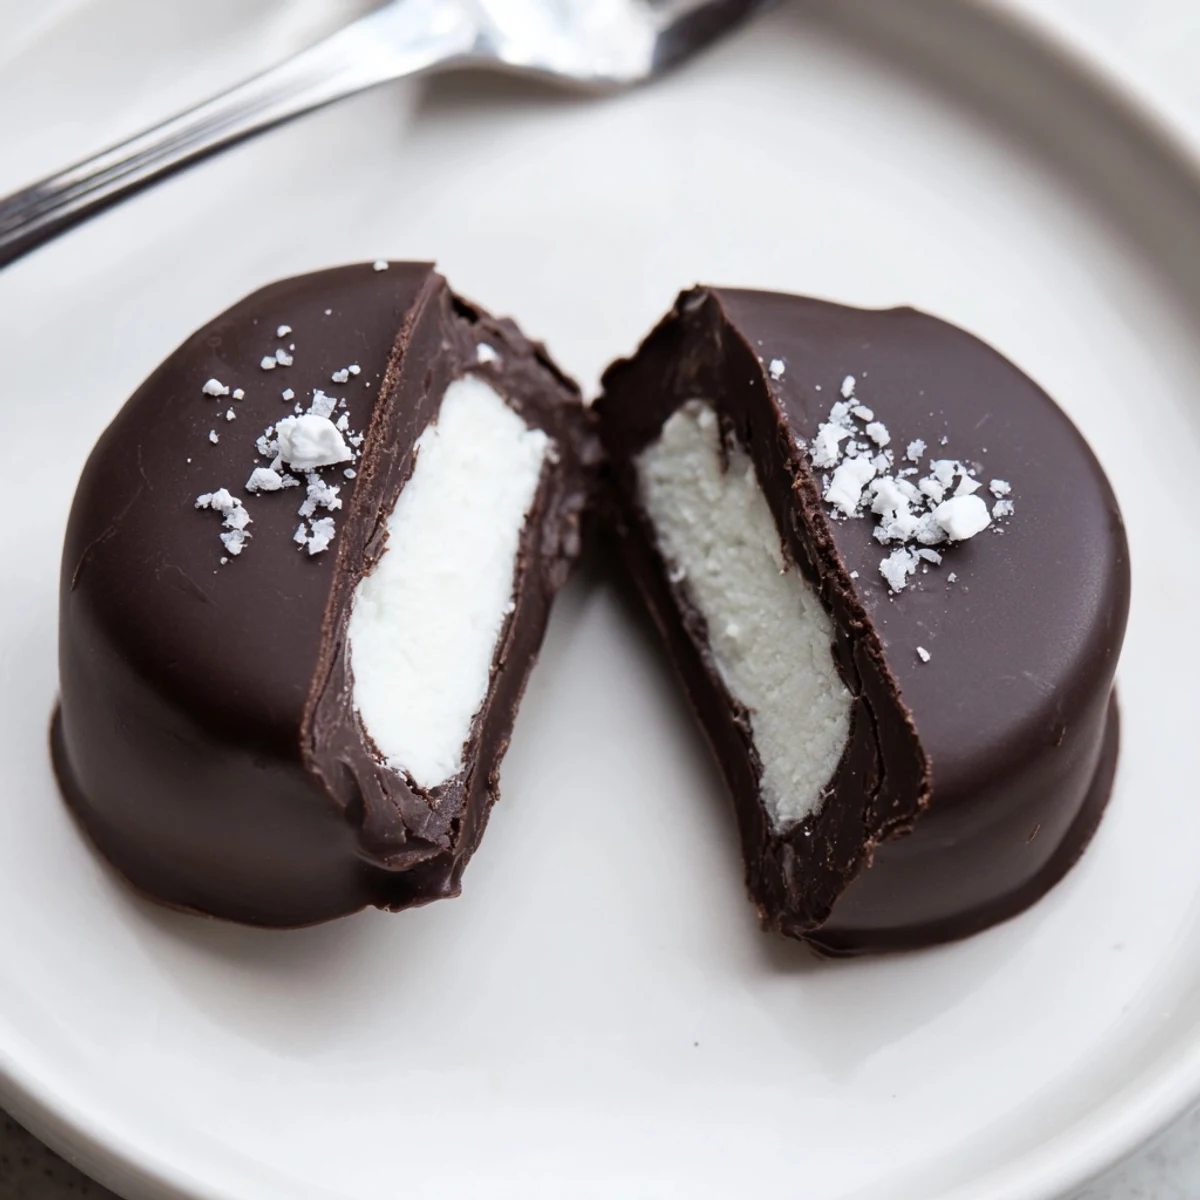
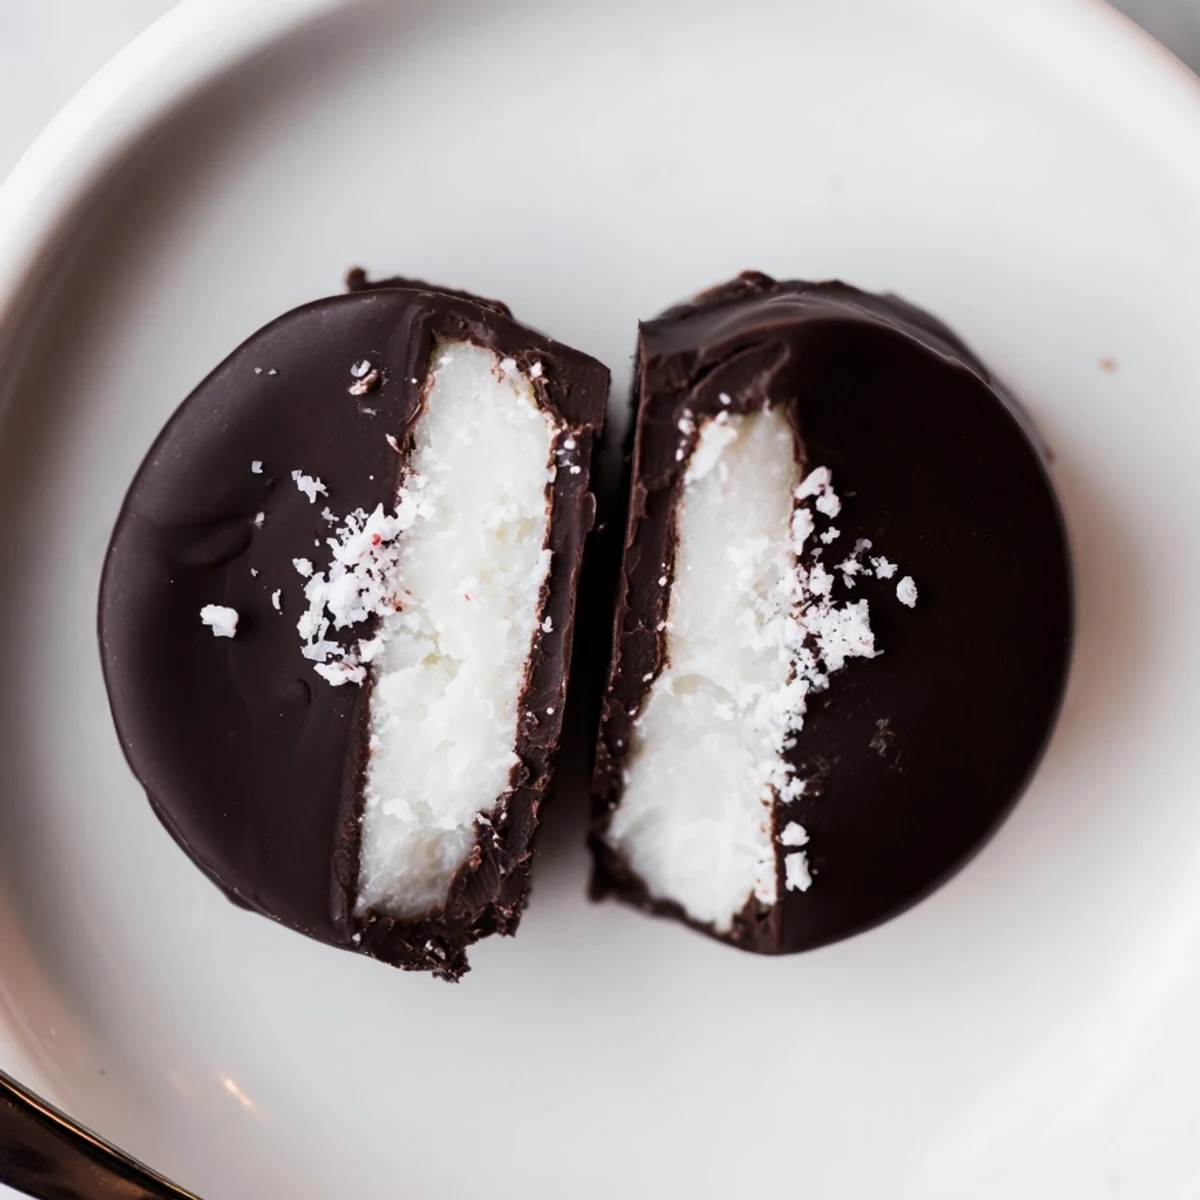
Save Peppermint patties begin with a smooth, pliable mint filling made from sifted powdered sugar, butter, cream and peppermint extract. Shape into discs, freeze until firm, then dip in melted dark chocolate for a glossy coating. Chill until set and top with crushed peppermint or flaky salt. Swap dairy for vegan alternatives and store chilled in an airtight container for up to two weeks.
The first time I attempted homemade peppermint patties, the scent of peppermint filled the kitchen so intensely I could almost feel the coolness rising from the bowl. There's something mischievously satisfying about squishing together sweet dough and then dunking it into glossy chocolate. Once, my neighbor wandered in, lured by the unmistakable aroma, and we ended up laughing over how my first patties came out lopsided but tasted absolutely perfect. Ever since, these have been my secret go-to for last-minute gifts or those evenings when I crave a treat that's unapologetically refreshing.
I remember one snowy weekend when friends dropped by unexpectedly—we drank cocoa, and I shared a batch of these fresh from the fridge. Their delighted surprise at the crisp chocolate shell and creamy center turned a quiet afternoon into the best kind of impromptu gathering. Pop a plate of these on the table, and you suddenly have a party.
Ingredients
- Powdered sugar: The base for our filling, sifted so you avoid pesky lumps and get that silky texture.
- Unsalted butter: Room-temperature butter blends smoothly, so let it soften to prevent little chunks in your filling.
- Peppermint extract: Use pure extract for clean, bright flavor—taste as you go since peppermint can overwhelm quickly.
- Heavy cream: Just enough to bind the dough; add it gradually so you don't end up with sticky filling.
- Salt: Even a modest pinch brightens the sweetness and lifts the mintiness.
- Dark chocolate: I choose 60–70 percent cocoa for that not-too-sweet, rich coating that contrasts with the filling.
- Coconut oil (optional): A little dash of this helps the chocolate melt smoothly and gives that satisfying snap when chilled.
Instructions
- Make the peppermint dough:
- In a mixing bowl, beat powdered sugar, butter, peppermint extract, heavy cream, and salt until you have a smooth, almost play-dough consistency. If it feels sticky, add powdered sugar bit by bit—your hands will thank you.
- Shape the patties:
- Scoop out a small ball—roughly two teaspoons—and gently flatten it into a neat disc on your parchment-lined baking sheet. Aim for about 1/4 inch thick, but don’t stress too much about perfect circles.
- Freeze to firm up:
- Put the tray in the freezer for 20 to 30 minutes, just until the discs hold their shape and will be easy to dunk in chocolate without falling apart.
- Melt the chocolate:
- Set a heatproof bowl over simmering water and stir chopped dark chocolate (plus coconut oil if you have it) until it's glossy and completely smooth—resist the urge to rush.
- Dip and coat:
- Bounce each frozen disc delicately on a fork and lower it into the chocolate, then let the excess drip off back into the bowl. Place them back on the parchment, resisting the temptation to taste them before they set.
- Chill and set:
- Pop the tray into the fridge for 15 minutes until the chocolate shell is firm, dreamy, and ready for its moment.
 Save
Save The night before my best friend's birthday, I wrapped a handful of these peppermint patties in wax paper, tucking them into a little tin. The next day, watching her eyes widen as she bit into that crisp shell and cool center, I felt how a thoughtful homemade treat can say everything you can't put into words.
How to Customize for Any Occasion
One thing about peppermint patties—they’re like a blank slate for all kinds of edible creativity. Around the holidays, I’ve sprinkled crushed peppermint or even festive nonpareils right before the chocolate sets, and they become instant party favors. In summer, a pinch of flaky sea salt gives each bite a grown-up twist that keeps people coming back for just one more.
Keeping Them Perfectly Fresh
After trial and error, I can say with confidence that these store best in a tightly sealed container in the fridge, stacked between layers of parchment. Don’t be tempted to leave them out on a warm counter or you’ll risk a droopy chocolate shell—not as fun as it sounds. They keep well for about two weeks, but honestly, mine rarely last that long unless I hide them.
Easy Swaps & Allergy Tips
To make these vegan, I swap in plant-based butter and coconut cream for the filling, and double-check my chocolate for any milk solids—no one ever seems to notice the difference. If you’re sharing these with a mixed crowd, a label with allergens keeps everyone happily snacking without worry. The trickiest part is reading labels for sneaky ingredients, but the peace of mind is worth the extra check.
- If you want smaller patties, just use a heaping teaspoon for each one.
- Let the chocolate cool a little before dipping for a thicker coating.
- Stash an extra batch in the freezer—future you will be grateful!
 Save
Save I hope making these peppermint patties gives you as many fun, happy moments in the kitchen as they’ve given me. Share them with friends, or sneak a few just for yourself—they’re pure cool comfort either way.
Recipe FAQs
- → How long should the mint discs freeze before dipping?
-
Freeze for 20–30 minutes until firm; this prevents the filling from melting when dipped and helps the chocolate set with a neat edge.
- → What's the best way to melt the dark chocolate?
-
Melt over a gentle simmer in a heatproof bowl (double boiler) while stirring; add a teaspoon of coconut oil for a smoother, shinier coating if needed.
- → Can I make a dairy-free version?
-
Yes. Use dairy-free butter and coconut cream in the filling, and choose dark chocolate labeled vegan to keep the patties plant-based.
- → How do I stop the filling from being too sticky?
-
Adjust by gradually adding more sifted powdered sugar until the dough is firm and workable; chilling also firms the mixture for easier shaping.
- → Is tempering the chocolate necessary?
-
Tempering yields the best snap and shine, but simply melting the chocolate and adding a bit of coconut oil produces a smooth, acceptable finish for home use.
- → How should I store the finished patties?
-
Keep in an airtight container in the refrigerator for up to two weeks; bring to cool room temperature briefly before serving for best texture.
