 Save
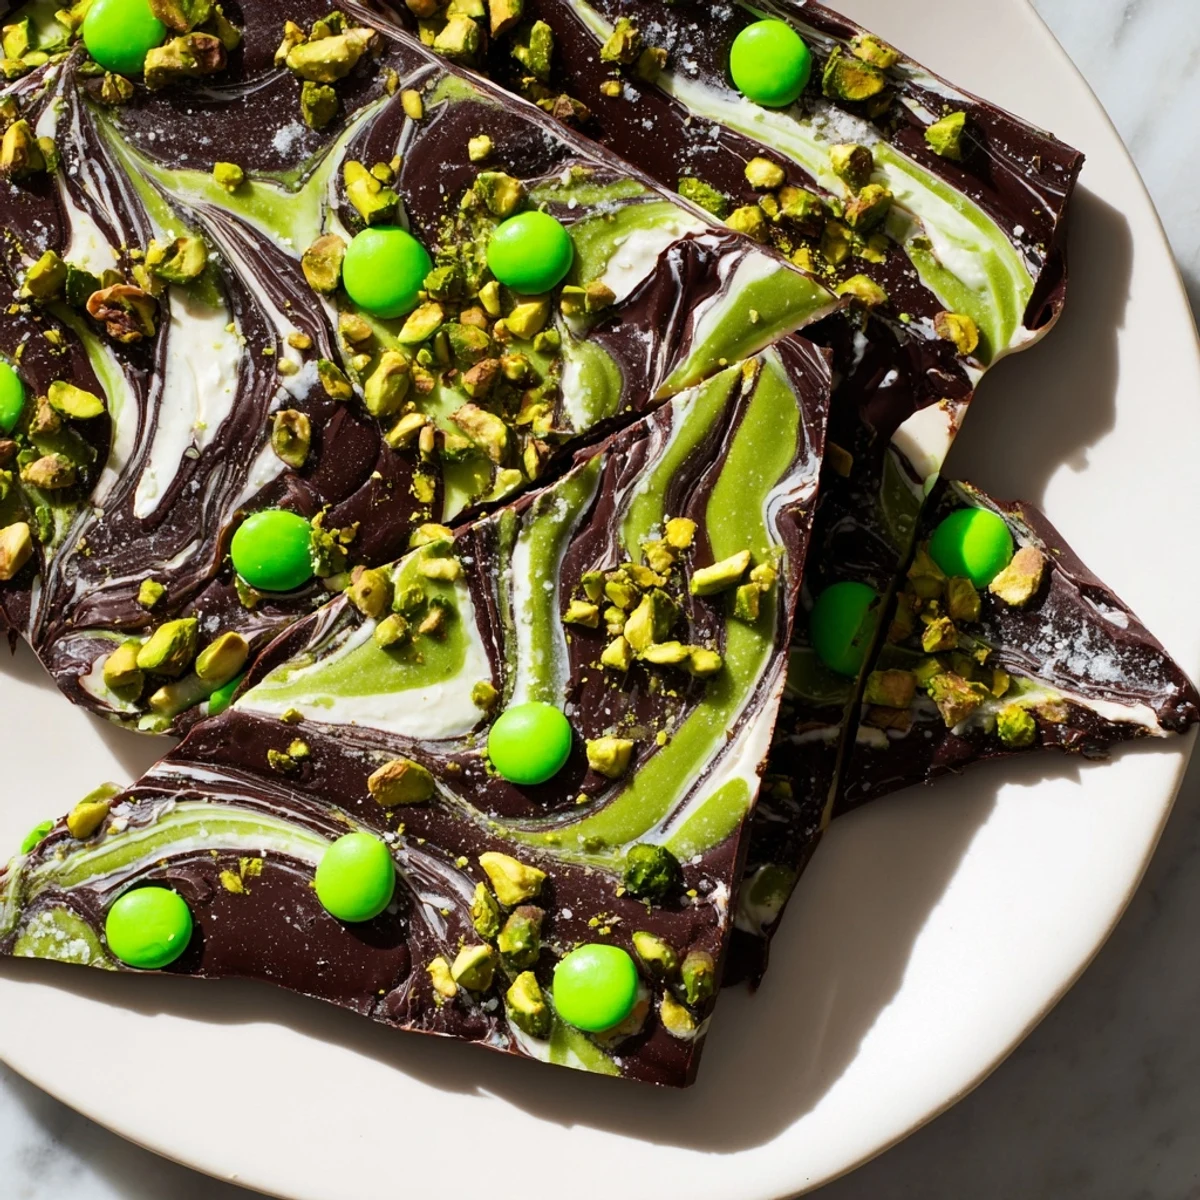
Save This festive treat features layers of dark and white chocolate infused with refreshing peppermint extract. After melting and swirling the chocolates for a marbled effect, it's topped with green candy-coated chocolates, sprinkles, and optional pistachios for added texture and color. Chilled until set, the bark breaks into perfectly sized pieces, ideal for sharing or celebrating St. Patricks Day gatherings. Simple to prepare and easy to customize, this indulgence brings cool mint flavor and festive charm together.
The first year I attempted this bark, I accidentally bought green chocolate melts instead of white chocolate, and my whole kitchen smelled like artificial mint for weeks. Lesson learned: real white chocolate swirled with dark creates that gorgeous marble effect without the chemical aftertaste. Now it is become my go-to treat for March gatherings because it looks impressive but takes almost no active cooking time.
Last year my niece helped me make this for her class party, and she insisted on adding extra green sprinkles until the bark looked like a tiny edible meadow. The kids went wild for it, and honestly, watching their faces light up when we broke it into jagged pieces was better than any perfectly presented dessert. Something about breaking chocolate feels like a small act of rebellion against formal baking.
Ingredients
- 200 g dark chocolate: Choose at least 60% cocoa for proper depth of flavor, and chop it yourself for even melting
- 200 g white chocolate: Real white chocolate with cocoa butter melts more smoothly than chips or candy melts
- 1/2 tsp peppermint extract: Start with half the amount in the dark chocolate, reserve the rest for white
- 50 g green candy-coated chocolates: These add festive color and a satisfying crunch throughout
- 2 tbsp green sprinkles or sanding sugar: The sanding sugar catches light beautifully when the bark is broken
- 2 tbsp chopped pistachios: Optional but adds sophisticated color contrast and nutty richness
Instructions
- Prepare your workspace:
- Line a baking sheet with parchment paper or a silicone mat, making sure it lies completely flat without folds that will show up in your finished bark.
- Melt the dark chocolate:
- Set up a double boiler with a heatproof bowl over simmering water, stirring chopped dark chocolate until it is glossy and completely smooth, then stir in half the peppermint extract.
- Spread the base layer:
- Pour the melted dark chocolate onto your prepared baking sheet and use an offset spatula to spread it into an even rectangle about 8x10 inches.
- Melt the white chocolate:
- Clean your bowl thoroughly or grab a new one, then melt the white chocolate using the same gentle method before stirring in the remaining peppermint extract.
- Create the marble effect:
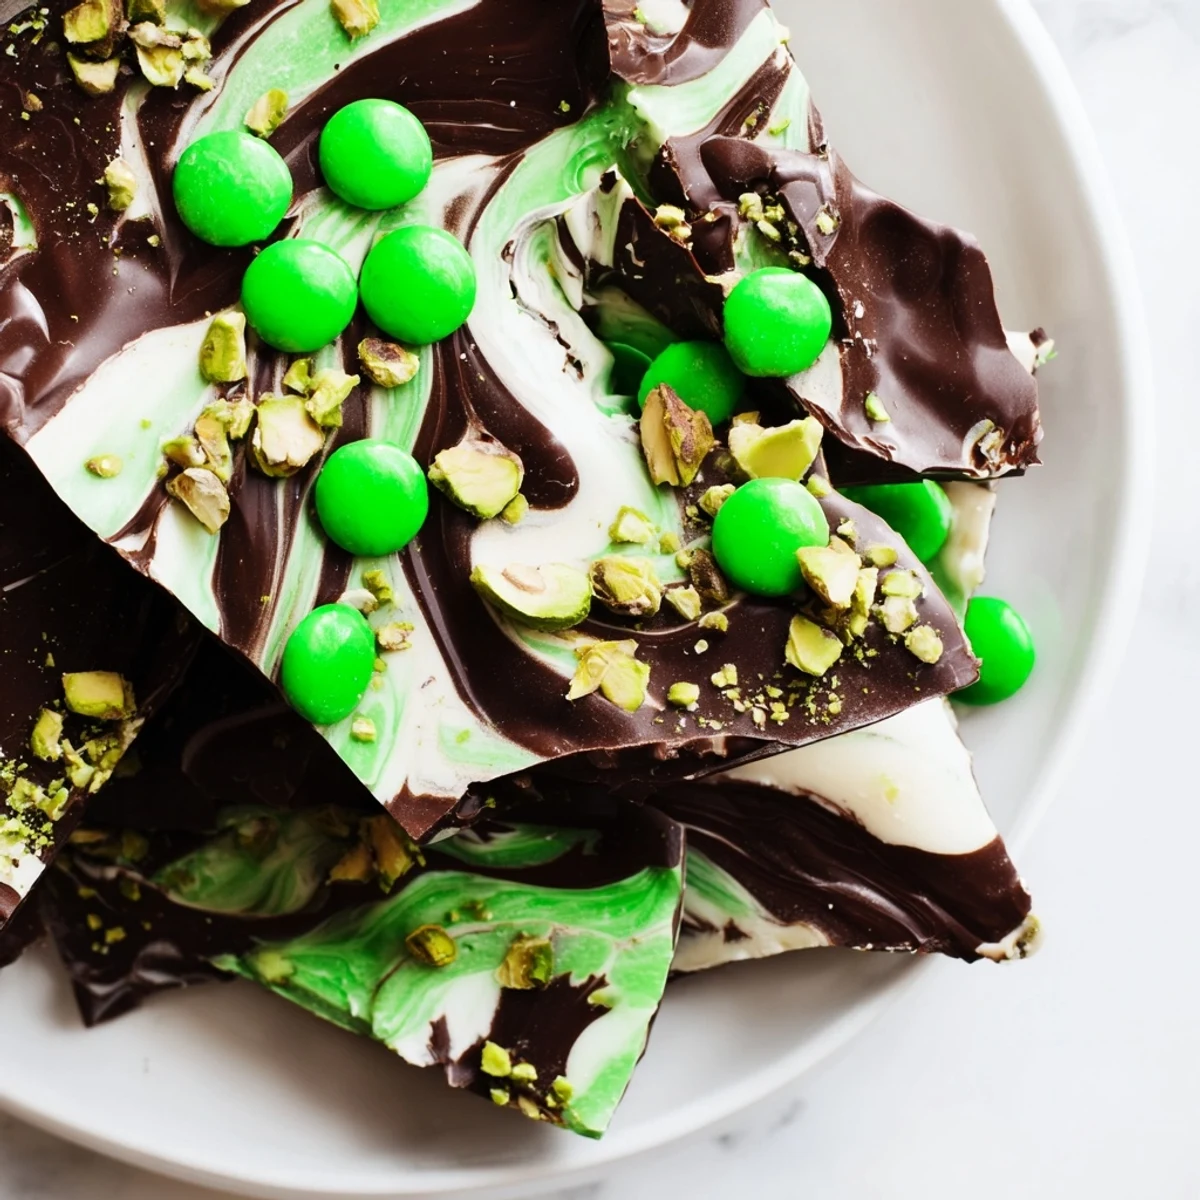
- Pour the white chocolate in pools across the dark chocolate layer, then drag a skewer or toothpick through both colors in swirling motions.
- Add your toppings:
- Immediately scatter the green candies, sprinkles, and pistachios over the surface while the chocolate is still soft, pressing them in gently so they adhere.
- Set the bark:
- Slide the baking sheet into the refrigerator for about 45 minutes until the chocolate is completely firm and cold to the touch.
- Break into pieces:
- Use your hands to snap the bark into irregular shards, which looks more rustic and inviting than perfectly uniform squares.
 Save
Save My neighbor Kathy texted me at 11pm the night before St. Patricks Day asking if I had any festive treats for her office potluck the next morning. I threw this together in twenty minutes, and she sent me a photo later that day of an empty serving platter with one lonely pistachio remaining.
Getting the Right Marble Effect
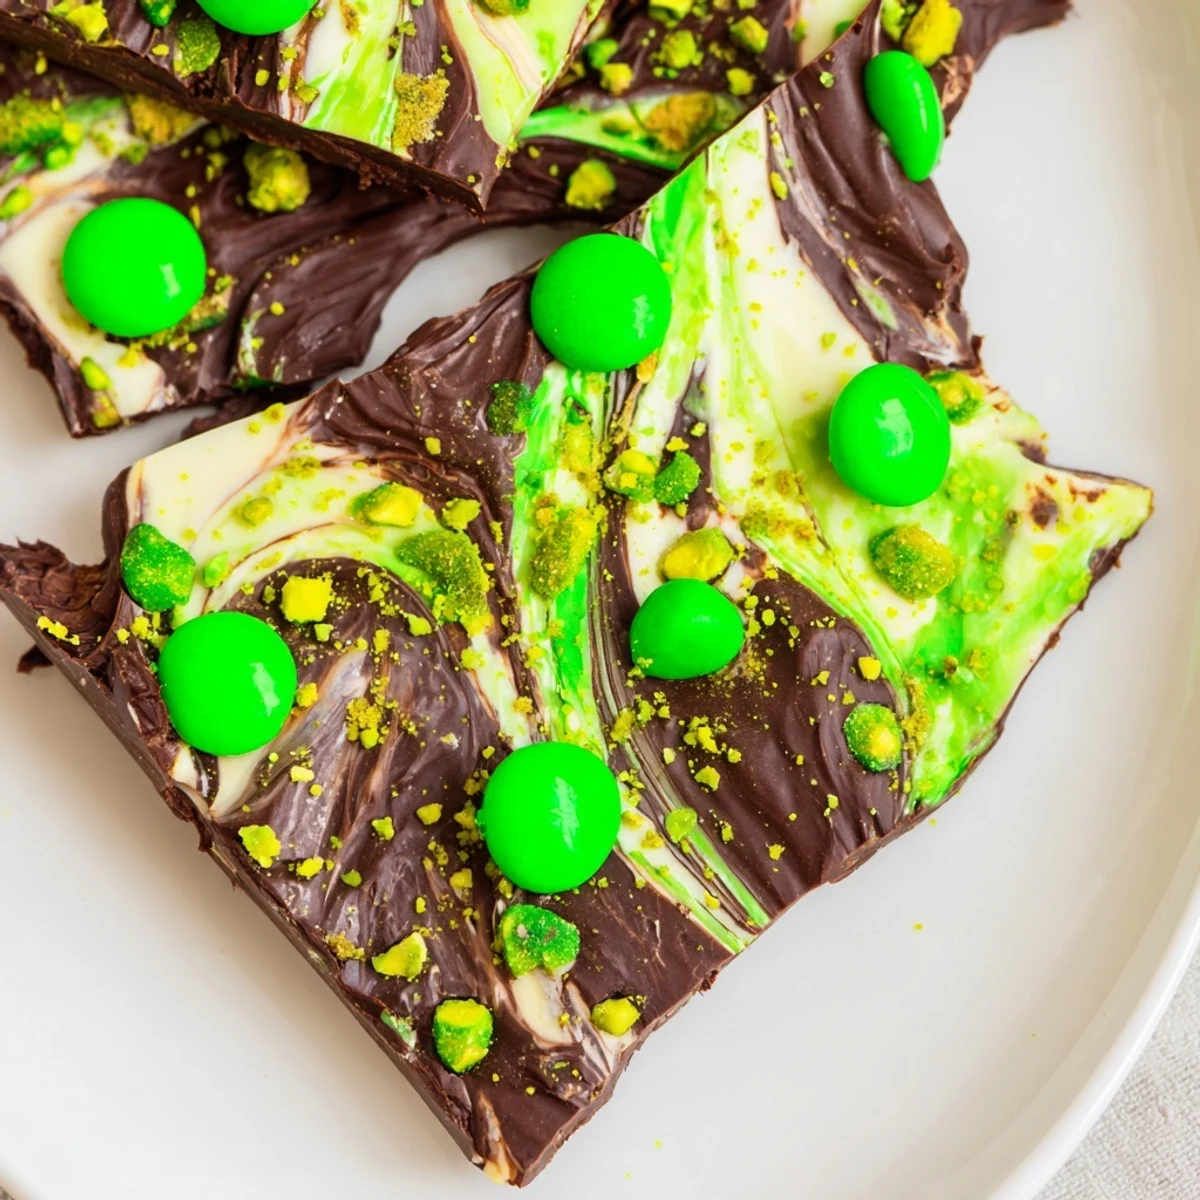
The key to those beautiful swirls is not overworking the two chocolates together. Just a few gentle passes with your skewer will create that marbleized look without blending the colors completely. Think of it like folding ingredients into batter rather than stirring them thoroughly.
Melting Chocolate Without Disaster
I have scorched more chocolate than I care to admit by letting water touch the melting bowl or overheating it in the microwave. The double boiler method feels slower but gives you complete control, and watching the chocolate transform from solid chunks to glossy liquid is oddly satisfying every time.
Make It Your Own
This template works for absolutely any holiday or occasion just by switching the colors and toppings. For winter holidays, swap the green for crushed candy canes and red sprinkles. Valentine's Day calls for pink and white chocolate with heart-shaped sprinkles.
- Try adding a teaspoon of instant coffee powder to the dark chocolate layer for mocha depth
- Toasted coconut flakes turn this into a Samoa-inspired variation
- A pinch of sea salt sprinkled over the top just before chilling elevates the entire recipe
 Save
Save The beauty of this bark is that it is forgiving enough for beginners but impressive enough for experienced bakers to claim as their own signature creation.
Recipe FAQs
- → What type of chocolate works best?
-
Use good quality dark chocolate with at least 60% cocoa for a rich flavor and smooth melting, paired with creamy white chocolate for contrast.
- → How can I enhance the mint flavor?
-
Adjust peppermint extract to taste, adding a little more for a stronger, refreshing mint note without overpowering the chocolate.
- → Can I substitute pistachios?
-
Yes, chopped almonds or other nuts can replace pistachios, or omit them for a nut-free version.
- → What is the best method to melt chocolate?
-
Use a double boiler or microwave in short bursts, stirring frequently to prevent burning and ensure smooth melting.
- → How should I store the finished bark?
-
Keep the bark in an airtight container refrigerated for up to one week to maintain freshness and texture.
