 Save
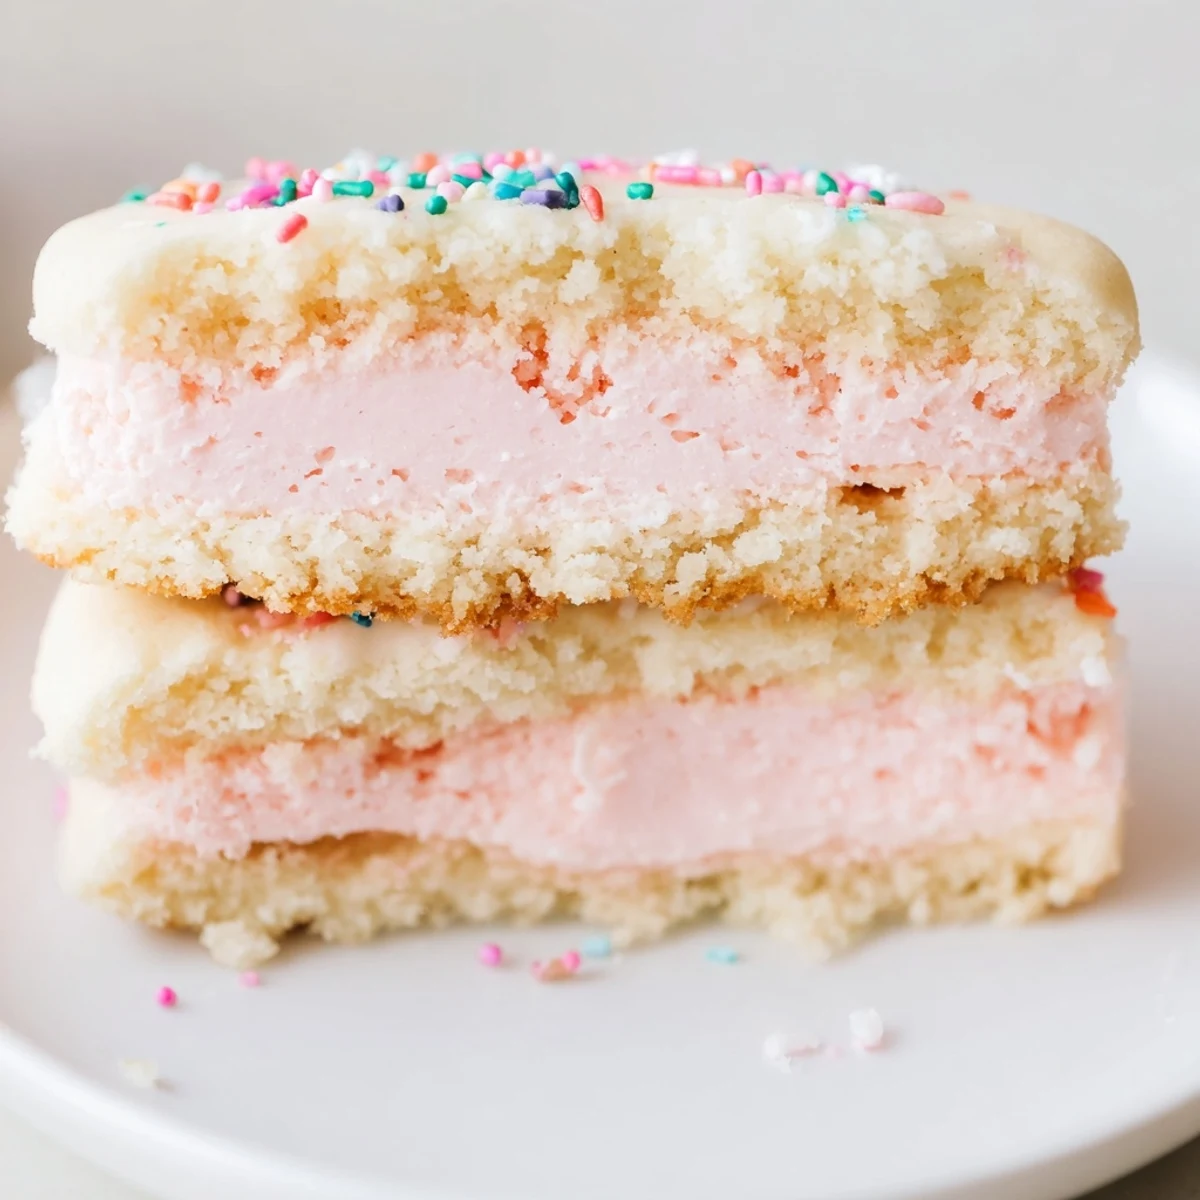
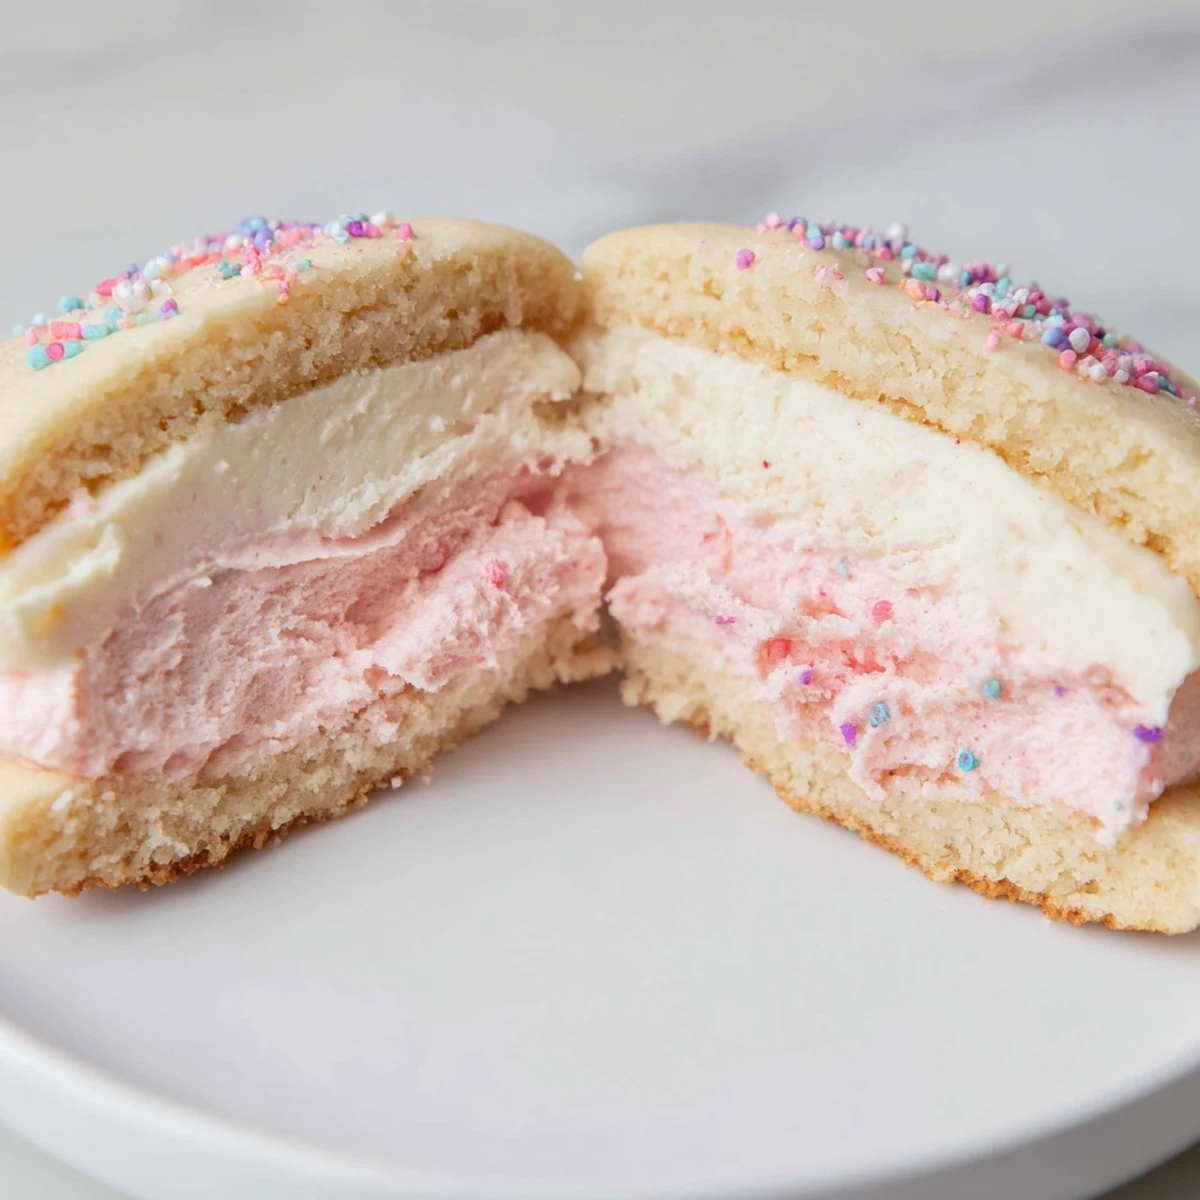
Save Create these charming pastel sugar cookie sandwiches for your next celebration. The tender, colorful cookies get their soft hue from gel food coloring, while a rich vanilla buttercream holds them together. Each sandwich features two matching pastel rounds filled with smooth, creamy frosting. The dough comes together quickly and bakes in just 10-12 minutes. You can customize the colors to match any occasion or theme.
The first time I made these pastel sandwich cookies was for my daughter's spring birthday party. I remember standing in my kitchen with flour dusted across my countertops, mixing bowl after bowl of soft pastel doughs—pink, lavender, mint green, butter yellow, and baby blue. My kitchen looked like a confectionery rainbow had exploded, and I've never been happier about the mess.
Last Easter my niece asked if we could make "unicorn cookies" and I remembered these pastel sandwiches from years ago. We spent the afternoon with our hands stained pink and blue from the gel food coloring laughing when someone accidentally got green dough in their hair. The best part was watching her face light up when she took that first bite of creamy vanilla and soft sugar cookie.
Ingredients
- 2 1/2 cups all-purpose flour: This foundation creates the classic sugar cookie texture we all love tender yet sturdy enough to hold together as sandwiches
- 1/2 tsp baking powder: Just enough lift to give the cookies a delicate rise without making them cakey or puffy
- 1/4 tsp salt: Essential for balancing all that sugar and letting the vanilla shine through
- 1 cup unsalted butter softened: Room temperature butter is non negotiable here—it creamed perfectly with sugar creates that melt in your mouth texture
- 1 cup granulated sugar: Sweetens the dough and helps create that crisp edge while keeping centers soft
- 1 large egg: Binds everything together and adds structure to the cookie dough
- 2 tsp pure vanilla extract: Do not skimp here—real vanilla makes these taste like a professional bakery cookie
- 1/2 tsp almond extract optional: My secret addition that gives the cookies a subtle bakery style flavor without overwhelming the vanilla
- Gel food coloring pastel colors: Gel coloring is much more concentrated than liquid and wont throw off your dough consistency
- 1/2 cup unsalted butter softened for frosting: Again room temperature is crucial for silky smooth buttercream
- 2 cups powdered sugar sifted: Sifting prevents lumps and ensures the silkiest buttercream imaginable
- 1 tbsp milk or heavy cream: Adjust this to get your perfect pipeable or spreadable consistency
- 1 tsp pure vanilla extract: A double dose of vanilla in the filling takes these cookies to another level
- Pinch of salt: Just a tiny bit rounds out the sweetness and makes the buttercream taste professionally balanced
- Sprinkles optional: Roll the cookie edges in sprinkles after assembling for that festive bakery finish
Instructions
- Preheat and prep your workspace:
- Heat your oven to 350°F and line two baking sheets with parchment paper—having everything ready before you start mixing keeps the process smooth and stress free
- Whisk the dry ingredients:
- In a medium bowl combine the flour baking powder and salt whisking them together so theyre evenly distributed before they hit the butter
- Cream butter and sugar:
- Beat the butter and sugar together for a full 2 to 3 minutes until the mixture looks pale and fluffy—this step is what gives sugar cookies their signature texture
- Add eggs and extracts:
- Drop in the egg vanilla extract and almond extract if using then mix just until combined stopping to scrape down the sides of the bowl
- Incorporate the flour:
- Gradually add the flour mixture to the wet ingredients mixing on low speed just until you no longer see streaks of flour—overmixing makes tough cookies
- Divide and color the dough:
- Split your dough evenly into 4 or 5 bowls then add a tiny bit of gel food coloring to each mixing until you have uniform pastel shades throughout
- Scoop and space the cookies:
- Using a tablespoon or cookie scoop portion the dough into balls and place them 2 inches apart on your prepared baking sheets—they will spread as they bake
- Flatten slightly:
- Gently press each dough ball with the palm of your hand just enough to flatten them slightly for even baking
- Bake until perfectly set:
- Bake for 10 to 12 minutes watching closely—you want the edges set but the centers still looking slightly soft since they will firm up as they cool
- Cool completely:
- Let the cookies rest on the baking sheets for 5 minutes then transfer them to a wire rack to cool completely before filling
- Make the buttercream:
- Beat the butter until creamy then gradually add the powdered sugar followed by vanilla salt and milk beating until smooth and fluffy
- Assemble the sandwiches:
- Spread or pipe buttercream onto the flat side of half the cookies then top each with another cookie pressing gently so the filling reaches the edges
- Add sprinkles if desired:
- Roll the exposed buttercream edges in sprinkles right after assembling so they stick and create that festive finished look
 Save
Save After that birthday party I found pastel sprinkles in my kitchen for weeks. Every time I swept the floor or moved the kitchen chairs I would discover another tiny heart or star and it would make me smile remembering that afternoon of baking and laughter with my favorite little person.
Getting the Perfect Pastel Colors
Start with a tiny amount of gel coloring—seriously a dot the size of a pea is often enough. You can always add more but you cannot take it back. I once accidentally made forest green instead of mint and learned this lesson the hard way.
Making These Ahead
The cookie dough actually benefits from a short chill in the refrigerator if it feels too soft to work with. You can also bake the cookies a day in advance and store them in an airtight container then assemble with fresh buttercream the day you need them.
Serving and Storage
These cookies are at their absolute best the same day they are assembled when the cookies are still soft and the buttercream is perfectly creamy. That said they will keep in an airtight container at room temperature for up to three days though the cookies will soften a bit more over time.
- Place assembled cookies in a single layer with wax paper between stacked layers to prevent sticking
- If you need to transport these bring them in a single layer flat container—they are surprisingly fragile once stacked
- For gifting wrap individual sandwich cookies in clear treat bags tied with pastel ribbon for the prettiest presentation
 Save
Save There is something so joyful about a platter of pastel cookies on a spring table. Watching people choose their favorite color before taking that first happy bite is exactly why I keep coming back to this recipe year after year.
Recipe FAQs
- → How far in advance can I make the cookie dough?
-
The cookie dough can be prepared up to 3 days ahead and stored wrapped tightly in the refrigerator. You can also freeze the dough for up to 3 months. Thaw overnight in the refrigerator before baking.
- → Can I use liquid food coloring instead of gel?
-
Gel food coloring works best as it provides vibrant colors without adding excess liquid to the dough. If using liquid coloring, start with just a few drops and adjust gradually to avoid making the dough too sticky.
- → How should I store the assembled sandwiches?
-
Store assembled cookie sandwiches in an airtight container at room temperature for up to 3 days. Place parchment paper between layers to prevent sticking. For longer storage, freeze unfilled cookies and assemble when needed.
- → What other frosting flavors work well?
-
Lemon, strawberry, or raspberry frostings complement the buttery sugar cookies beautifully. You can also add citrus zest or almond extract to the vanilla buttercream for extra flavor variation.
- → Why did my cookies spread too much during baking?
-
Excess spreading usually occurs if the dough becomes too warm. Chill the colored dough portions for 15-20 minutes before scooping and baking. Also ensure your butter was softened to room temperature, not melted.
