 Save
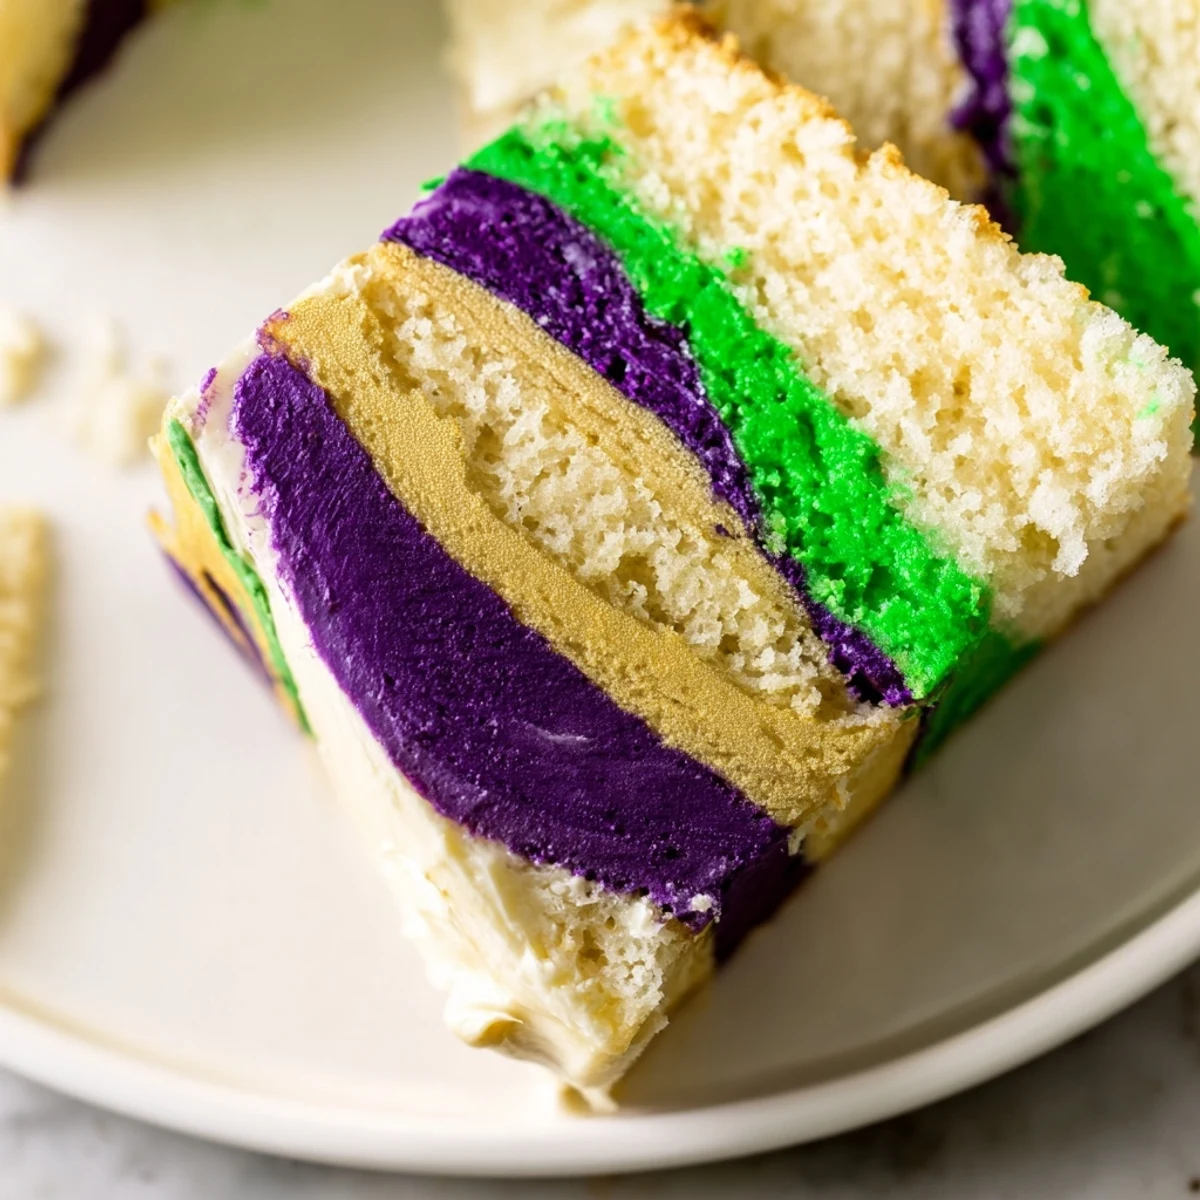
Save This moist vanilla cake is layered with colorful purple, green, and gold icing, capturing the festive spirit of Mardi Gras. The batter is a blend of flour, butter, sugar, eggs, vanilla, and milk, baked to a soft and tender crumb. The three-part icing uses butter, powdered sugar, and milk, each tinted with vibrant colors and applied in stripes for a visually stunning finish. Optional decorations add a traditional touch, and chilling the cake ensures clean slices. Perfect for sharing during celebrations.
The year my sister decided to host our first proper Mardi Gras party, she called me at midnight already stressed about decorations. I told her to focus on the cake instead. We stayed up mixing food coloring into buttercream until our kitchen looked like a carnival had exploded everywhere, and that messy, joyful night became an annual tradition.
Last February I made this for my book club, most of whom had never heard of Mardi Gras beyond beads and Bourbon Street. Watching their faces light up when I explained the colors represent justice faith and power then seeing them fight over who got the slice with the most purple frosting, that is exactly why I love feeding people.
Ingredients
- All purpose flour: Provides the structure for this tender crumb cake, do not substitute with cake flour or the layers may not hold up under all that buttercream
- Baking powder: This is your lift, check the expiration date because old baking powder makes for sad flat cakes
- Salt: Just a half teaspoon balances the sweetness and wakes up all the vanilla notes
- Unsalted butter: Room temperature butter is non negotiable here, cold butter will not cream properly with the sugar and your cake texture will suffer
- Granulated sugar: Creaming this with the butter creates the tiny air pockets that make the cake light and tender
- Eggs: Must be at room temperature or they will not emulsify properly into the batter
- Vanilla extract: Use pure extract not imitation, the difference in flavor is worth every penny
- Whole milk: Adds moisture and richness, you can substitute buttermilk for a slight tang if you prefer
- Butter for frosting: Again room temperature is crucial, cold butter will make your frosting lumpy and impossible to spread smoothly
- Powdered sugar: Sifting it first prevents those annoying little lumps that show up in otherwise smooth buttercream
- Gel food coloring: Use gel not liquid coloring, liquid will thin out your frosting and affect the consistency
Instructions
- Getting Started:
- Preheat that oven to 350 degrees and grease your cake pans really well with butter and flour, there is nothing worse than a beautiful cake that sticks to the pan.
- Mixing the Dry Goods:
- Whisk the flour baking powder and salt in a medium bowl, set this aside while you work on the wet ingredients.
- Creaming Butter and Sugar:
- Beat the butter and sugar together for a full three minutes until it is pale and fluffy, this step creates air pockets that make the cake tender.
- Adding Eggs:
- Add eggs one at a time beating well after each, the mixture might look curdled briefly but keep going and it will come back together.
- Combining Everything:
- Add vanilla then alternate adding flour mixture and milk beginning and ending with flour, stop mixing as soon as the flour streaks disappear.
- Baking Time:
- Divide batter between your pans smooth the tops and bake 30 to 35 minutes until a toothpick comes out clean.
- Cooling Down:
- Let the cakes rest in pans for 10 minutes then turn them onto wire racks, cutting corners here will result in soggy layers.
- Making Buttercream:
- Beat butter until creamy then gradually add powdered sugar milk vanilla and salt until fluffy and spreadable.
- Coloring the Frosting:
- Divide frosting into three bowls and add gel food coloring to each, start with a tiny amount because you can always add more.
- Assembly:
- Place one layer on your plate spread with any color frosting add the second layer then frost the top and sides with alternating stripes of purple green and gold.
 Save
Save My niece requested this cake for her birthday instead of the usual princess theme because she said the colors looked like magic. When she blew out her candles and accidentally smeared purple frosting across her nose, the entire room laughed and she beamed like she had discovered something wonderful.
Making It Special
Add a teaspoon of lemon zest to your batter for a bright citrus note that cuts through all that sweet buttercream. The fresh lemon flavor makes this cake feel lighter and more sophisticated while still being a festive party dessert.
Getting That Marbled Look
If you want something different from stripes, try swirling the three colored frostings together with an offset spatula while they are still fresh on the cake. The marbled effect looks stunning and feels more artistic than structured stripes.
The King Cake Tradition
Hiding a plastic baby inside one layer is classic Mardi Gras fun, just be sure to warn your guests before they start eating. The person who finds the baby is supposedly responsible for hosting next years party, which is a wonderful way to keep traditions alive.
- Use only food safe plastic decorations meant for baking
- Insert the baby from the bottom so the hole is not visible from above
- Wrap the baby in parchment paper first for easier removal and extra hygiene
 Save
Save Whether you are celebrating Fat Tuesday or just need something joyful on a random Tuesday, this cake brings the party to your kitchen. Laissez les bons temps rouler.
Recipe FAQs
- → How do you achieve vibrant tricolor icing?
-
Divide the frosting into three portions and tint each separately with gel food coloring in purple, green, and gold, mixing thoroughly for even color.
- → What is the best way to ensure the cake layers bake evenly?
-
Grease and flour the pans well, fill them evenly, and bake at 350°F until a toothpick comes out clean for consistent baking.
- → Can I add extra flavor to the cake batter?
-
Yes, adding 1 teaspoon of lemon zest brightens the flavor and complements the vanilla base nicely.
- → How should the cake be chilled before serving?
-
Chill the decorated cake for at least 30 minutes to allow the icing to set, making it easier to slice cleanly.
- → What tools are recommended for decorating the cake?
-
Use an offset spatula to spread and stripe the icing evenly, and a wire rack to cool the cake layers before decorating.
