 Save
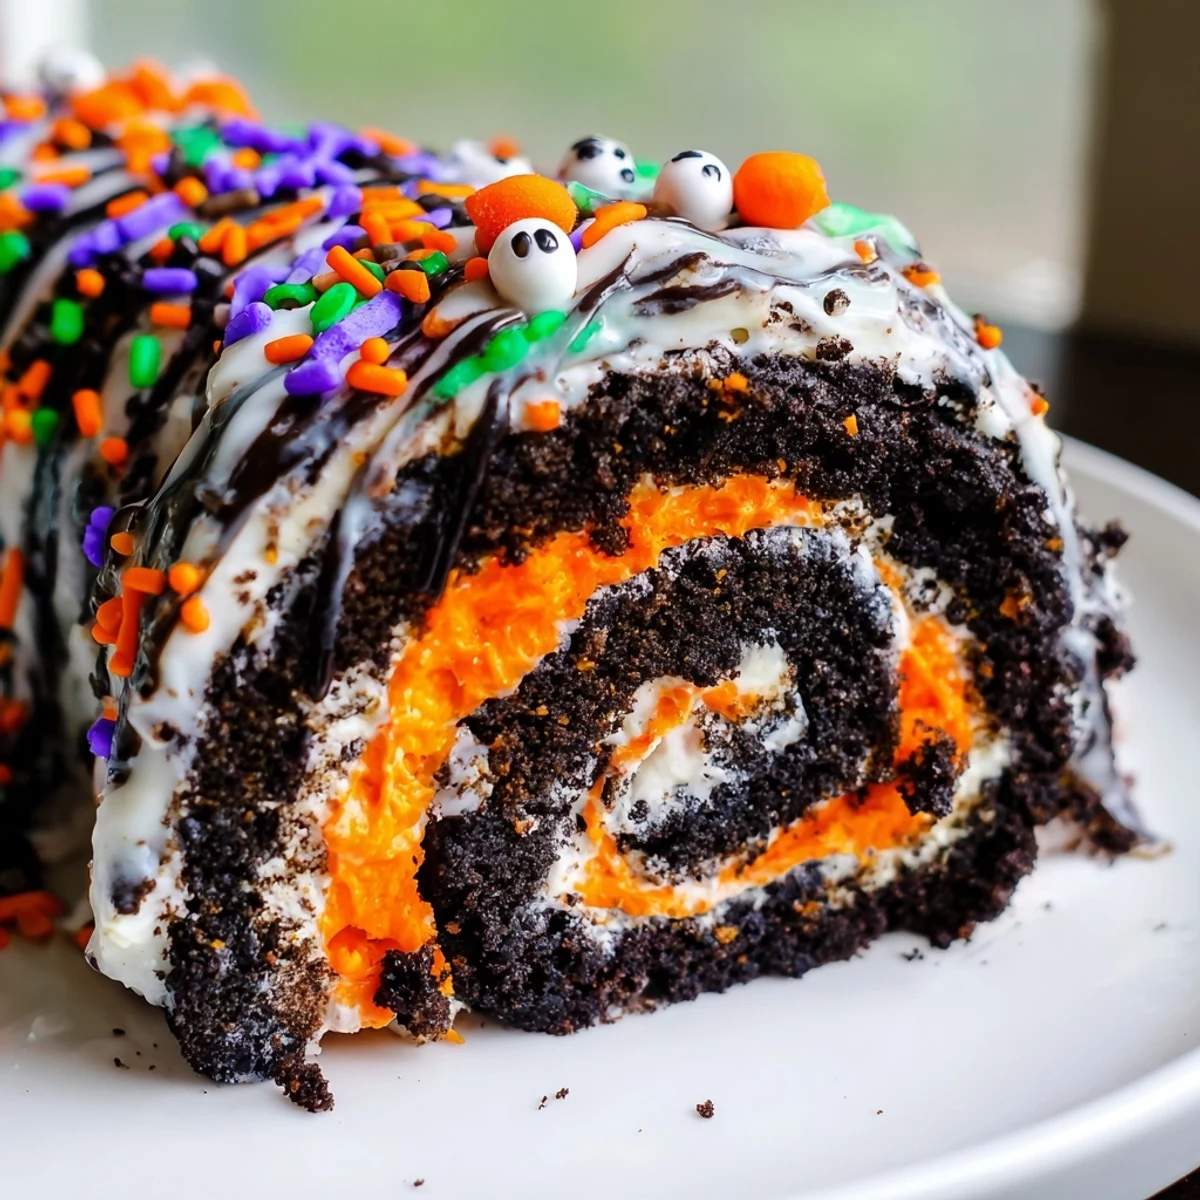
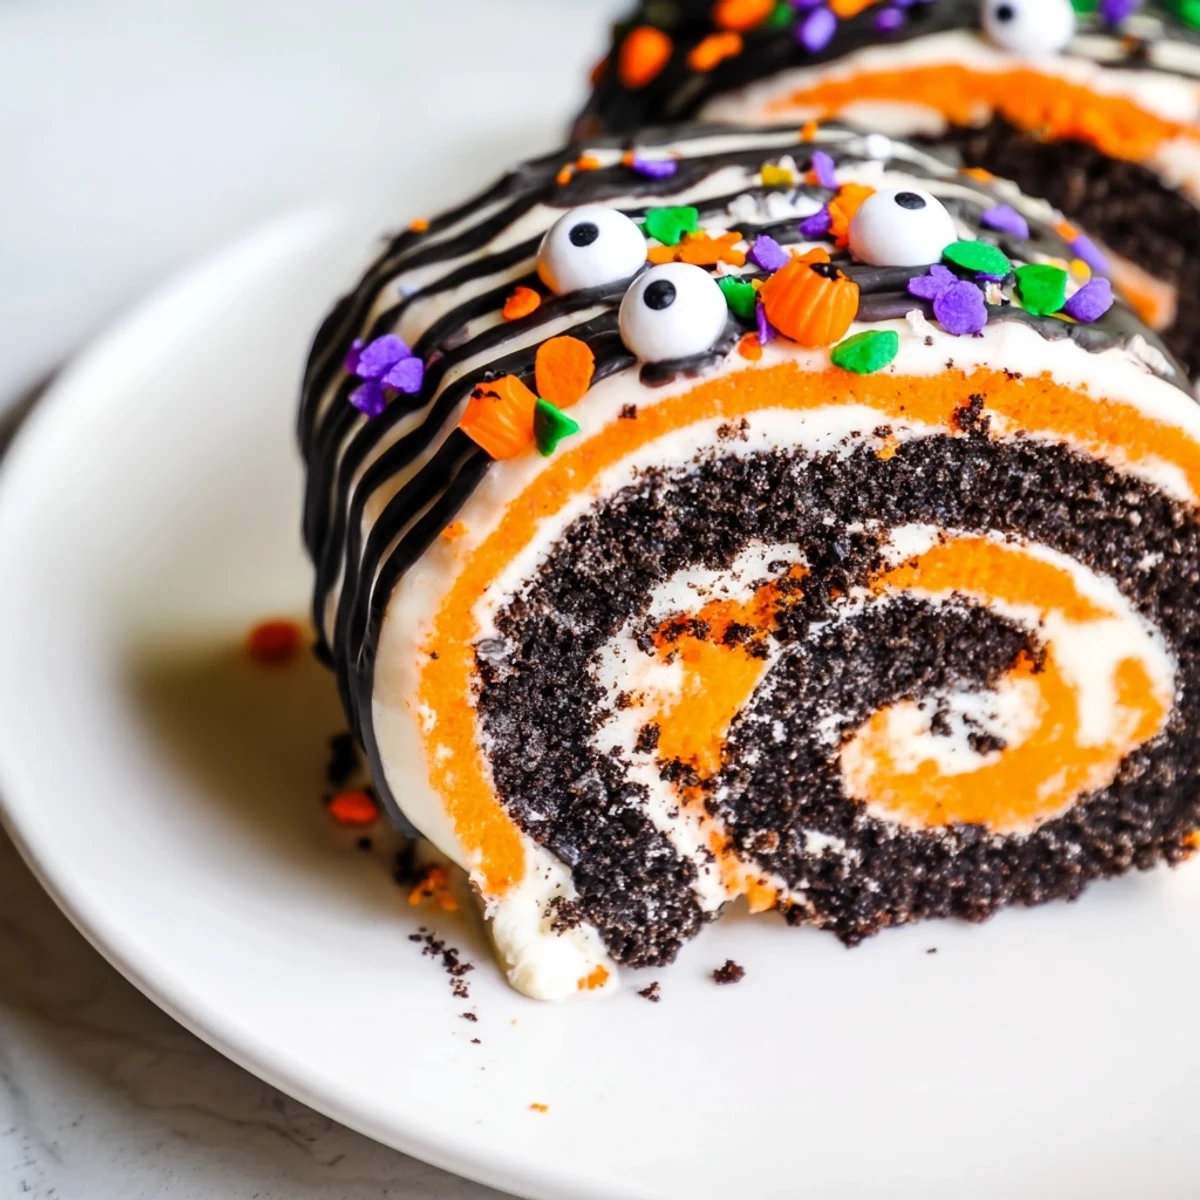
Save Create a showstopping Halloween dessert with this no-bake Oreo roll. Crushed Halloween Oreos form a rich, chocolatey base that gets rolled with vibrant orange or purple whipped cream. The result is a stunning swirled log that looks impressive but requires zero oven time. Simply chill, slice, and serve this festive treat that's perfect for your Halloween gathering.
Last October, my daughter decided we needed something more dramatic than cookies for her class party. She came home from school buzzing about a spiral cake she'd seen online, and I honestly thought she was describing some fancy bakery creation that would take me hours. Turns out she meant this rolled Oreo magic, and we made it together on a rainy Sunday afternoon while watching old Halloween movies.
I made six of these rolls for different gatherings last Halloween, and each time someone would immediately ask for the recipe. The best moment was watching my normally skeptical father-in-law take his first bite, eyes widen, and ask if there was some secret technique involved. The secret is just crushing cookies and whipping cream, but I never tell him that.
Ingredients
- 36 Halloween Oreos: The orange filling in these seasonal cookies gives you a natural color boost, but regular Oreos work perfectly fine too
- 1 cup powdered sugar: This sweetens the base while helping the dough hold its shape when rolled
- 6 tbsp unsalted butter, melted: Room temperature or slightly warmed butter incorporates more smoothly into the cookie crumbs
- 4 oz cream cheese, softened: Let this sit out for at least 30 minutes so it blends seamlessly without leaving lumps
- 1 cup heavy whipping cream: Cold cream whips up faster and holds its shape better, so pop it in the fridge for 10 minutes before starting
- 1/4 cup powdered sugar: This stabilizes the whipped cream while keeping it light and airy
- 1 tsp vanilla extract: Pure vanilla makes a noticeable difference in the overall flavor depth
- Orange or purple food coloring: Gel coloring gives you vibrant shades without thinning out the whipped cream
- Halloween sprinkles and decorations: Have fun with these because the exterior is where the holiday magic really shines
Instructions
- Prepare your workspace:
- Line a large baking sheet or clean countertop with parchment paper, making sure its large enough to roll out your dough
- Make the Oreo base:
- Pulse the Oreos in a food processor until theyre fine crumbs, then mix in the powdered sugar, melted butter, and softened cream cheese until a thick, sticky dough forms
- Roll out the foundation:
- Place the Oreo mixture between two sheets of parchment and roll it into a rectangle about 1/2 inch thick, keeping the edges as even as possible
- Whip the colorful filling:
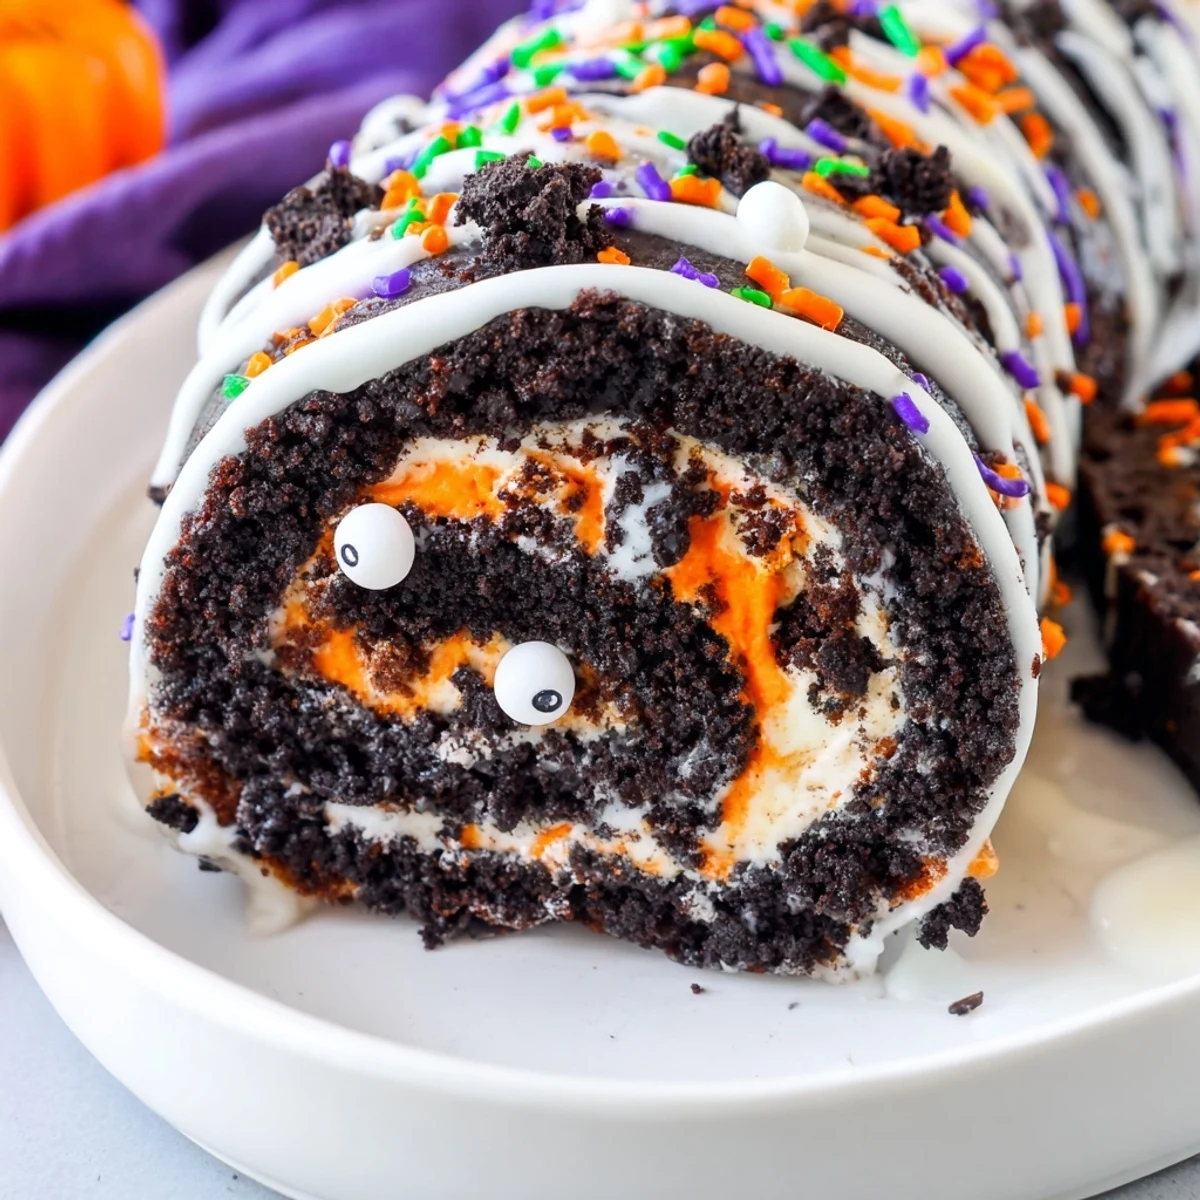
- Beat the cold heavy cream with powdered sugar and vanilla until stiff peaks form, then gently fold in food coloring until you reach your desired Halloween hue
- Spread and roll:
- Spread the colored whipped cream over your Oreo rectangle, leaving a 1-inch border on one long side, then use the parchment to help you roll it into a tight log starting from the opposite edge
- Chill until firm:
- Refrigerate the roll for at least 1 hour so it sets properly and holds its shape when sliced
- Decorate and serve:
- Drizzle with melted chocolate, add sprinkles and candy eyes, then slice into 1-inch rounds with a sharp knife
 Save
Save This has become my go-to contribution for any October gathering because it travels so well and looks like something much more complicated than it actually is. Last year I brought one to a potluck and the host asked if I'd start making them for her local bakery's Halloween case.
Making It Ahead
You can prepare the entire roll up to 24 hours in advance, wrapping it tightly in plastic once its chilled. The flavors actually develop better after sitting overnight, so don't hesitate to make it the day before your party.
Color Variations
Try making stripes with multiple colors by painting lines of gel coloring on the whipped cream before spreading it, or split the batch and swirl two colors together for a marbled effect.
Serving Suggestions
Cold slices are perfect as-is, but a quick 10 minute sit at room temperature makes the filling extra luscious. Serve on orange or black plates for maximum impact.
- Run your knife under hot water between slices for cleaner cuts
- Save some crushed Oreos to sprinkle on the exterior for extra texture contrast
- Leftovers keep surprisingly well for up to three days in the refrigerator
 Save
Save There's something deeply satisfying about a dessert that looks this impressive coming together in under half an hour. Happy haunting in your kitchen.
Recipe FAQs
- → How long does the Oreo roll need to chill?
-
Refrigerate for at least 1 hour until firm enough to slice cleanly. You can also make it up to 24 hours ahead.
- → Can I use regular Oreos instead of Halloween ones?
-
Absolutely! Regular Oreos work perfectly. Add orange food coloring to the filling for that festive Halloween touch.
- → How do I get clean slices when serving?
-
Use a sharp knife and wipe it clean between slices. Chilling thoroughly helps the roll hold its shape better.
- → Can I make this gluten-free?
-
Yes! Simply substitute gluten-free sandwich cookies for the Oreos. The rest of the ingredients are naturally gluten-free.
- → How long will leftovers stay fresh?
-
Store covered in the refrigerator for up to 3 days. The texture remains creamy and the flavors stay fresh.
- → What other decorations can I use?
-
Candy corn, edible glitter, crushed pumpkin-shaped candies, or Halloween-themed sprinkles all work beautifully for customization.
