 Save
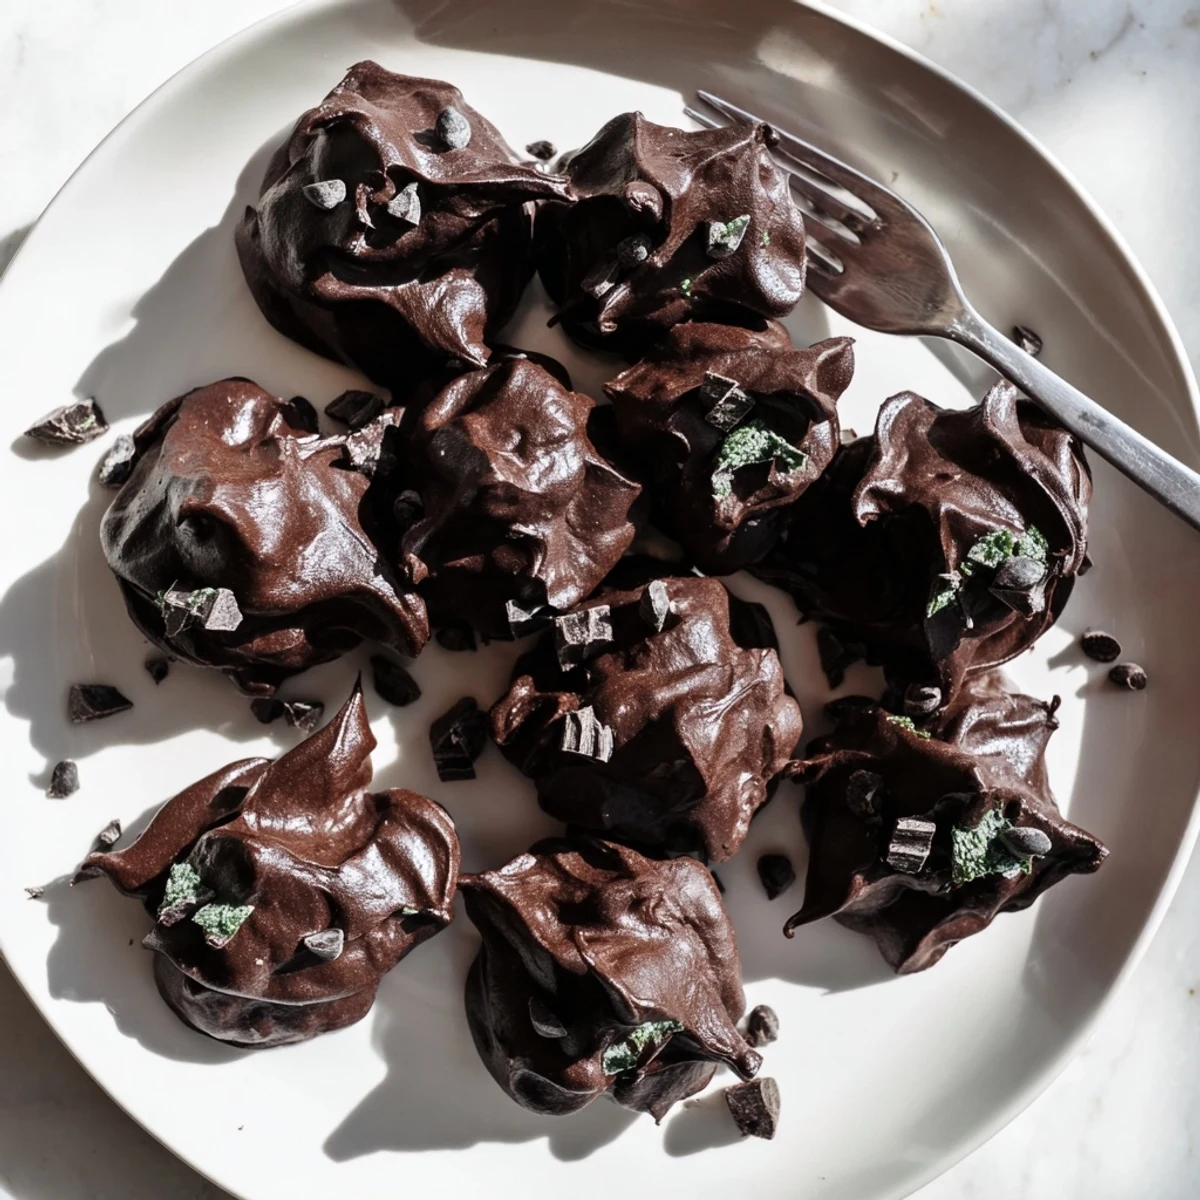
Save These delicate meringue clouds combine crisp, airy egg white foam with rich dark chocolate and refreshing mint chips. The slow-baking process creates a beautifully light texture with a satisfying crunch, while the peppermint extract adds a cooling contrast to the deep cocoa notes. Each bite delivers an ethereal, melt-in-your-mouth experience.
Perfect for afternoon tea or as an elegant finish to dinner, these naturally gluten-free treats stay fresh for days when stored properly. The meringues achieve their signature cloud-like texture through careful whipping and a gentle low-temperature oven method.
The winter I discovered meringues changed everything about how I thought about dessert. My apartment was freezing, but the oven kept everything warm and chocolate-scented for hours. Something about watching simple egg whites transform into glossy clouds felt like edible magic. Now these mint-chocolate versions are my go-to when I need something impressive but secretly effortless.
Last holiday season, I made three batches back-to-back because they disappeared faster than I could package them. My brother-in-law, who claims he hates mints, ate five and then asked if I'd hidden any extras. The dark chocolate cuts through the sweetness just enough that they feel sophisticated, not cloying.
Ingredients
- 4 large egg whites: Room temperature whites whip up dramatically faster and achieve better volume than cold ones
- 1 cup (200 g) granulated sugar: Added gradually, this creates the signature glossy finish we are after
- 1/4 tsp cream of tartar: The secret ingredient that stabilizes your meringue and prevents weeping
- 1/4 tsp fine sea salt: Just enough to make the chocolate sing without tasting salty
- 1/2 tsp pure vanilla extract: Rounds out the sharpness of the peppermint beautifully
- 1/2 tsp pure peppermint extract: Start here, but trust your nose if you want more intensity
- 3 oz (85 g) dark chocolate (70%): Finely chopped pieces distribute evenly throughout the batter
- 2/3 cup (100 g) mint chocolate chips: These little pockets of cool mint are what make each bite special
Instructions
- Heat your oven low and slow:
- Preheat to 250°F (120°C) and line two baking sheets with parchment paper. Low and slow drying is what creates that perfect crisp exterior.
- Whip until foamy:
- In a completely clean, dry bowl, beat egg whites and cream of tartar on medium speed until foamy bubbles form. Any grease or moisture will prevent proper whipping.
- Add sugar gradually:
- With mixer on high, add sugar one tablespoon at a time, waiting about 20 seconds between additions. Continue until stiff, glossy peaks form, about 6 to 8 minutes total.
- Flavor the clouds:
- Fold in salt, vanilla, and peppermint extract until just combined. The batter should look like a glossy, marshmallow-fluff dream.
- Gently incorporate chocolate:
- Fold in chopped dark chocolate and mint chips with a spatula using light, patient strokes. Overworking will deflate those beautiful air pockets you just created.
- Shape and bake:
- Drop or pipe mounds (about 2 tablespoons each) onto prepared sheets, leaving 1 inch between each cloud. Bake for 60 minutes, then turn off the oven and let cool inside for another 30 minutes.
 Save
Save The first time I tried rushing the cooling process, I ended up with sticky, sad cookies. Now I treat that 30 minute oven rest as sacred time, usually catching up on a podcast while the kitchen smells like a chocolate factory.
Getting The Texture Right
The difference between a perfectly crisp meringue and a chewy disappointment comes down to patience. Stiff peaks should stand straight up without flopping over when you lift the beaters. Under-whipping means hollow, flat cookies that never quite achieve that signature cloud-like crunch.
Customizing The Flavors
Sometimes I swap the mint chips for white chocolate and add crushed candy canes during winter holidays. For summer gatherings, lemon extract with white chocolate chips creates a lighter, brighter version that still delivers on texture. The base technique remains wonderfully forgiving once you master it.
Serving And Storage
These actually improve slightly after a day in an airtight container, becoming even crisper throughout. Package them carefully between layers of parchment paper and they will stay perfect for up to five days. I have learned the hard way that plastic bags make them sweat and lose their signature crunch.
- Stack carefully with parchment between layers to prevent sticking
- Bring them to room temperature before serving for the best texture
- A drizzle of melted dark chocolate right before serving makes them feel extra fancy
 Save
Save Every time I pull a tray of these from the oven, I am still amazed that something so ethereal came from such humble ingredients. Hope they become part of your kitchen magic too.
Recipe FAQs
- → Why do my meringues crack or weep?
-
Cracking or weeping usually happens when egg whites aren't beaten to stiff enough peaks, or when there's excess humidity. Ensure your mixing bowl and beaters are completely grease-free, and beat until glossy peaks stand straight up when the beaters are lifted. Adding cream of tartar helps stabilize the foam.
- → Can I make these ahead of time?
-
These meringues store exceptionally well. Keep them in an airtight container at room temperature for up to 5 days. They'll stay crisp and light. Avoid refrigeration, which can introduce moisture and make them chewy or soft.
- → What's the purpose of cooling in the oven?
-
Letting meringues cool gradually inside the turned-off oven prevents cracking from sudden temperature changes. This slow-drying period helps remove remaining moisture from the center, ensuring that crisp, dry texture throughout.
- → Can I use liquid egg whites?
-
Fresh egg whites work best for meringues as they whip up more voluminously than carton liquid whites. If you must use liquid whites, avoid those with additives or stabilizers, and you may need to increase beating time to achieve proper volume.
- → Why room temperature egg whites?
-
Room temperature egg whites achieve greater volume when whipped because the proteins are more relaxed and can stretch easily. This creates a lighter, airier meringue texture. Take whites out of the refrigerator about 30 minutes before starting.
- → Can I add food coloring?
-
Absolutely. Gel food coloring works best as it won't add excess liquid. Add a tiny amount along with the extracts. A subtle green tint creates a lovely minty appearance, or swirl in multiple colors for a marble effect before piping.
