 Save
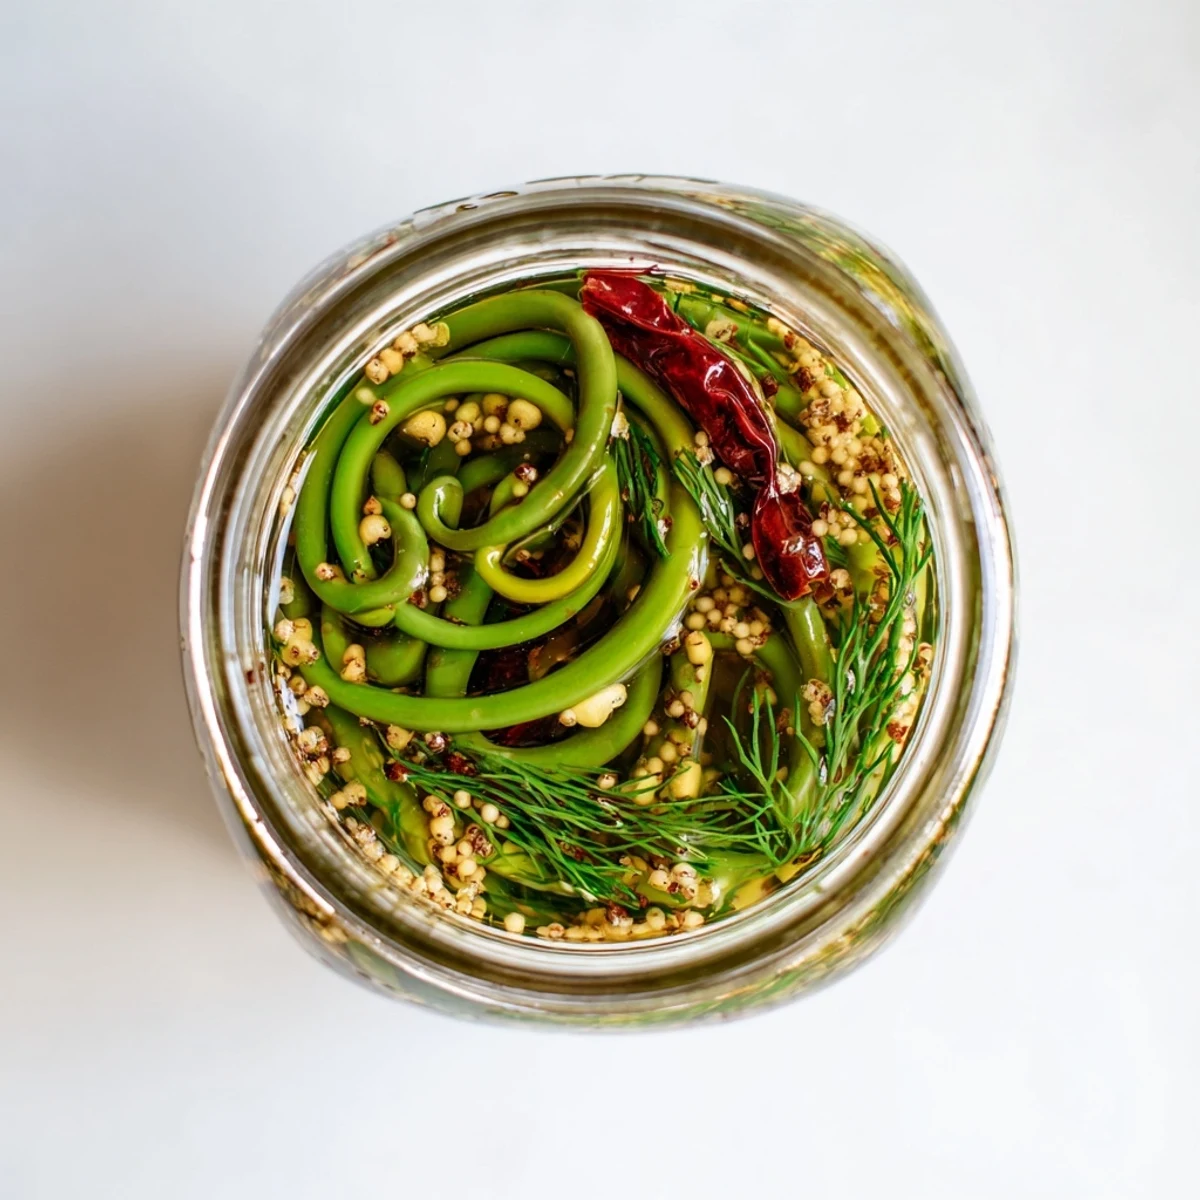
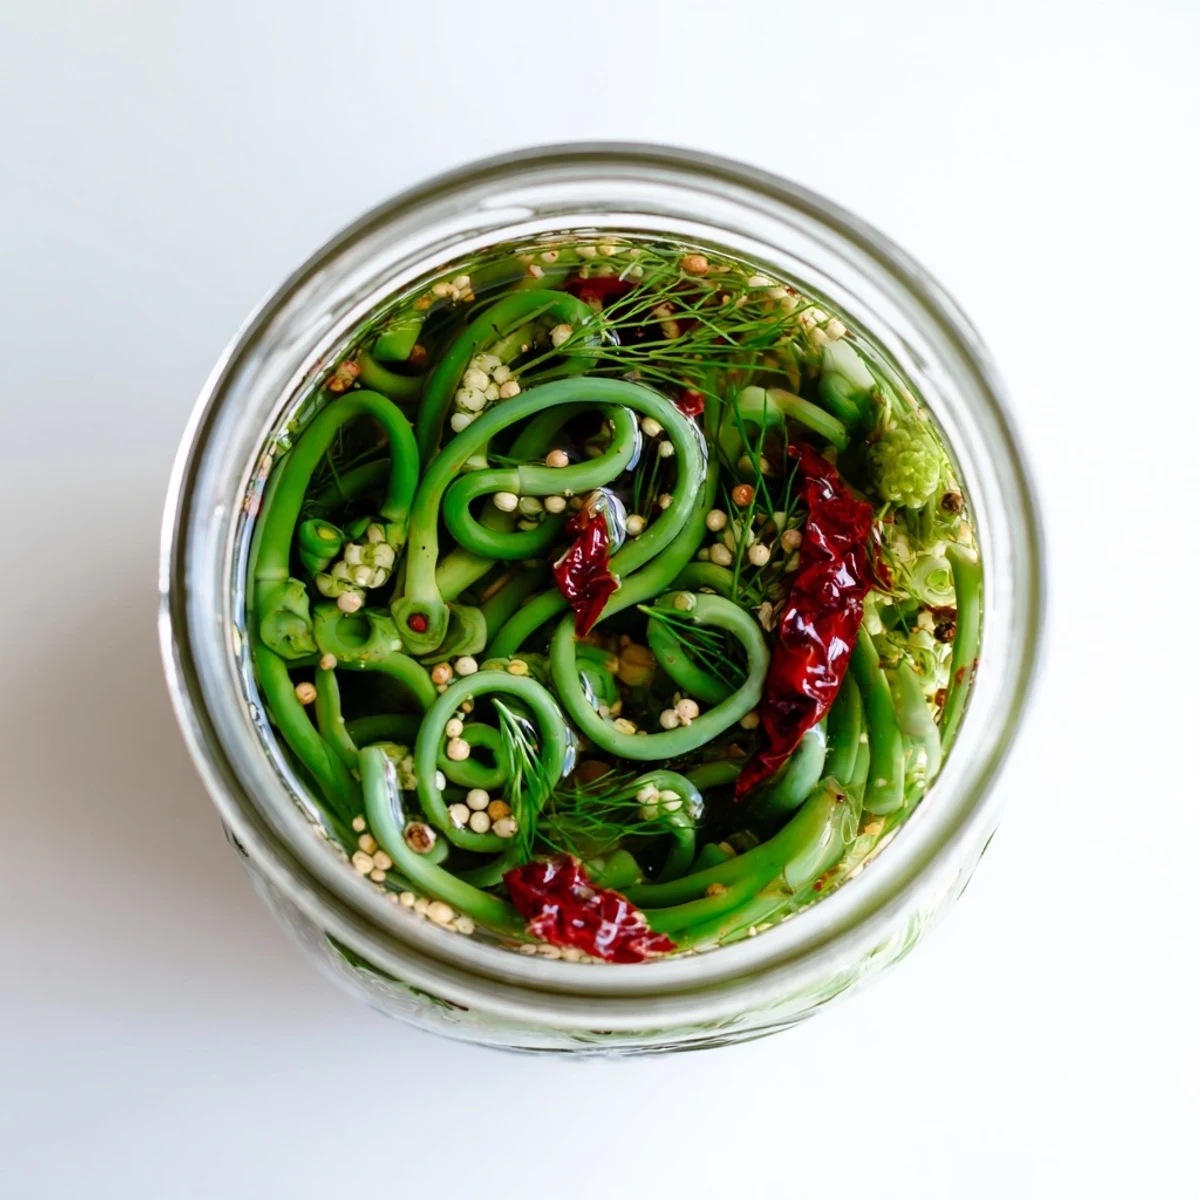
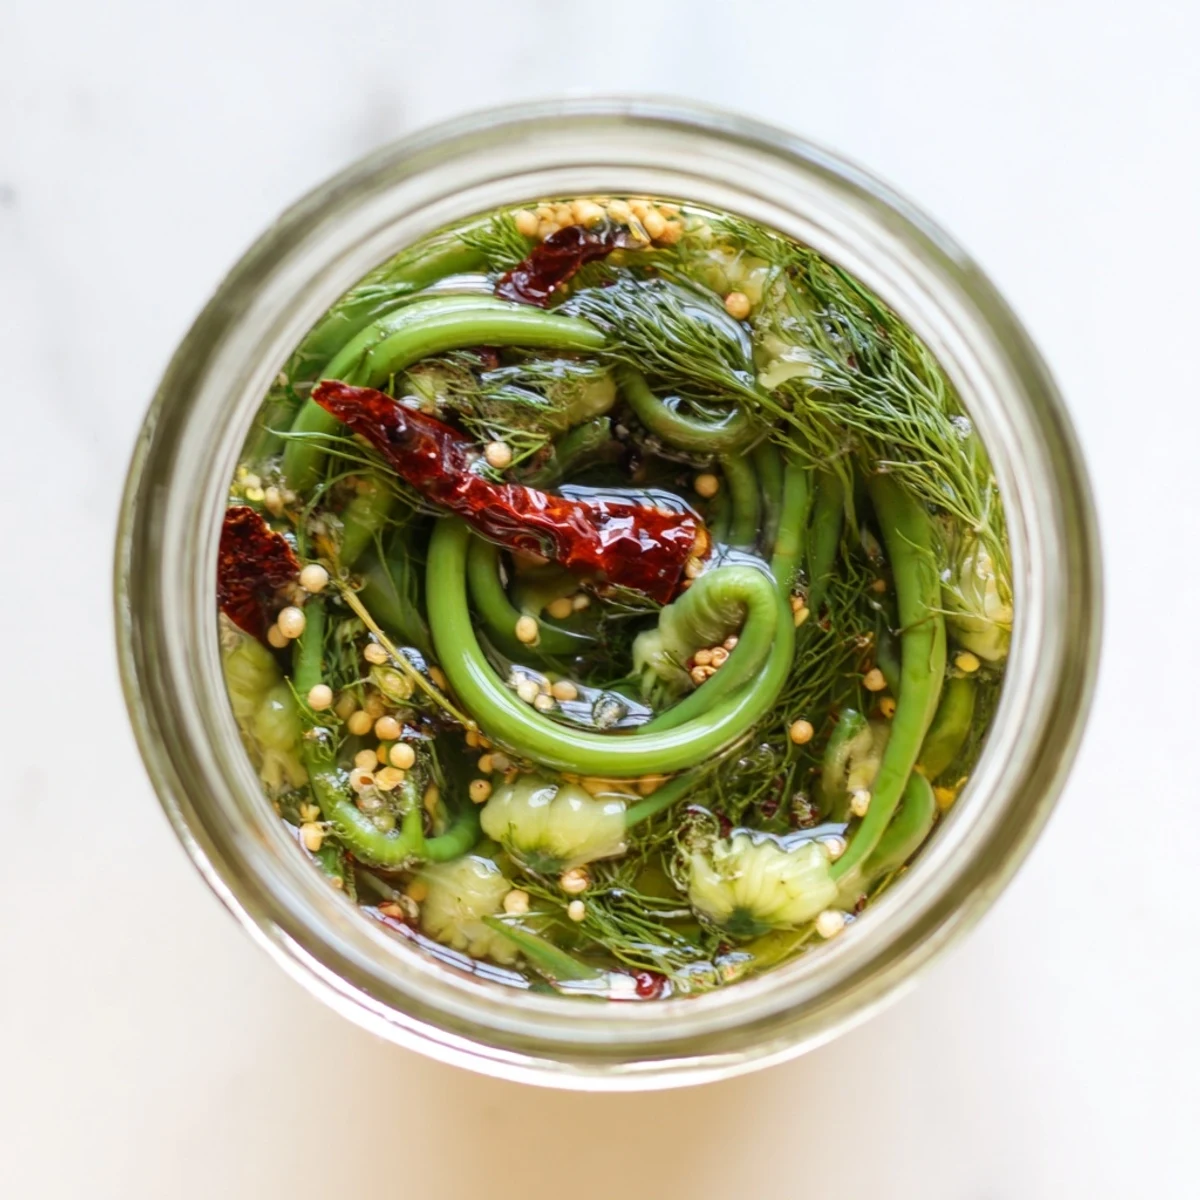
Save Create vibrant, tangy garlic scapes with a satisfying crunch and spicy kick. This quick method transforms fresh scapes into shelf-stable delights using a simple vinegar brine infused with peppercorns, mustard seeds, coriander, and dried chilies. The process takes just 25 minutes of active time, then let the flavors develop over 48 hours in the refrigerator. These versatile pickled scapes elevate cheese boards, brighten grilled meats, and add zesty crunch to sandwiches and salads. Adjust the heat level to your preference by varying the chili flakes, and enjoy for up to a month when properly stored.
The first time I encountered garlic scapes at a farmers market, I stood there confused until the farmer explained they were the flowering stems from hardneck garlic plants. She convinced me to try making pickles with them, and honestly, that afternoon changed my whole perspective on what could end up in a jar.
Last summer I made a triple batch for a backyard barbecue, and my friend Sarah kept sneaking them straight from the jar throughout the entire party. By sunset, both jars were empty and she was already asking when I would make more.
Ingredients
- Garlic Scapes: Choose firm, bright green stems without browning or wilted tips, as fresher scapes maintain their crunch better through the pickling process
- Distilled White Vinegar: This neutral vinegar base lets the garlic and spice flavors shine without overwhelming them
- Water: Use filtered water if possible to ensure clarity in your brine
- Granulated Sugar: Just enough to balance the sharpness without making these sweet pickles
- Kosher Salt: Its larger crystals dissolve evenly and provide consistent seasoning throughout the brine
- Black Peppercorns: Whole peppercorns release their aroma slowly as the pickles sit
- Mustard Seeds: These add a subtle warmth and classic pickle flavor
- Coriander Seeds: Their citrusy notes complement the garlic beautifully
- Red Pepper Flakes: Adjust this to your heat preference for that gentle warming spice
- Dried Chilies: Whole chilies infuse their heat gradually while adding visual appeal
- Bay Leaves: These provide an herbal depth that rounds out all the bright flavors
- Fresh Dill: Optional but wonderful if you have it growing in your garden
Instructions
- Get Your Jars Ready:
- Wash your pint jars and lids thoroughly with hot, soapy water and either boil them for 10 minutes or run them through a hot dishwasher cycle to sterilize
- Prep Those Scapes:
- Trim the woody ends from the garlic scapes and cut them to fit your jars, curling them around if needed so they tuck in neatly
- Start the Layering:
- Divide the scapes evenly between your two sterilized jars along with the fresh dill and dried chilies
- Add Your Spices:
- Split the peppercorns, mustard seeds, coriander seeds, red pepper flakes and bay leaves between both jars
- Create the Brine:
- Combine vinegar, water, sugar and salt in a saucepan and bring to a boil, stirring occasionally until everything dissolves completely
- Pour and Submerge:
- Carefully ladle the hot brine over the packed scapes, making sure they are completely covered while leaving about half an inch of headspace at the top
- Seal and Cool:
- Put the lids on the jars and let them cool to room temperature before moving them to the refrigerator
- Exercise Patience:
- Let these pickle for at least 48 hours before opening them, though the flavors continue developing beautifully over the first week
 Save
Save These pickled scapes have become my go-to hostess gift because they look stunning in the jar and taste even better than they appear. Every time I bring a jar to a dinner party, the host inevitably asks if they can keep the empty jar afterwards.
Serving Suggestions
I love tucking these into sandwiches where their bright flavor cuts through rich ingredients like cheese or roasted meats. They also work beautifully chopped into potato salad or scattered across a simple green salad for unexpected bursts of tangy crunch.
Storage Tips
Keep these refrigerated at all times since they are not shelf stable. The flavor continues evolving over the first month, becoming more complex and mellow as the garlic mellows into the brine.
Variations to Try
Consider adding sliced carrots or radishes to the jars for extra color and texture. I have also experimented with adding a slice of fresh ginger to one jar, which gave it a lovely spicy kick that my spice loving friends adored.
- Add a smashed garlic clove to each jar if you want even more garlic intensity
- Swap the dried chilies for fresh jalapeno slices if you prefer grassy heat
- Try apple cider vinegar for half the brine to add fruity sweetness
 Save
Save There is something deeply satisfying about preserving the fleeting garlic scape harvest, knowing these jars will bring bright flavor to meals months later. Happy pickling.
Recipe FAQs
- → How long do pickled garlic scapes last?
-
When properly refrigerated in sealed jars, these pickled scapes stay fresh for up to one month. Keep them submerged in brine and always use clean utensils when removing portions.
- → Can I adjust the spice level?
-
Absolutely. Increase red pepper flakes and add extra dried chilies for more heat, or reduce these ingredients for a milder version. The spice intensity will mellow slightly during the pickling process.
- → What's the minimum pickling time?
-
Wait at least 48 hours before eating. The scapes continue developing flavor and reach their peak after one week of refrigeration. The longer they pickle, the more complex the taste becomes.
- → Can I reuse the brine?
-
Yes, you can reuse the vinegar brine for one more batch of fresh scapes, though the flavor will be slightly milder. Discard brine that has been sitting at room temperature for more than 2 hours.
- → What can I serve these with?
-
These pair beautifully with aged cheeses on charcuterie boards, alongside grilled meats and fish, chopped into potato salads, or as a zesty garnish for Bloody Marys and sandwiches.
- → Do I need to process these in a water bath?
-
No water bath canning is required for this refrigerator version. Simply sterilize the jars before packing and keep them refrigerated. For shelf-stable storage, you would need proper canning procedures.
