 Save
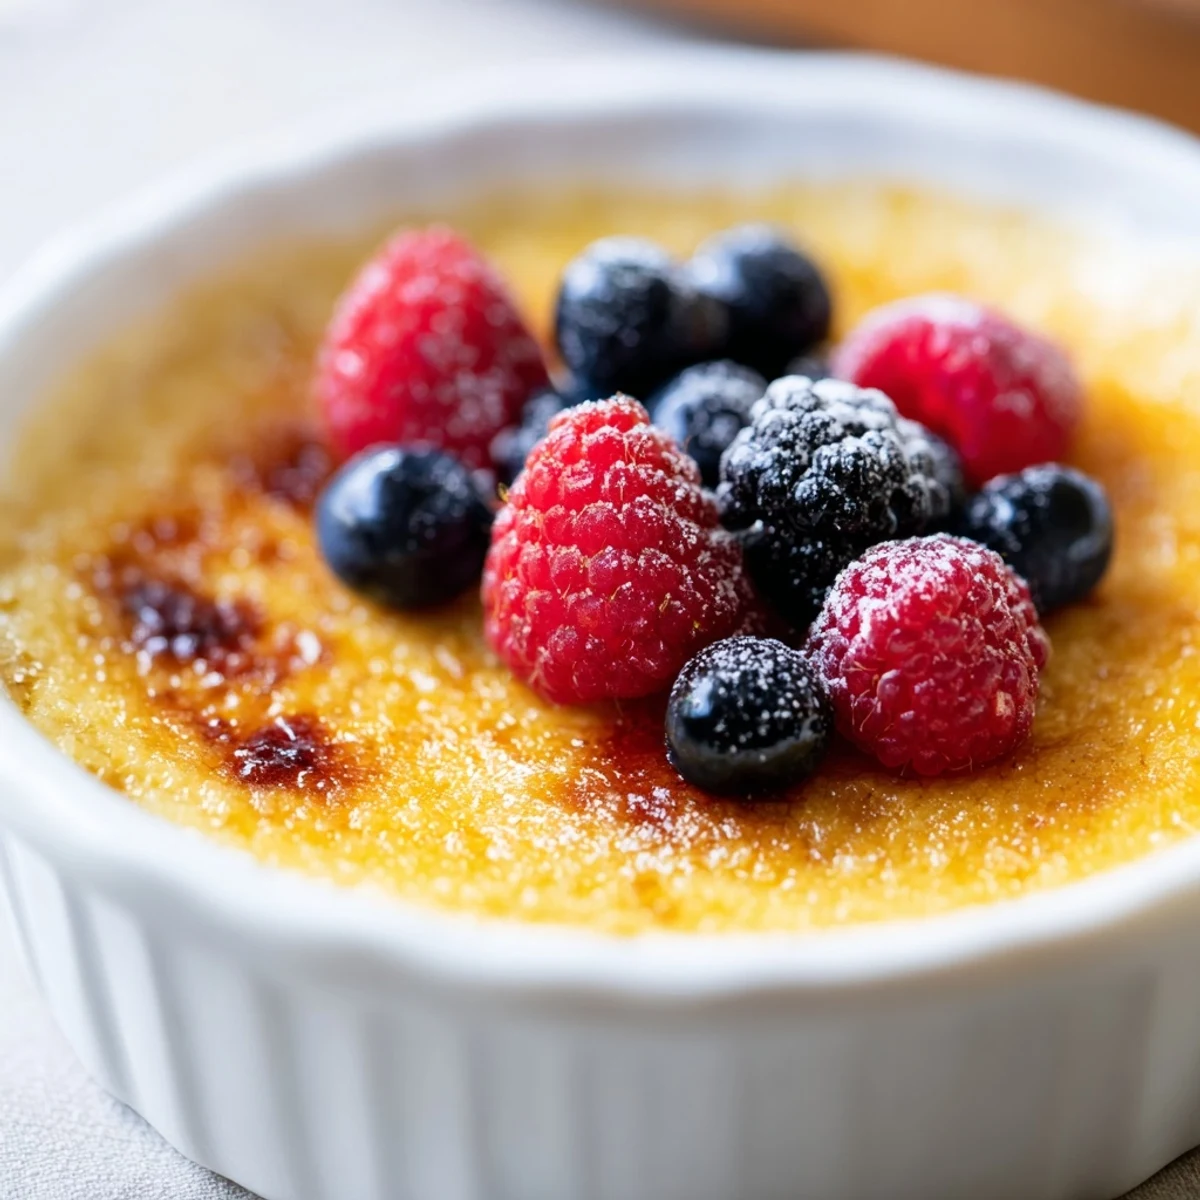
Save Crème brûlée is a timeless French dessert combining a smooth, creamy custard with a dramatic caramelized sugar crust. This romantic version features silky vanilla-infused custard baked in a gentle water bath, creating that signature contrast between crisp top and velvety interior. Fresh mixed berries add brightness and elegance, making it perfect for special occasions. The beauty of this dish lies in its simplicity—quality ingredients and proper technique create restaurant-quality results at home.
The first time I made crème brûlée was for a quiet anniversary dinner at home when restaurant reservations fell through. Standing in our kitchen with a vanilla bean in one hand and a whisk in the other, I felt both nervous and determined to create something special. The gentle sound of my spoon cracking through that first perfectly caramelized sugar top still echoes in my memory, along with my husband's expression of pure delight.
Last Valentine's Day, our dinner plans were derailed by an unexpected snowstorm, so I pulled cream and eggs from the fridge and decided to surprise my partner with these individual custards. The kitchen filled with the intoxicating scent of vanilla as we watched snow fall outside our window. We ended up agreeing it was far more romantic than any restaurant could have been, sitting cross-legged on our living room floor, torching the sugar tops together.
Ingredients
- Heavy Cream: The foundation of our silky custard, I've learned that using the highest quality cream you can find makes a noticeable difference in the final texture.
- Vanilla Bean: While extract works in a pinch, those tiny black flecks from a real vanilla bean create both visual beauty and incredible depth of flavor that transformed my custards forever.
- Egg Yolks: The secret to that velvety mouthfeel, I've found room temperature yolks incorporate much more smoothly than cold ones.
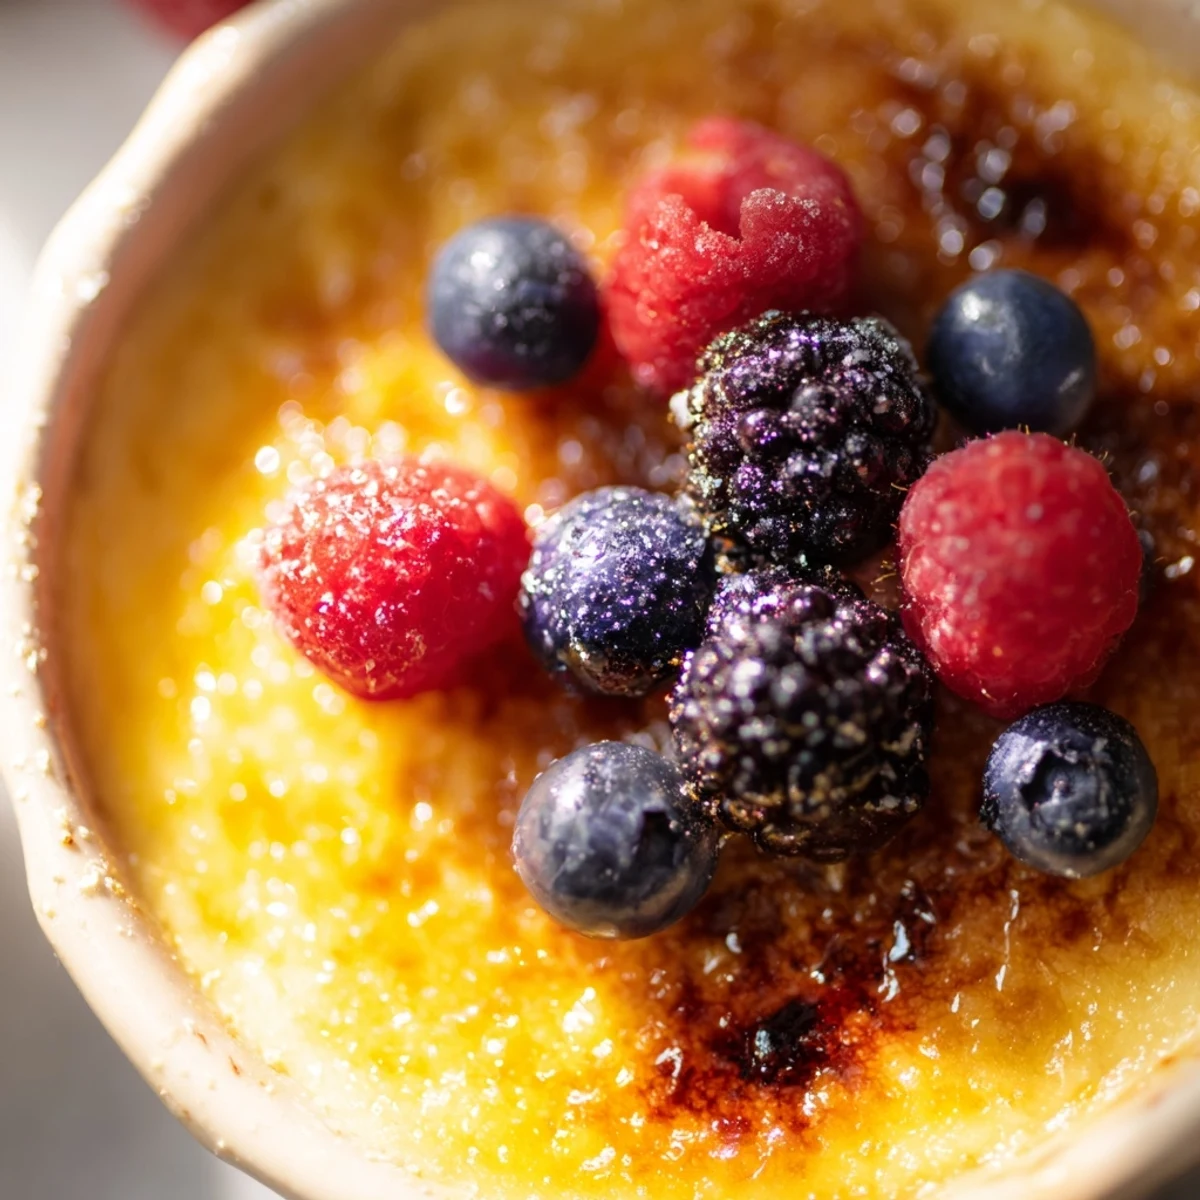
- Mixed Berries: The slight tartness cuts through the richness perfectly, and I love how the berry juices create beautiful swirls of color when they meet the cracked sugar surface.
Instructions
- Infuse the Cream:
- Heat your cream gently with the split and scraped vanilla bean until you see those first tiny bubbles forming around the edge of the pan. The kitchen will start filling with that incredible vanilla aroma, telling you it's time to remove it from heat.
- Create the Custard Base:
- Whisk those yolks with sugar until they become pale yellow and slightly thickened, almost like drawing figure eights through honey. This incorporation of air makes all the difference in the final texture.
- Temper With Care:
- Pour the warm cream into the egg mixture in a thin, steady stream while whisking constantly, creating a beautiful marriage without scrambling your eggs. You'll feel the mixture thicken slightly against your whisk when it's properly combined.
- The Water Bath:
- Nestle your filled ramekins in a baking dish with enough hot water to reach halfway up the sides, creating a gentle, even heat that prevents those dreaded cracks or bubbles. The custards should barely jiggle in the center when they're ready, like the subtle wobble of set jello.
- The Dramatic Finish:
- Sprinkle an even layer of sugar over your chilled custards and move your torch in small circles to create that perfect amber glass-like surface. Listen for the subtle crackling sound as the sugar cools and hardens into that signature brittle top.
 Save
Save On a particularly rough day last winter, I found myself making these custards alone, methodically separating eggs and heating cream as a form of kitchen therapy. When my neighbor dropped by unexpectedly, I torched the tops of two ramekins and we sat in comfortable silence, the rhythm of our spoons tapping through sugar creating a moment of unexpected connection. Sometimes the most profound conversations happen without words, just shared sweetness.
The Perfect Torch Technique
After much trial and error, I've found that holding the torch about 2 inches from the sugar surface and moving in quick circular motions prevents burning while ensuring an even caramelization. The sugar should turn amber, not black, and watching this transformation is almost hypnotic, like painting with heat instead of a brush.
Seasonal Berry Variations
Each season offers different berries that pair beautifully with the custard. In spring, I reach for strawberries and their vibrant red juice. Summer brings tiny wild blackberries from the farmers market that burst with intense flavor. Fall calls for the last of the raspberries, while winter often means a light touch of pomegranate seeds that pop like tiny rubies against the golden top.
Make-Ahead Possibilities
One December, I prepared the custards three days before a dinner party, keeping them covered in the refrigerator until the evening of our gathering. Just before dessert, I brought out the chilled ramekins, sprinkled the sugar, and handed the torch to each guest to caramelize their own top, creating an interactive dessert experience no one has forgotten. The custards were actually better for the extended chill time.
- Custards can be made up to three days ahead and stored covered in the refrigerator.
- Always caramelize the sugar topping no more than 30 minutes before serving to maintain that perfect crack.
- Keep berries separate until the final moment, as their juices can soften your carefully crafted sugar crust.
 Save
Save This dessert has become my love language, made whenever there's something worth celebrating or someone worth comforting. In its careful preparation and dramatic presentation lies everything I believe about good food: that it should engage all your senses and create moments worth remembering.
Recipe FAQs
- → Why is a water bath essential for crème brûlée?
-
A water bath provides gentle, even heat distribution during baking, preventing the delicate custard from curdling or developing a rubbery texture. The surrounding hot water insulates the custard, allowing it to cook slowly and maintain its silky consistency while the center stays slightly wobbly.
- → How far in advance can I prepare crème brûlée?
-
You can prepare crème brûlée up to two days ahead and refrigerate it covered. Caramelize the sugar topping just before serving to maintain the contrast between the crisp shell and creamy custard. This makes it ideal for entertaining since the main work is done in advance.
- → What's the difference between using a torch versus broiler for caramelizing?
-
A kitchen torch provides precise control and even caramelization, giving you a thin, crackling sugar layer. A broiler works but requires close monitoring to prevent burning. The torch is preferred for consistent results and a thinner, more delicate crust.
- → Can I substitute the vanilla bean with vanilla extract?
-
Yes, absolutely. Use 2 teaspoons of pure vanilla extract, adding it after heating the cream rather than during. While vanilla bean provides subtle flavor notes and visual appeal with its speckles, high-quality vanilla extract delivers excellent results and is more convenient.
- → What berries work best for topping?
-
Raspberries, blueberries, strawberries, and blackberries all work wonderfully. Choose ripe, fresh berries for optimal flavor and visual appeal. Mix varieties for color contrast, or use a single type. Avoid overly soft berries that may release excess juice and compromise the sugar crust.
- → How can I tell when the custard is properly baked?
-
The custard should be set around the edges but still have a slight jiggle in the center when gently shaken. This slight wobble indicates carryover cooking will complete during chilling. Overbaking results in a dense, grainy texture rather than the desired silky consistency.
