 Save
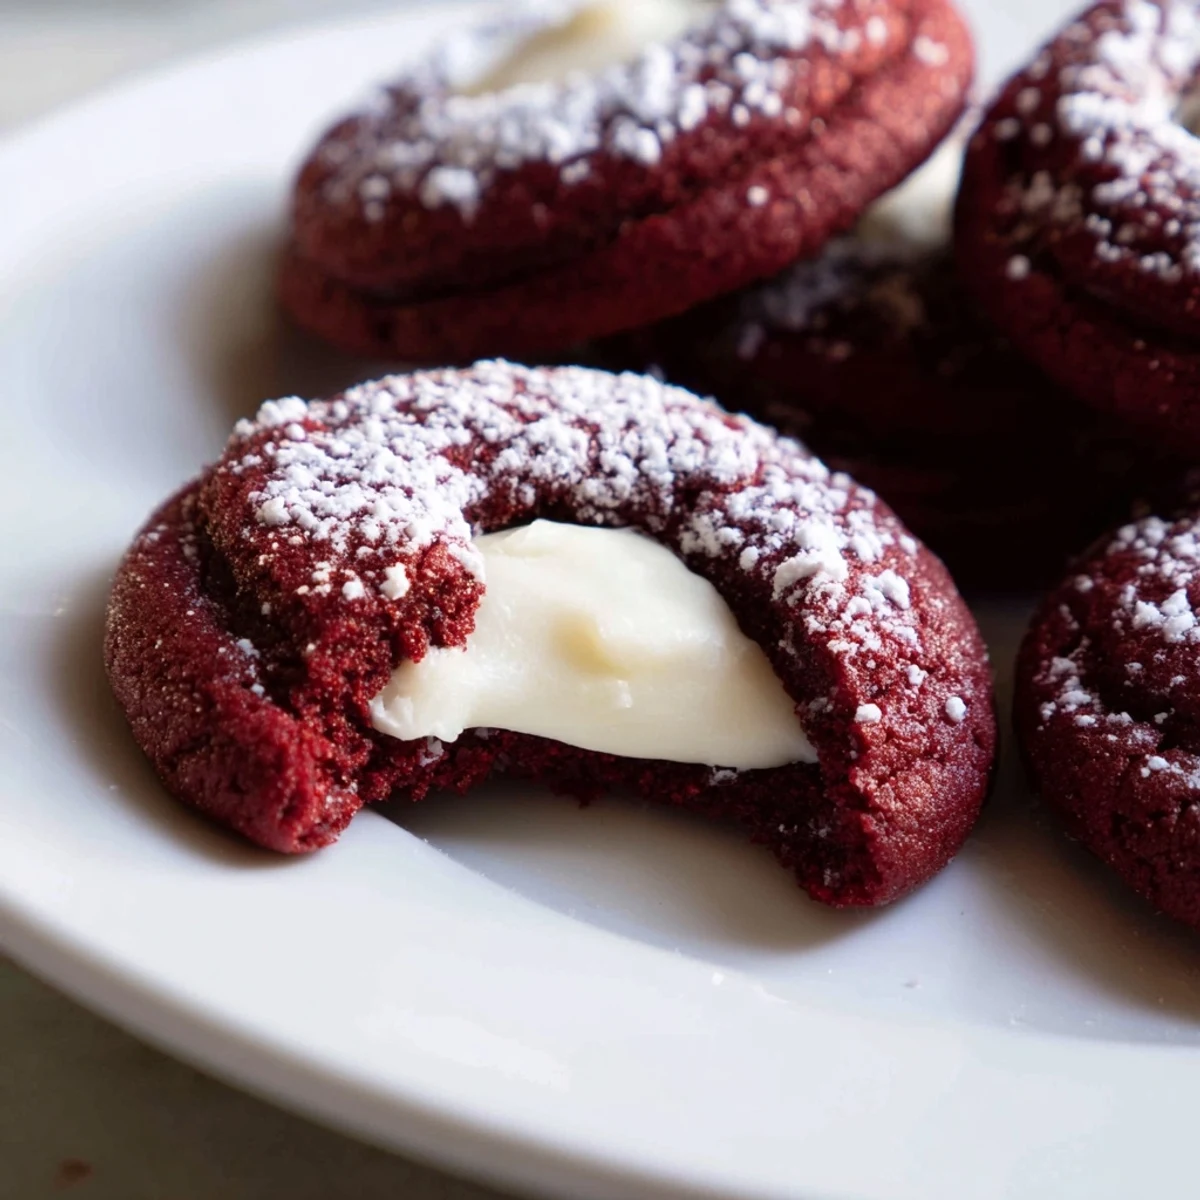
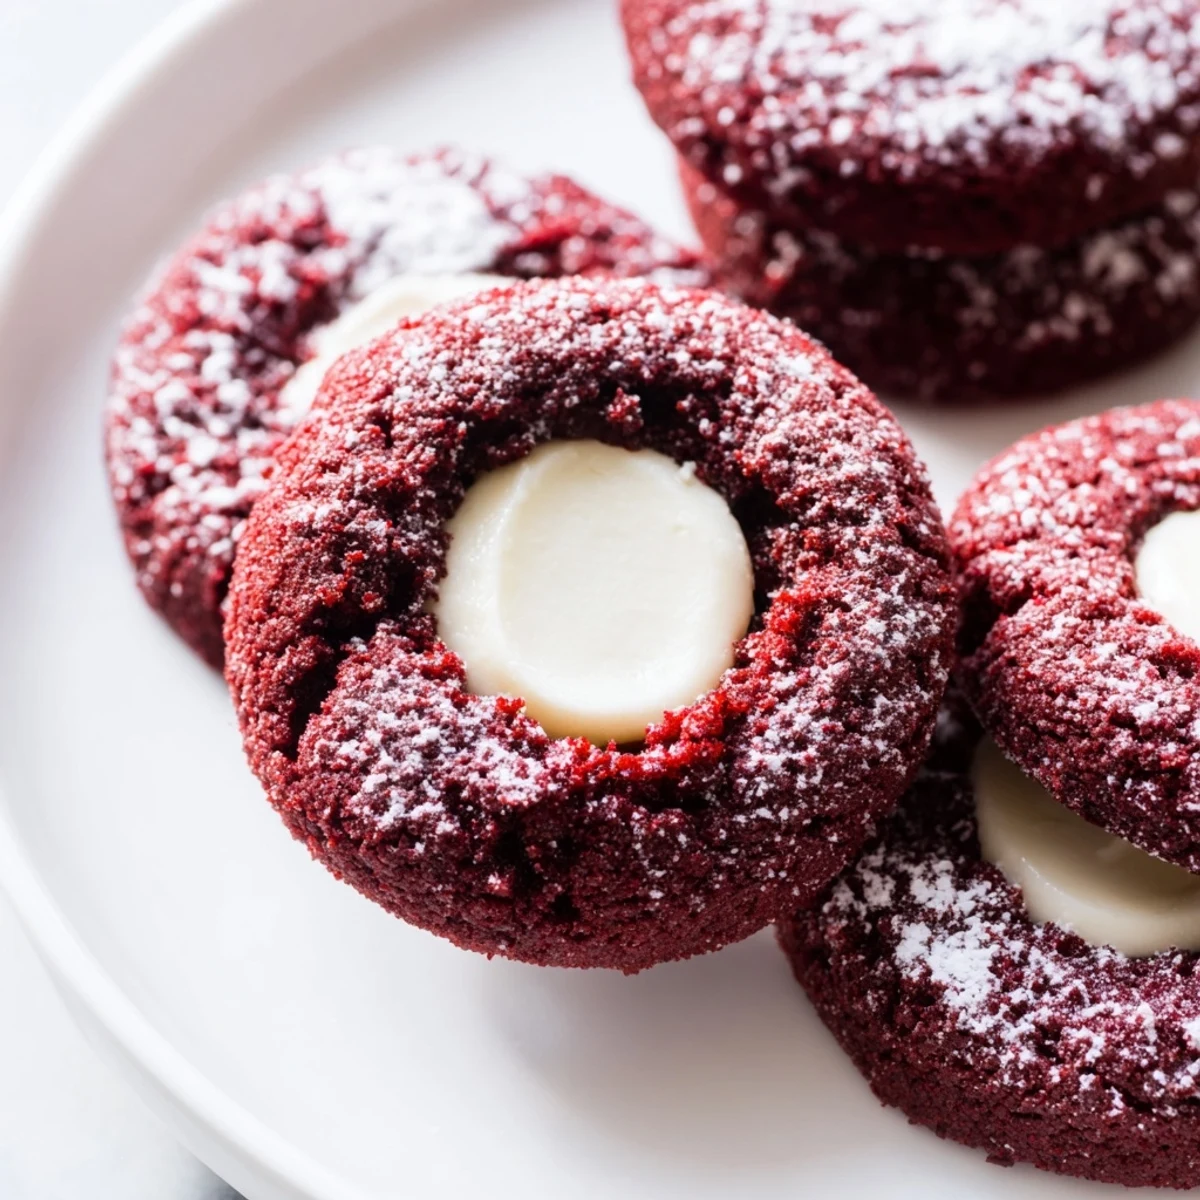
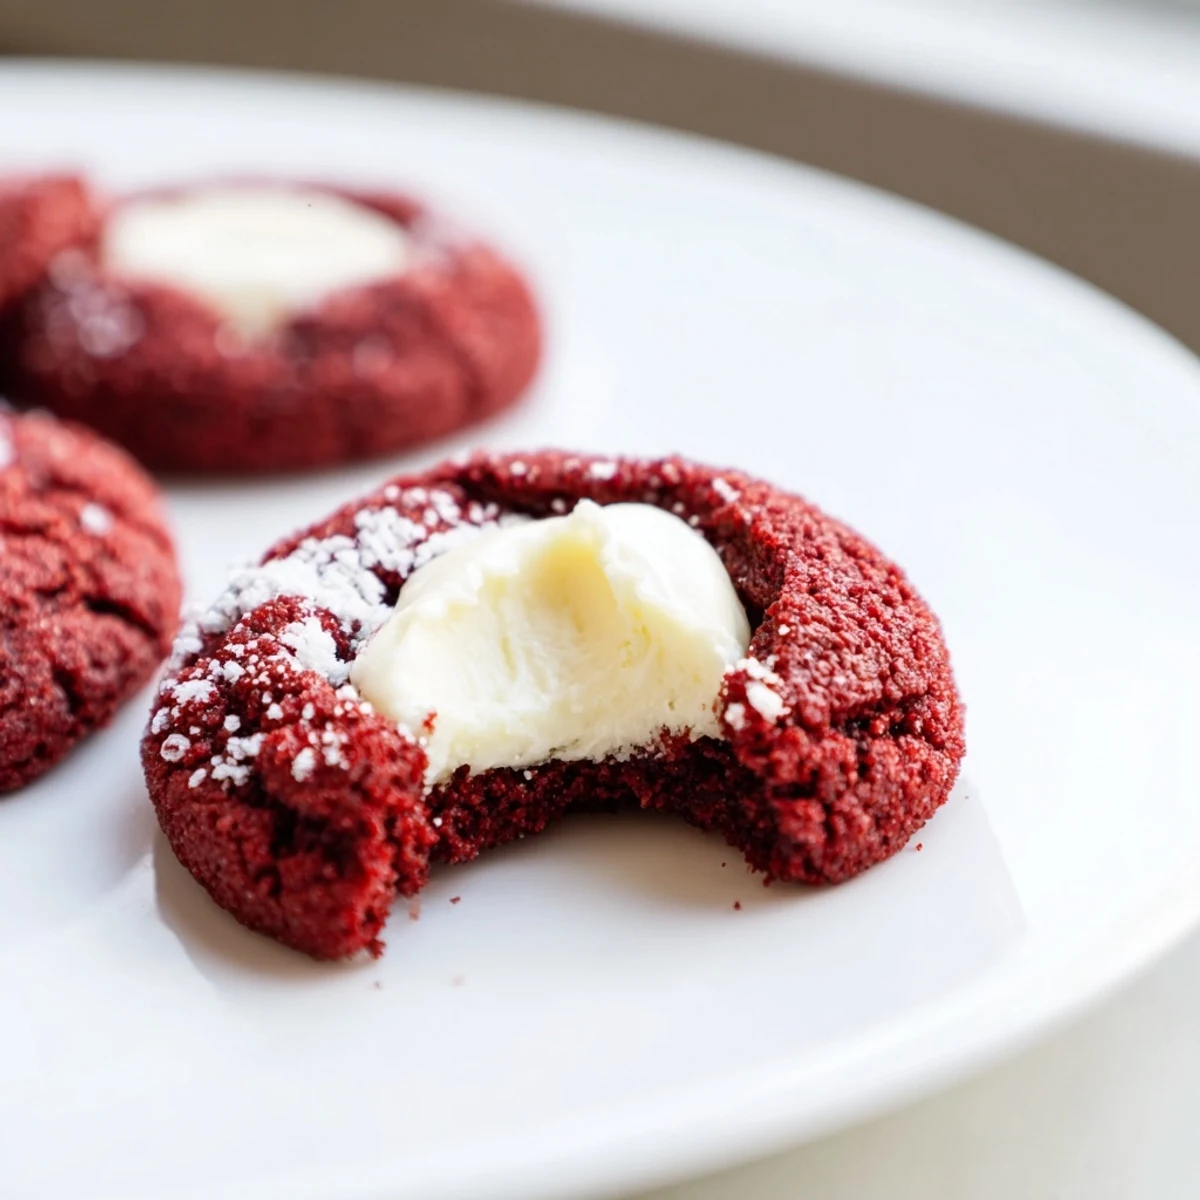
Save These soft, tender red velvet thumbprint cookies combine the classic cocoa-flavored velvet texture with a luscious cream cheese filling. The vibrant red color and white center create a striking appearance perfect for Christmas, Valentine's Day, or any festive gathering. Each cookie features a buttery, crumbly exterior with a smooth, sweet center that melts in your mouth.
The dough comes together quickly with basic pantry staples, and the thumbprint technique makes them fun to prepare. You can easily customize the filling with white chocolate ganache instead of cream cheese for a chocolate lover's variation. These cookies store beautifully in the refrigerator and actually improve in flavor after a day, making them excellent for advance preparation.
The first time I made red velvet thumbprint cookies, my kitchen looked like a crime scene. Red food coloring was everywhere—on my hands, the counter, somehow even on my forehead. But when I pulled that first tray from the oven and saw those deep cocoa-red cookies with their creamy white centers, I knew the mess was worth it. These cookies have become my go-to when I want something that looks impressive but doesn't require professional pastry skills.
Last December, I brought a batch to my office potluck and watched them disappear in record time. My coworker Sarah actually hid two in her purse to take home to her husband. There's something about that striking red color against the white filling that makes people gravitate toward the plate immediately.
Ingredients
- All-purpose flour: Provides structure for these tender cookies—measure by weight if possible for consistent results
- Unsweetened cocoa powder: Deepens the flavor and gives that signature red velvet color contrast
- Baking soda: Helps the cookies spread just enough while maintaining their shape
- Salt: Balances the sweetness and intensifies the chocolate flavor
- Unsalted butter: Softened to room temperature ensures proper creaming with the sugar
- Granulated sugar: Creates that slightly crisp edge while keeping centers tender
- Egg yolk: Adds richness and helps bind the dough without making it too cakey
- Whole milk: Provides moisture and helps dissolve the sugar for a smoother texture
- Vanilla extract: Pure extract enhances both the cookie and filling layers
- Red food coloring: Gel coloring works best for vibrant color without adding excess liquid
- Cream cheese: Softened completely ensures a smooth, pipeable filling
- Powdered sugar: Sweetens the filling while keeping it thick enough to hold its shape
Instructions
- Prepare your space:
- Preheat oven to 350°F and line baking sheets with parchment paper—this prevents sticking and makes cleanup easier
- Whisk the dry ingredients:
- Combine flour, cocoa powder, baking soda, and salt in a medium bowl to ensure even distribution
- Cream butter and sugar:
- Beat softened butter and granulated sugar until pale and fluffy, about 2 minutes, incorporating air for lighter cookies
- Add wet ingredients:
- Mix in egg yolk, milk, vanilla, and red food coloring until fully combined and the color is uniform
- Combine the dough:
- Gradually mix in dry ingredients on low speed just until no flour streaks remain—overmixing makes tough cookies
- Make the filling:
- Whisk softened cream cheese, powdered sugar, and vanilla extract in a small bowl until completely smooth and set aside
- Shape the cookies:
- Roll dough into 1-inch balls and place on prepared baking sheets 2 inches apart to allow for spreading
- Create the thumbprints:
- Gently press your thumb or the back of a teaspoon into each ball, being careful not to press through to the bottom
- Fill the centers:
- Spoon about half a teaspoon of cream cheese filling into each indentation, mounding slightly above the cookie surface
- Bake to perfection:
- Bake for 11 to 13 minutes until edges are set but centers still look slightly soft
- Cool completely:
- Let cookies rest on baking sheets for 5 minutes before transferring to a wire rack—filling needs time to set
 Save
Save My daughter now requests these for every school party and birthday celebration. She has perfected the thumbpress technique and takes great pride in arranging them on the platter. These little red and white cookies have somehow become part of our family's story.
Making Them Your Own
The cream cheese filling is classic, but I have discovered that white chocolate ganache creates an incredibly luxurious variation. Melt white chocolate with a splash of heavy cream and let it cool slightly before spooning into the centers. For chocolate lovers, a dark chocolate ganache filling creates stunning flavor contrast.
Timing Your Bake
I learned the hard way that underbaked these cookies will collapse slightly and lose their defined shape. You want those edges set and the cookies just barely firm to the touch. They continue cooking on the hot baking sheet during those crucial 5 minutes of cooling time, so resist the urge to leave them in longer.
Storage And Serving
Because of the cream cheese filling, these cookies need to be refrigerated if you are keeping them longer than a day. Bring them to room temperature about 20 minutes before serving for the best texture and flavor. The cold filling against the room temperature cookie is actually quite delightful.
- Layer between parchment paper in an airtight container to prevent sticking
- These freeze beautifully—freeze unfilled and add filling after thawing
- A light dusting of powdered sugar right before serving adds a festive touch
 Save
Save These red velvet thumbprint cookies have a way of making any day feel like a celebration. I hope they bring as much joy to your kitchen as they have to mine.
Recipe FAQs
- → What makes these cookies red?
-
The vibrant red color comes from red food coloring added to the buttery dough. One teaspoon provides the classic red velvet hue without affecting the taste or texture of the cookies.
- → Can I make the dough ahead of time?
-
Yes, you can prepare the dough and refrigerate it for up to 24 hours before baking. Let it soften slightly at room temperature for 15 minutes before rolling into balls, as chilled dough may be too firm to shape.
- → What other fillings work well?
-
Besides cream cheese filling, try white chocolate ganache, dark chocolate ganache, or even fruit preserves like raspberry or strawberry. For holidays, peppermint-infused white chocolate makes a lovely seasonal variation.
- → Why did my cookies lose their indentation?
-
If the centers puff too much during baking, gently press them down again with the back of a teaspoon immediately after removing from the oven while they're still warm and pliable. This helps maintain the well for the filling.
- → How should I store these cookies?
-
Store in an airtight container in the refrigerator for up to 4 days. The cream cheese filling requires cold storage. Bring to room temperature for 15 minutes before serving for the best texture and flavor.
- → Can I freeze these cookies?
-
Yes, freeze unfilled baked cookies for up to 3 months. Thaw and fill with fresh cream cheese mixture before serving. Alternatively, freeze filled cookies, though the texture may be slightly softer after thawing.
