 Save
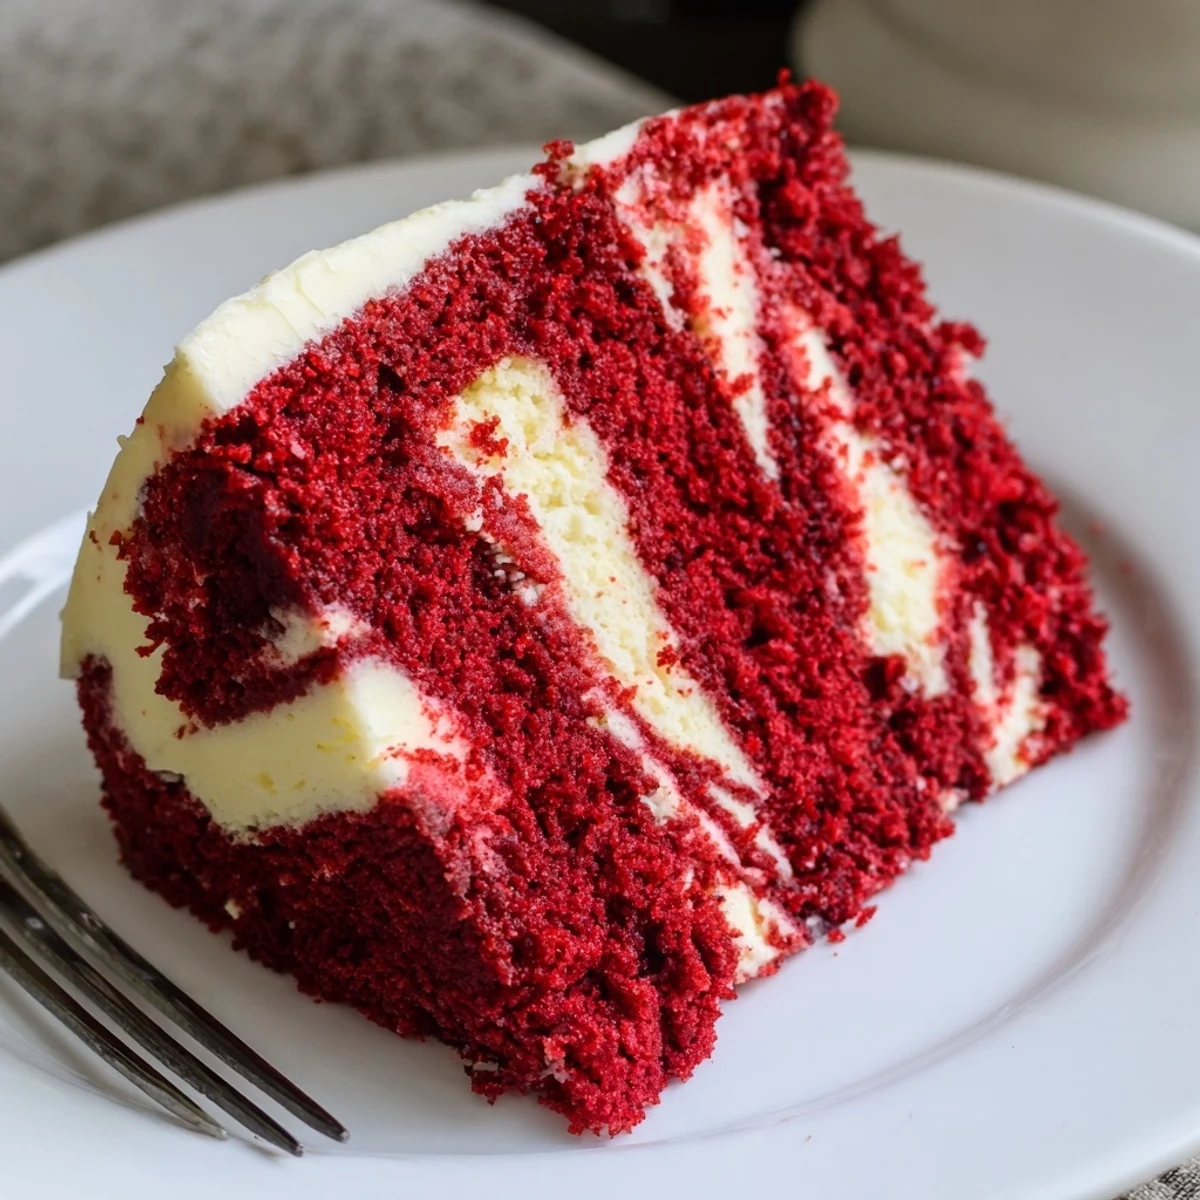
Save This decadent red velvet cake combines the classic tangy, moist texture we love with rich, creamy cheesecake swirls throughout. The marbled effect creates a stunning presentation that tastes as good as it looks. Perfect for birthdays, holidays, or whenever you want to impress guests with something special.
The red velvet layer is incredibly tender thanks to buttermilk and oil, while the cheesecake swirl adds tangy creaminess in every bite. The swirling technique is forgiving—no need to be perfect, as the rustic marbled look is part of the charm.
Serve this crowd-pleasing dessert chilled or at room temperature, with optional powdered sugar dusting or cream cheese glaze for extra indulgence. Stores beautifully in the refrigerator for up to four days, though it rarely lasts that long!
The first time I made this red velvet cheesecake swirl cake, my kitchen counter looked like a crime scene. Red food coloring splatters everywhere, cream cheese dollops refusing to cooperate, and me wondering if the marbling effect would actually work. But when that cake came out of the oven, with those beautiful cream cheese rivers running through crimson layers, I forgot about the mess. My sister took one bite and immediately asked if I could make it for her wedding reception.
I brought this to a potluck last winter, and people literally hovered around the pan until it was time for dessert. My friend Sarah, who claims she doesnt even like red velvet, went back for seconds. Something about that creamy cheesecake cutting through the tender cake just works magic on peoples taste buds.
Ingredients
- 2 cups all-purpose flour: The foundation of our tender cake crumb, dont pack it down when measuring
- 1 ½ cups granulated sugar: Provides just the right sweetness to balance the tangy buttermilk and cream cheese
- 1 tsp baking powder and ½ tsp baking soda: This duo gives the cake its signature rise and velvety texture
- 1 tbsp unsweetened cocoa powder: Just enough for that subtle chocolate undertone without overpowering the classic red velvet flavor
- ½ tsp salt: Enhances all the flavors and keeps the cake from tasting flat
- 1 cup buttermilk room temperature: The secret ingredient for tenderness and that characteristic red velvet tang
- ½ cup vegetable oil: Keeps the cake incredibly moist and creates a tender crumb that lasts for days
- 2 large eggs room temperature: Structure and richness, let them come to room temp for better incorporation
- 2 tsp vanilla extract: Pure vanilla makes all the difference in both the cake and cheesecake layers
- 1 tsp white vinegar: Reacts with the buttermilk and baking soda for extra tenderness and a hint of brightness
- 2 tbsp red food coloring: Gel coloring gives you that vibrant restaurant quality red without needing as much liquid
- 8 oz cream cheese softened: Make sure its completely softened for the smoothest cheesecake swirls
- ⅓ cup granulated sugar: Sweetens the cheesecake layer just enough to complement not overpower the cake
- 1 large egg: Gives the cheesecake swirl structure so it bakes up beautifully creamy
Instructions
- Preheat and prep your pan:
- Set your oven to 350F 175C and grease a 9x13 inch pan thoroughly, then line it with parchment paper that hangs over the sides for easy removal later
- Whisk the dry ingredients:
- In a large bowl, combine flour, sugar, baking powder, baking soda, cocoa powder, and salt until everything is evenly distributed
- Mix the wet ingredients:
- In another bowl, whisk together the buttermilk, oil, eggs, vanilla, vinegar, and red food coloring until the mixture is smooth and uniformly red
- Combine the batters:
- Pour the wet ingredients into the dry ones and fold gently just until no dry streaks remain, being careful not to overwork the batter
- Spread the red velvet base:
- Pour the red velvet batter into your prepared pan and use an offset spatula to spread it into an even layer
- Prepare the cheesecake swirl:
- Beat the softened cream cheese until completely smooth, then add the sugar, egg, and vanilla and mix until creamy and well blended with no lumps
- Create the marble effect:
- Drop spoonfuls of the cheesecake mixture over the red velvet batter, then use a knife or skewer to gently swirl it through, being careful not to overmix and lose the distinct layers
- Bake to perfection:
- Bake for 45 to 50 minutes until a toothpick inserted in the center comes out mostly clean, though a bit of cheesecake on the toothpick is perfectly fine
- Cool completely:
- Let the cake cool completely in the pan on a wire rack before slicing, otherwise the cheesecake swirls wont set properly
 Save
Save This cake has become my go to for birthdays and holidays because it never fails to impress. Last Christmas, my dad who usually skips dessert kept coming back to the kitchen for just one more thin slice.
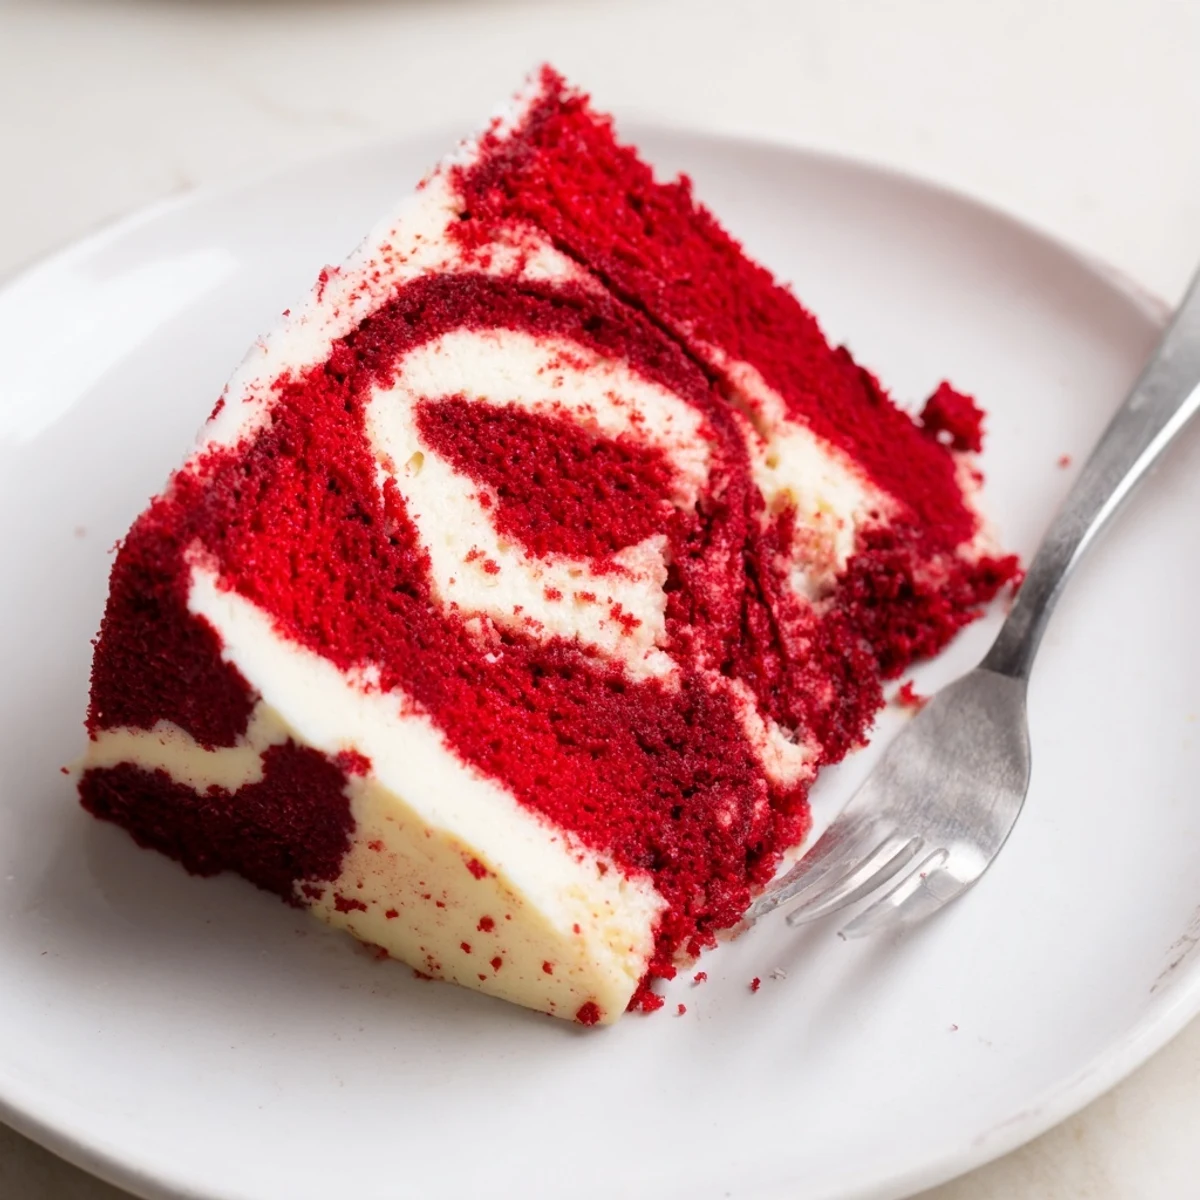
Making The Perfect Swirl
I learned the hard way that swirling too enthusiastically blends the layers together into an unappealing muddy color. The trick is to drop your cheesecake dollops in a grid pattern over the red velvet batter, then drag a knife through them in just one direction rather than circles. This creates those beautiful defined ribbons of cream cheese that look professional but require zero artistic skill. Practice makes perfect, and even imperfect swirls still taste incredible.
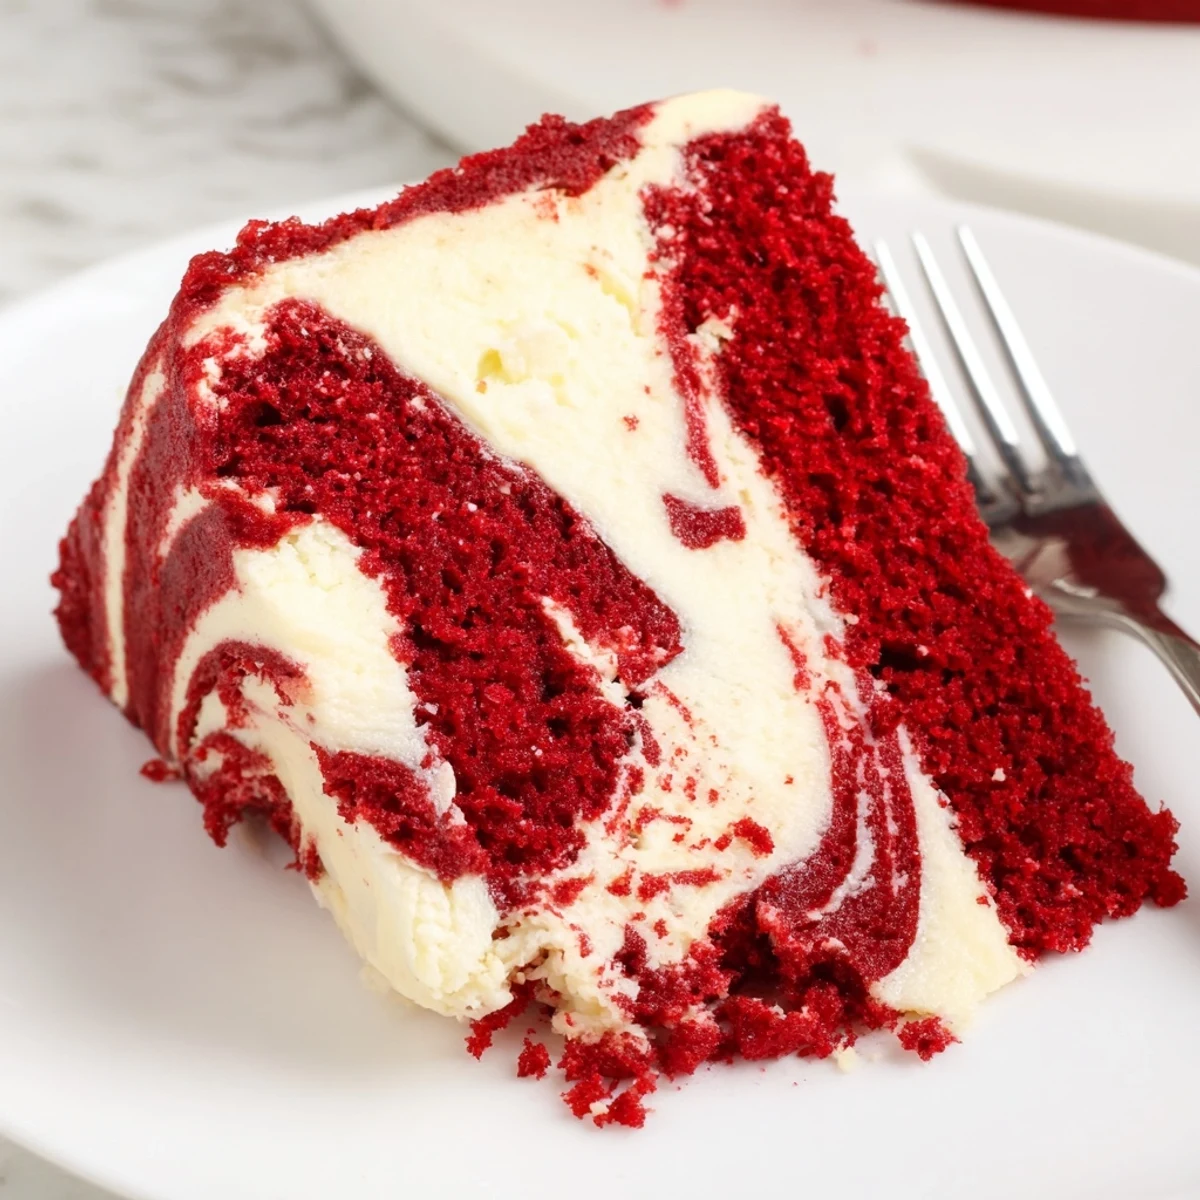
Storage And Serving Tips
This cake actually tastes better after a night in the refrigerator, giving the flavors time to meld and the cheesecake swirls to firm up nicely. Serve it chilled for the cleanest slices, or let it sit at room temperature for 30 minutes before serving if you prefer a softer texture. The cream cheese adds enough moisture that leftovers stay fresh for up to four days when covered tightly.
Customization Ideas
While classic red velvet is perfection on its own, I love playing with this recipe based on the occasion. A dusting of powdered sugar right before serving adds elegant simplicity without extra effort. For over the top indulgence, drizzle with a simple cream cheese glaze or top each slice with fresh raspberries that echo the red hue.
- Try adding mini chocolate chips to the cheesecake batter for extra texture and chocolate flavor
- Swap the extract for almond or coconut to create unexpected flavor variations
- For special occasions, serve each slice with a dollop of freshly whipped cream
 Save
Save Whether for a birthday, holiday, or just because, this cake always makes people feel special. Thats the real magic of home baking.
Recipe FAQs
- → Can I make this red velvet cheesecake swirl cake ahead of time?
-
Absolutely! This cake actually tastes better after chilling overnight. Bake it up to two days before serving, cool completely, then wrap tightly and refrigerate. The flavors meld together beautifully, and the texture becomes even more moist and dense.
- → What's the best way to achieve the marbled swirl effect?
-
Dollop spoonfuls of cheesecake mixture randomly over the red velvet batter, then use a knife or skewer to gently swirl through both layers. Don't over-swirl—just 2-3 gentle passes through the batter creates the perfect marble effect without completely mixing the two together.
- → Can I use natural food coloring instead of red dye?
-
Natural options like beet juice or pomegranate juice work, though they produce a more muted, brownish-red hue. For the vibrant classic red color, gel food coloring works best with less liquid than traditional drops. Start with a small amount and add more to reach your desired shade.
- → Why does my red velvet cake sometimes turn out brown instead of red?
-
The cocoa powder and baking soda can cause oxidation, darkening the red color. Using enough high-quality food coloring and reducing cocoa to just one tablespoon helps maintain that signature vibrant red hue. Dutch-processed cocoa also produces a darker result than natural cocoa.
- → How do I know when the cheesecake swirl cake is done baking?
-
Insert a toothpick into the center—it should come out mostly clean with just a few moist crumbs. A little cheesecake on the toothpick is fine since that layer stays creamier than the cake. The edges should pull away slightly from the pan, and the center should feel set but still soft to the touch.
- → Can I freeze red velvet cheesecake swirl cake?
-
Yes! Wrap individual slices or the whole cake tightly in plastic wrap, then foil. Freeze for up to 3 months. Thaw overnight in the refrigerator before serving. The texture remains excellent after freezing, making this perfect for make-ahead dessert prep.
