 Save
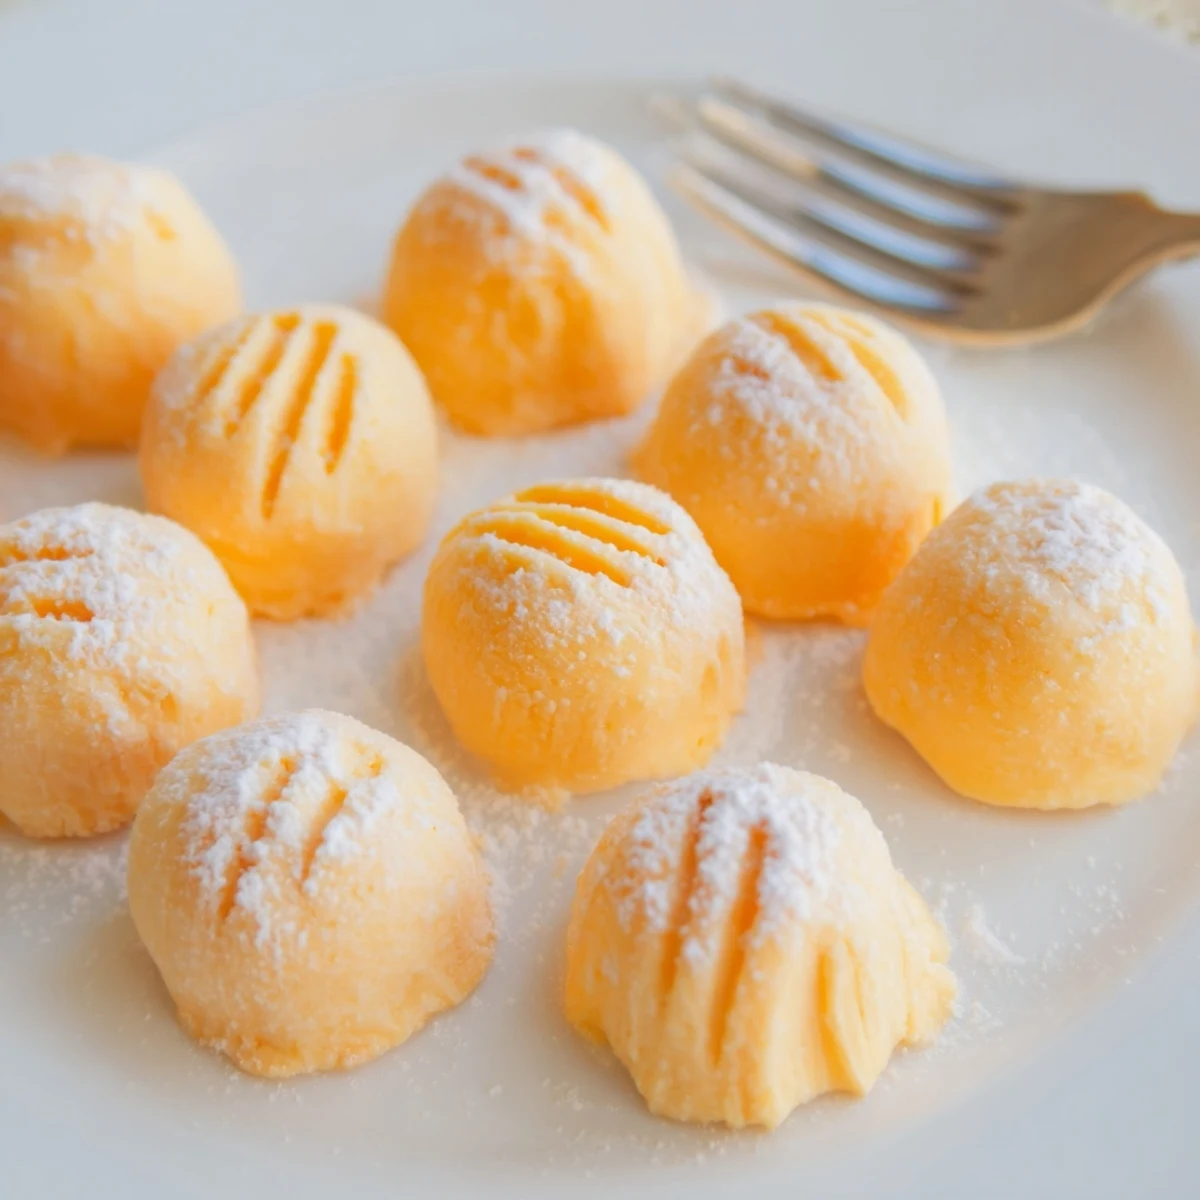
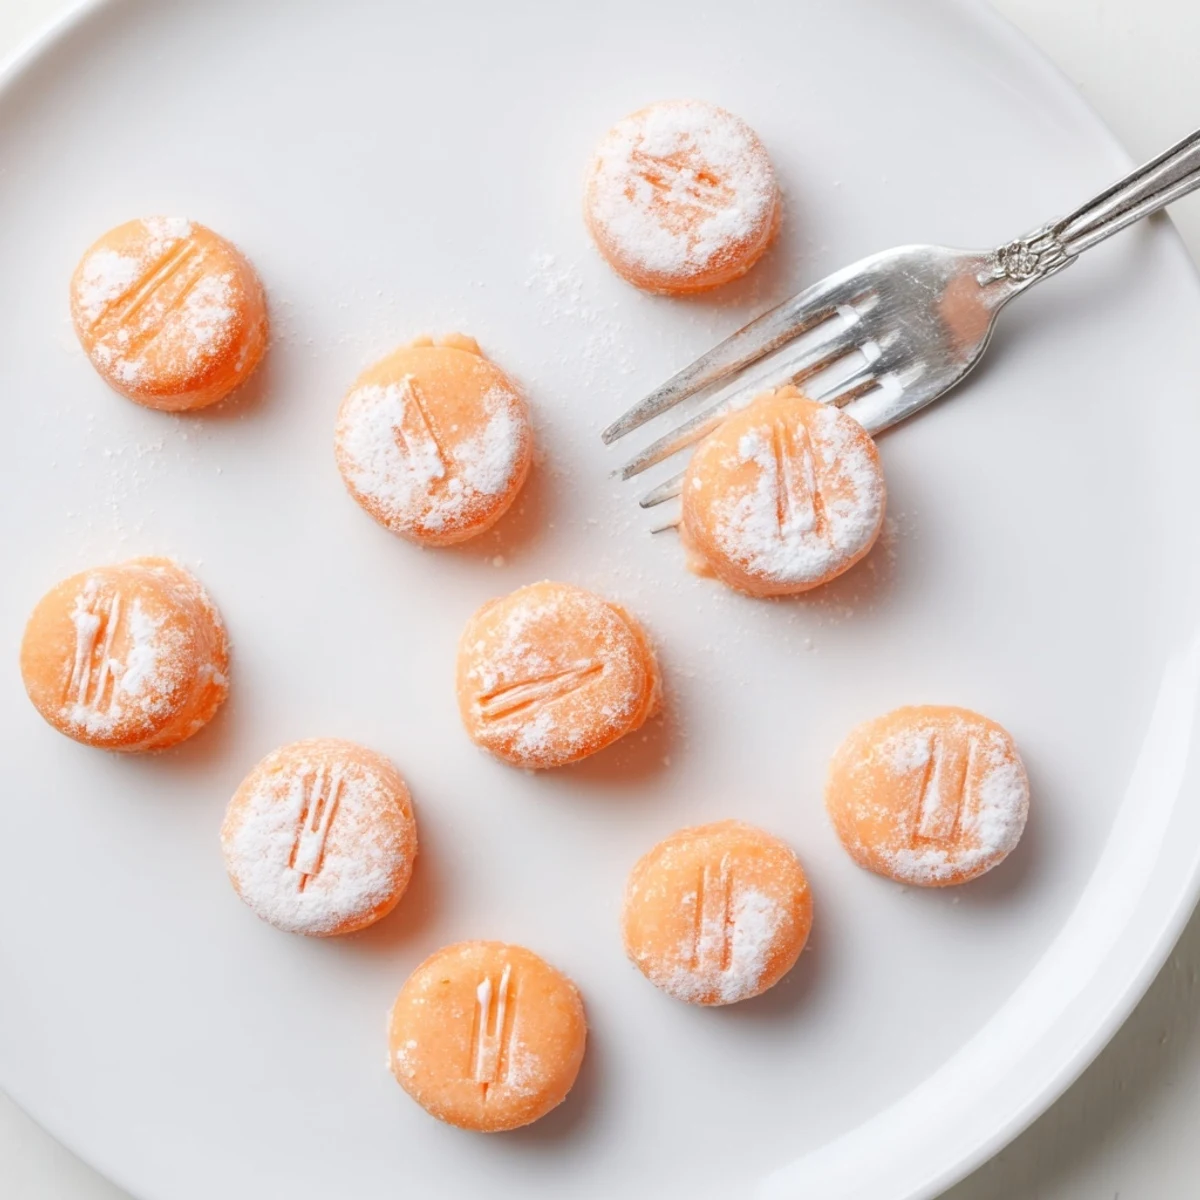
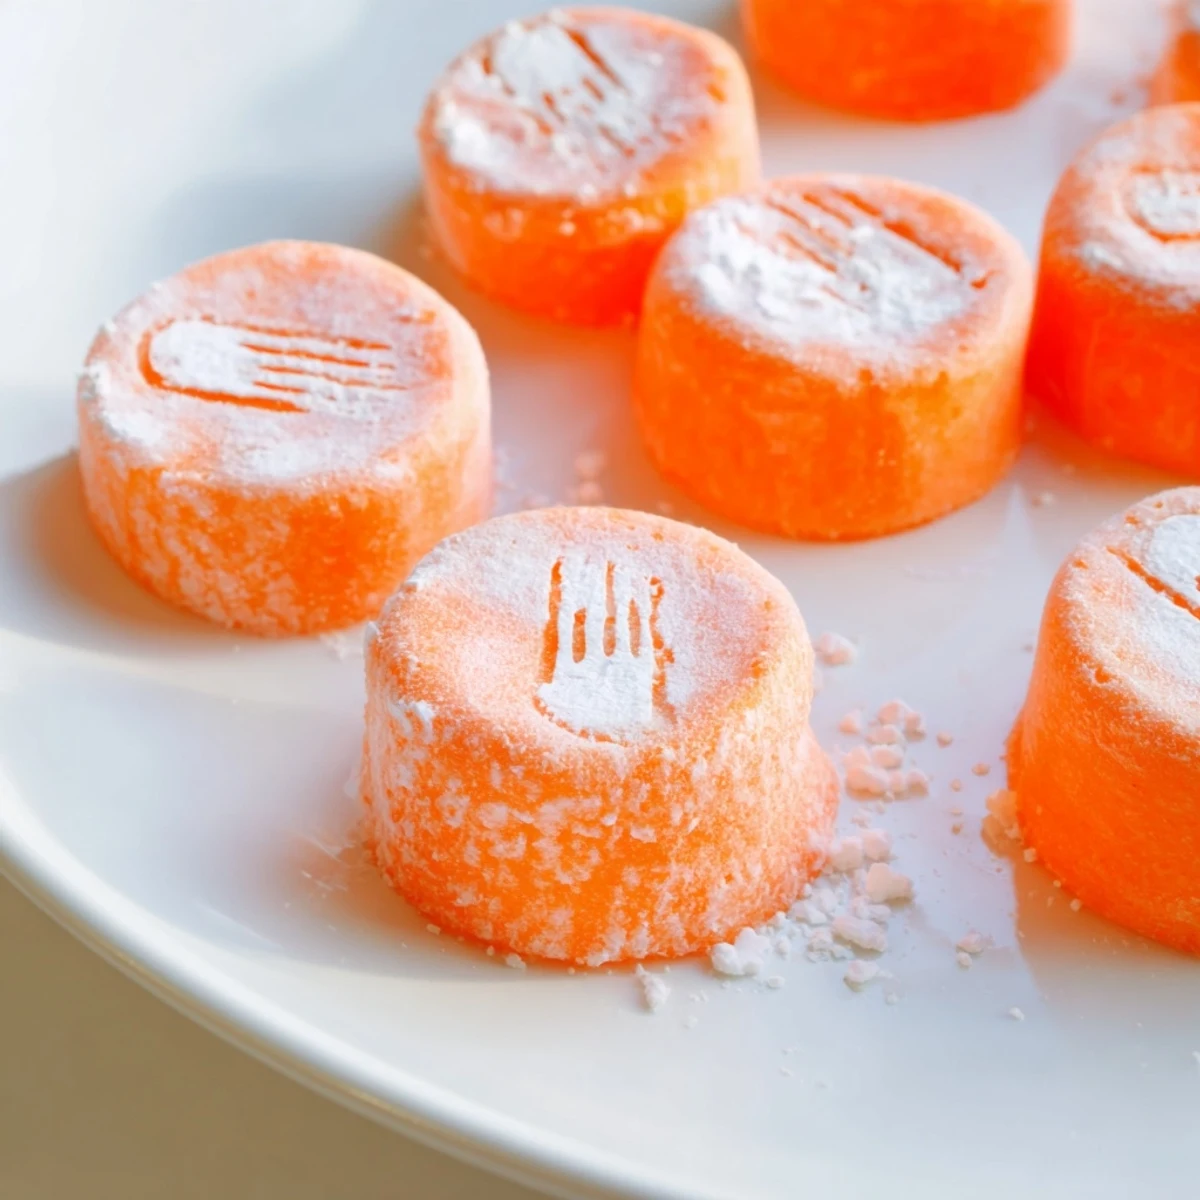
Save These delightful orange cream cheese mints offer a perfect balance of creamy texture and bright citrus flavor. The confection combines softened cream cheese and butter with pure orange extract, then gets shaped into classic mint-sized portions. The dough comes together quickly—simply beat the creamy base, incorporate the orange flavoring, and gradually work in powdered sugar until you achieve a smooth, workable consistency. After chilling for an hour to firm up, these mints develop their signature melt-away texture that makes them irresistible.
Customization is effortless: adjust the orange food coloring to match any event theme, from pale pastel for spring gatherings to deep tangerine for autumn celebrations. The straightforward rolling technique creates uniform portions, while fork marks or decorative stamps add professional-looking detail. These mints store beautifully in the refrigerator for a week or freeze for up to two months, making them ideal for advance preparation.
My aunt brought these to every holiday gathering, arranged on a crystal plate that seemed to sparkle almost as much as the little orange gems themselves. I must have been twelve when she finally showed me the secret, laughing as I added too much food coloring and turned my first batch a shocking neon shade. Now they're my go-to when I need something that looks fancy but takes almost no effort at all.
Last Christmas I made triple batches while listening to old holiday albums, my kitchen counter covered in parchment paper and clouds of powdered sugar. My daughter wandered in and immediately started helping, though half the mints ended up with thumbprints instead of fork marks. Those became the ones everyone fought over anyway.
Ingredients
- 4 oz cream cheese softened: Let this sit out for at least an hour cold cream cheese will leave you with lumpy mints that never quite smooth out
- 2 tbsp unsalted butter softened: Use room temperature butter so it blends seamlessly into the cream cheese without any stubborn bits
- 1/2 tsp orange extract: Pure extract gives the brightest flavor but you can substitute vanilla if orange feels too bold
- 2 1/2 to 3 cups powdered sugar sifted: Start with less and add more until you reach a dough that holds together but doesnt stick to your fingers
- Orange food coloring: Gel coloring works best liquid coloring might make your dough too soft
- Extra powdered sugar: Keep this nearby for dusting your work surface hands and rolling everything to prevent sticking
Instructions
- Whip the creamy base:
- Beat the softened cream cheese and butter together until completely smooth with no remaining lumps about 2 minutes with an electric mixer or 4 minutes by hand.
- Add flavor and color:
- Pour in the orange extract and a few drops of food coloring mixing until the color is evenly distributed throughout the white mixture.
- Form the mint dough:
- Gradually add powdered sugar half a cup at a time beating after each addition until you have a soft pliable dough that resembles playdough.
- Shape the mints:
- Dust your counter with powdered sugar roll dough into 3/4 inch balls and gently flatten each with a fork creating that classic ridged pattern on top.
- Chill until firm:
- Arrange mints on a parchment lined tray cover and refrigerate for at least an hour so they set completely.
 Save
Save I brought a batch to my neighbors bridal shower and watched her mother light up when she saw them Apparently her grandmother made the exact same mints for every family wedding. Sometimes the simplest recipes carry the most memories.
Making Them Ahead
These mints actually improve after a day or two in the fridge as the orange flavor deepens and mellows into the cream cheese. I often make them a week before hosting then forget about them until I need a quick dessert addition.
Customizing The Shape
While fork marks are classic Ive also used the bottom of a decorative glass clean rubber stamps or even just my thumb to create different textures. Just make sure whatever you press into the dough is lightly dusted with powdered sugar first.
Serving Ideas
These mints work beautifully alongside rich desserts like chocolate cake or as part of a cookie platter where they provide a bright creamy contrast. They also make elegant wedding or shower favors when packed in small clear bags tied with orange ribbon.
- Arrange them on a vintage plate for instant charm
- Pair with dark chocolate truffles for a gift box
- Set them near coffee service as a sweet finishing touch
 Save
Save These little orange mints have become my secret weapon for bringing something homemade to every gathering without sacrificing my entire afternoon.
Recipe FAQs
- → How long do cream cheese mints need to chill?
-
The mints require at least 1 hour of chilling time to firm up properly and develop their characteristic texture. This chilling period allows the cream cheese and butter to set completely, making the mints easier to handle and giving them that signature melt-in-your-mouth quality when served.
- → Can I make these mints ahead of time?
-
Absolutely. These orange cream cheese mints store exceptionally well in an airtight container in the refrigerator for up to 1 week. For longer storage, freeze them for up to 2 months. Just thaw in the refrigerator before serving. They're perfect for preparing days before an event.
- → What if my dough is too sticky or too dry?
-
If the dough sticks to your hands, gradually add more powdered sugar, about 1 tablespoon at a time, until it becomes workable. If it's too dry and crumbly, add a tiny amount of softened butter or cream cheese. The perfect consistency should feel like soft playdough—smooth, pliable, and not tacky.
- → Can I use lemon extract instead of orange?
-
Yes, lemon extract works beautifully as a substitute. Simply replace the orange extract with an equal amount of lemon extract and use yellow food coloring instead of orange. The technique remains exactly the same, and you'll have lovely lemon cream cheese mints that are equally refreshing and delicious.
- → Do I need an electric mixer to make these mints?
-
While an electric mixer makes the process faster and ensures the smoothest texture, you can successfully make these mints with a sturdy whisk and some elbow grease. The key is beating the cream cheese and butter until completely smooth before adding any other ingredients. Take your time, and the results will be just as delicious.
- → How should I serve these at a party?
-
Arrange the mints on decorative platters, tiered stands, or in candy cups. They're elegant enough for wedding favor boxes or dessert tables. For buffets, place them near other small treats. The vibrant orange color makes them visually appealing, so display them where guests can easily admire their appearance before sampling.
