 Save
Save Create a nostalgic frozen delight that brings childhood memories to life. This creamy bubblegum treat requires no special equipment—just a mixer and freezer. The combination of sweetened condensed milk and freshly whipped cream creates an incredibly smooth texture, while bubblegum flavoring delivers that classic taste everyone loves.
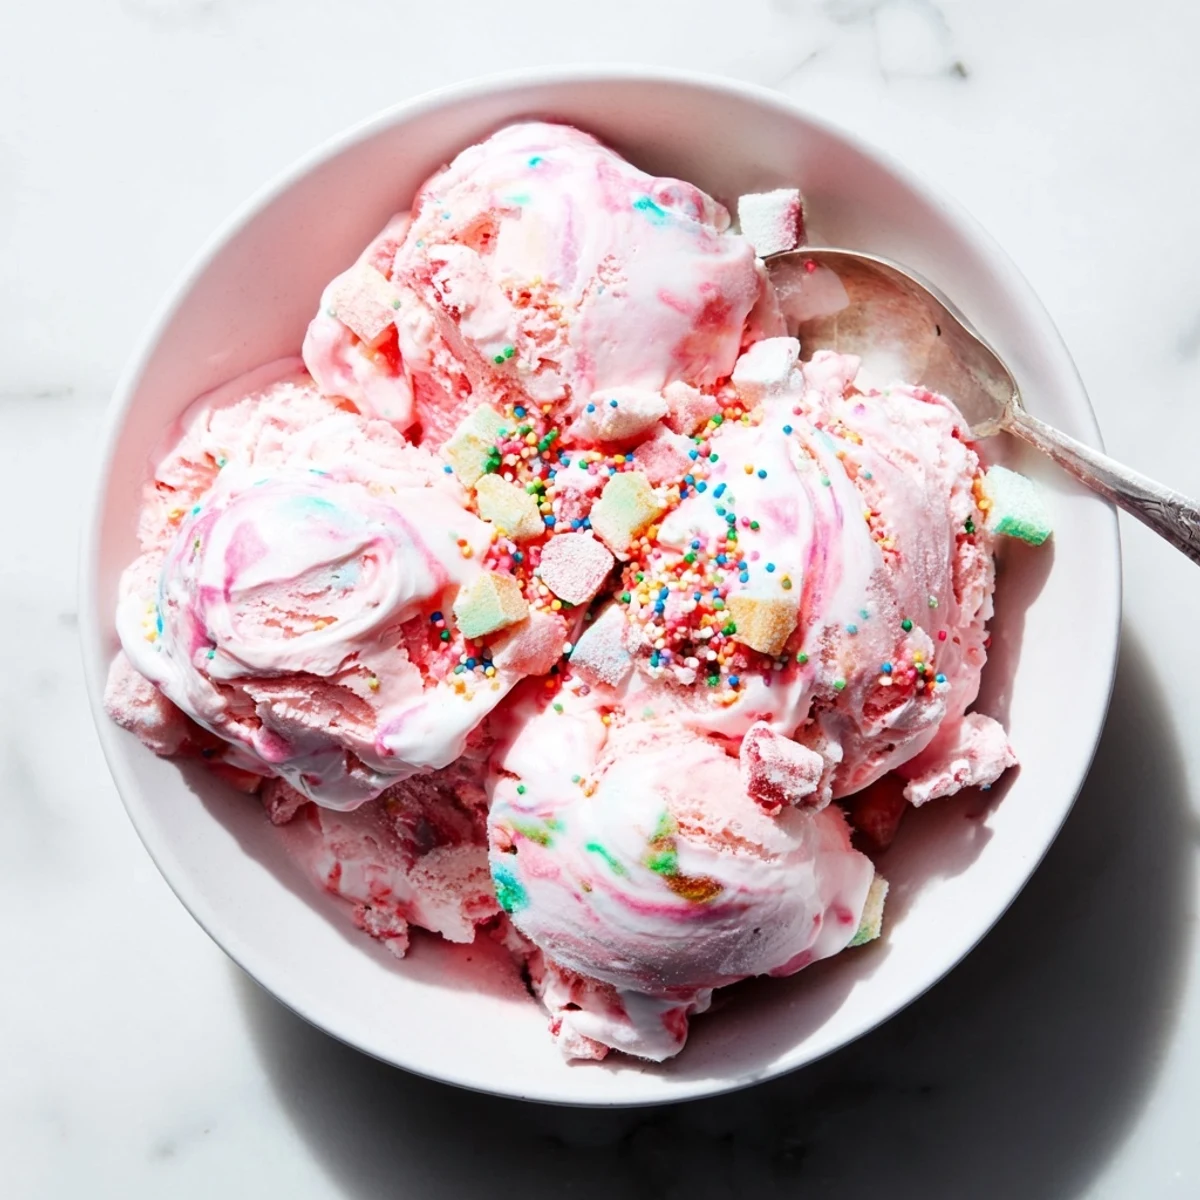
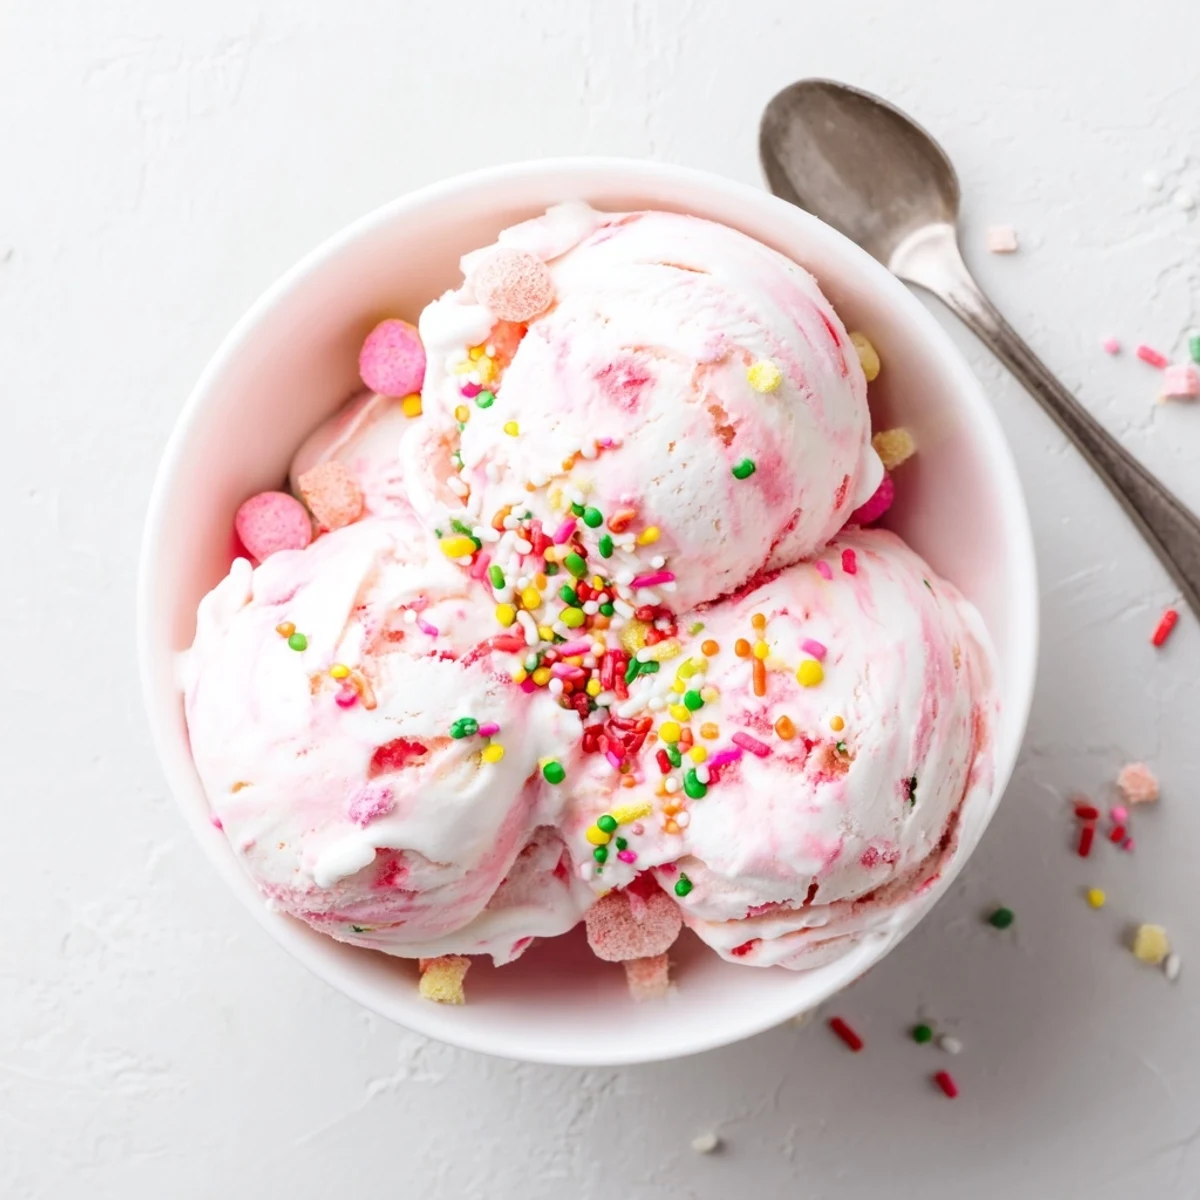
Perfect for birthday parties, summer barbecues, or whenever you need a fun dessert. The pink or blue swirls make it visually appealing, while chopped bubblegum candies add playful texture throughout. Best of all, you can customize it with your favorite mix-ins like marshmallows or sprinkles.
Simply freeze for six hours, then let soften briefly before serving. Each spoonful delivers creamy sweetness with that unmistakable bubblegum kick that kids and adults adore.
The moment my daughter spotted the bubblegum flavoring at the baking supply store, her eyes widened with pure delight. We stood there surrounded by vanilla and chocolate options while she clutched that bright pink bottle like it was a treasure. Sometimes the best kitchen adventures start with someone else enthusiasm guiding the way.
Last summer, my niece helped me make a batch for her birthday party. She insisted on adding way too many sprinkles, which turned into the most beautiful confetti speckled ice cream. The kids went absolutely wild for it, but honestly, the adults were just as excited to scoop themselves a bowl.
Ingredients
- Heavy whipping cream: Cold cream whips up beautifully and creates that silky texture we all crave in ice cream
- Sweetened condensed milk: This magical ingredient does all the heavy lifting for sweetness and prevents ice crystals from forming
- Vanilla extract: Keeps everything grounded while the bubblegum flavor takes center stage
- Bubblegum flavoring: A little goes a long way, so start with half a teaspoon and taste as you go
- Gel food coloring: Pink or blue gives that classic bubblegum look, though the flavor alone is plenty fun
- Bubblegum candies: Chopping them into small pieces ensures every bite gets a chewy surprise
- Sprinkles: Completely unnecessary but absolutely recommended for maximum joy
Instructions
- Whip the cream:
- Pour your cold heavy cream into a large mixing bowl and beat it with an electric mixer until you can lift the beaters and the cream stands up in proud, stiff peaks.
- Prepare the base:
- In another bowl, whisk together the sweetened condensed milk, vanilla extract, bubblegum flavoring, and a few drops of food coloring until everything is smoothly combined and evenly tinted.
- Bring it together:
- Gently fold about one third of the whipped cream into the condensed milk mixture to lighten it up, then carefully fold in the remaining cream until no white streaks remain.
- Add the fun stuff:
- Sprinkle in your chopped bubblegum candies and fold them through the base, distributing those chewy pieces throughout every spoonful.
- Freeze and wait:
- Pour the mixture into a 9x5 inch loaf pan, smooth the top, and scatter extra candies and sprinkles across the surface before covering tightly and freezing for at least 6 hours.
- Scoop and serve:
- Let the ice cream sit on the counter for just a few minutes to soften slightly, then scoop into bowls or cones and watch faces light up.
 Save
Save My friend swears this ice cream saved her summer block party. She made a triple batch and set up a toppings bar with even more candies and sauces, creating the kind of chaotic, wonderful dessert station that people still talk about months later.
Getting the Perfect Swirl
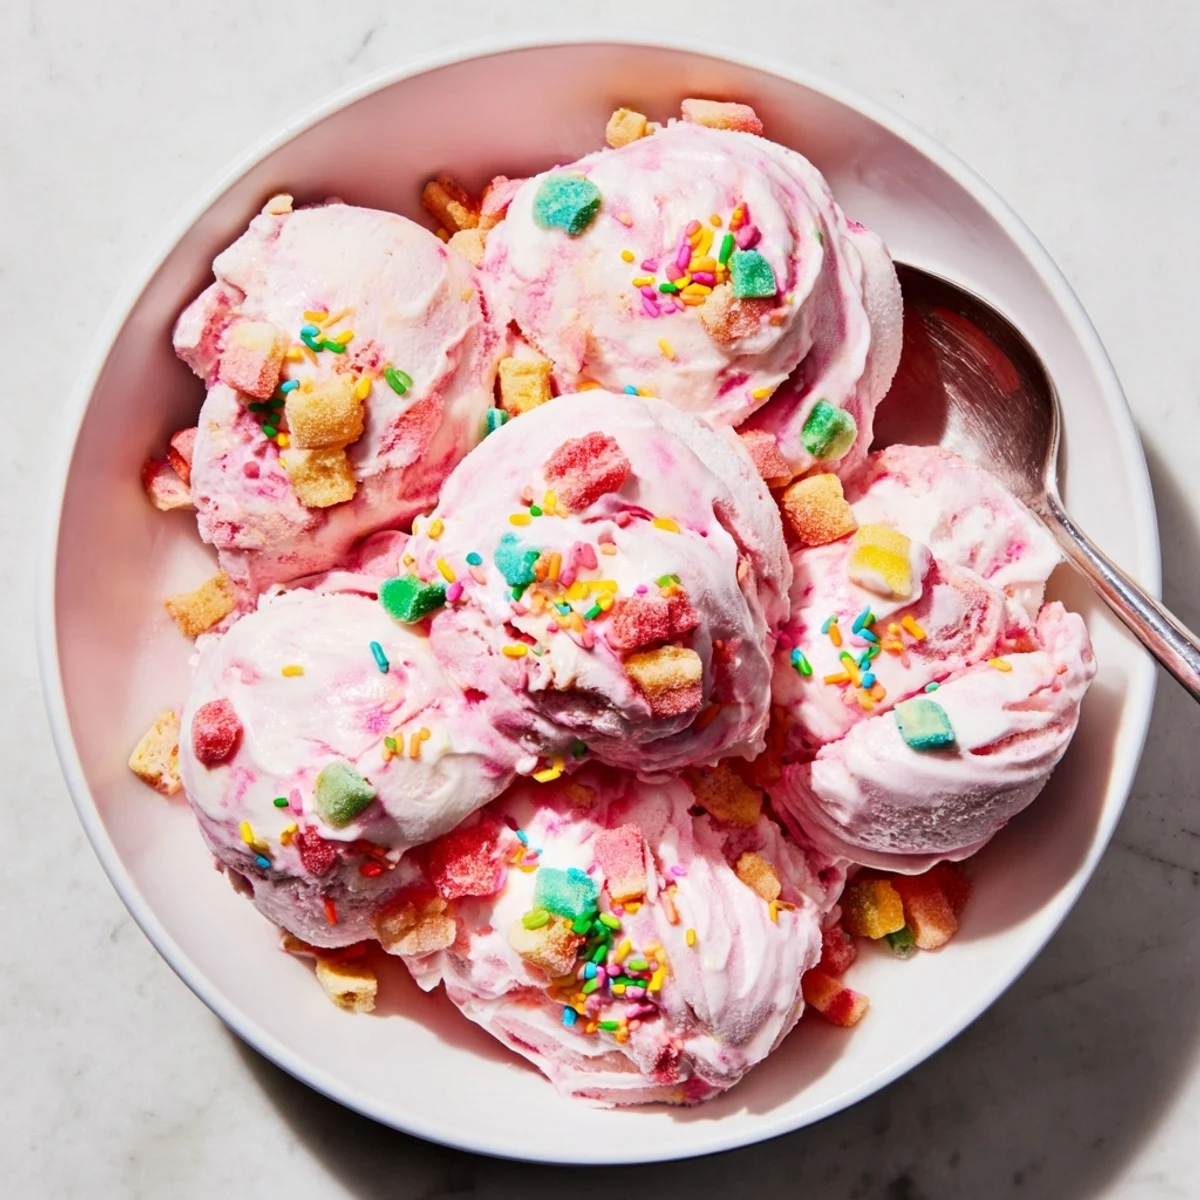
One afternoon I experimented with swirling both pink and blue food coloring through the base before freezing. The result was this gorgeous marbled effect that looked like cotton candy come to life. Simply drop small amounts of each coloring onto the surface and give it just one gentle pass with a spatula.
Mix-In Magic
Beyond bubblegum candies, this base plays nicely with all sorts of add-ins. Mini marshmallows add a fluffy texture that pairs perfectly with the bubblegum flavor, while white chocolate chips create these lovely creamy pockets throughout.
Serving Ideas
This ice cream makes the most incredible ice cream sandwiches when sandwiched between two soft sugar cookies. I once served it at a backyard movie night piled into waffle cones and drizzled with a little extra bubblegum syrup.
- Try crushing some bubblegum candies and pressing them into the sides of an ice cream cake
- Top a warm brownie with a scoop for a temperature contrast that is absolute perfection
- Keep some extra chopped candies nearby for sprinkling on top right before serving
 Save
Save Every time I pull that bright pink container out of the freezer, I am reminded that sometimes the most nostalgic flavors bring the biggest joy to our tables. Hope this recipe becomes a favorite in your house too.
Recipe FAQs
- → What makes this no-churn method work?
-
The combination of sweetened condensed milk and freshly whipped heavy cream creates a stable base that freezes into a creamy texture without requiring an ice cream maker. The sugar content prevents ice crystals from forming, resulting in smooth dessert every time.
- → Can I use natural food coloring?
-
Absolutely! Natural alternatives like beet juice for pink or butterfly pea flower tea for blue work beautifully. The coloring is purely aesthetic, so feel free to adjust or omit it entirely based on your preference.
- → How long does this keep in the freezer?
-
Properly stored in an airtight container, this frozen treat stays fresh for up to two weeks. For best texture and flavor, consume within the first week. The quality gradually declines after that as ice crystals may develop.
- → What other mix-ins can I add?
-
Mini marshmallows, white chocolate chips, crushed cookies, or colorful sprinkles all complement the bubblegum flavor beautifully. You could also swirl in fruit jam or add chopped gummy candies for extra texture and visual appeal.
- → Is bubblegum flavoring the same as extract?
-
Bubblegum flavoring is typically an artificial flavoring specifically designed to mimic classic bubblegum taste. Extract form works best, but you can also use bubblegum syrup or emulsion. Start with a small amount and adjust to taste since potency varies by brand.
- → Can I make this without bubblegum flavoring?
-
You can substitute with other fun flavors like strawberry, cotton candy, or marshmallow flavoring. The pink color and playful mix-ins will still give you that whimsical, kid-friendly dessert experience even with different flavor profiles.
