 Save
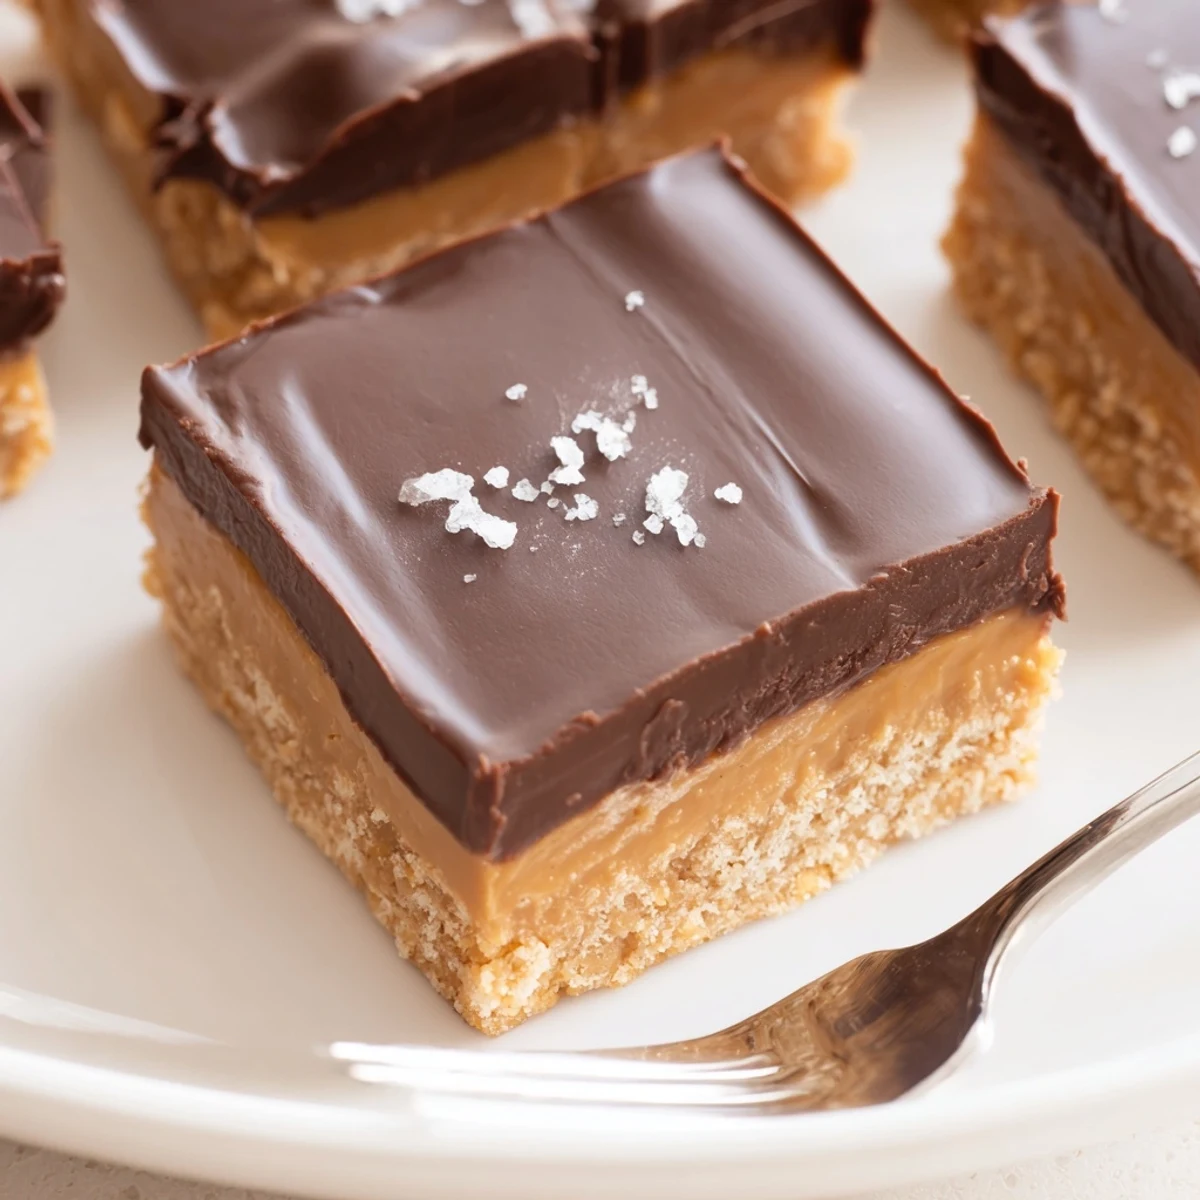
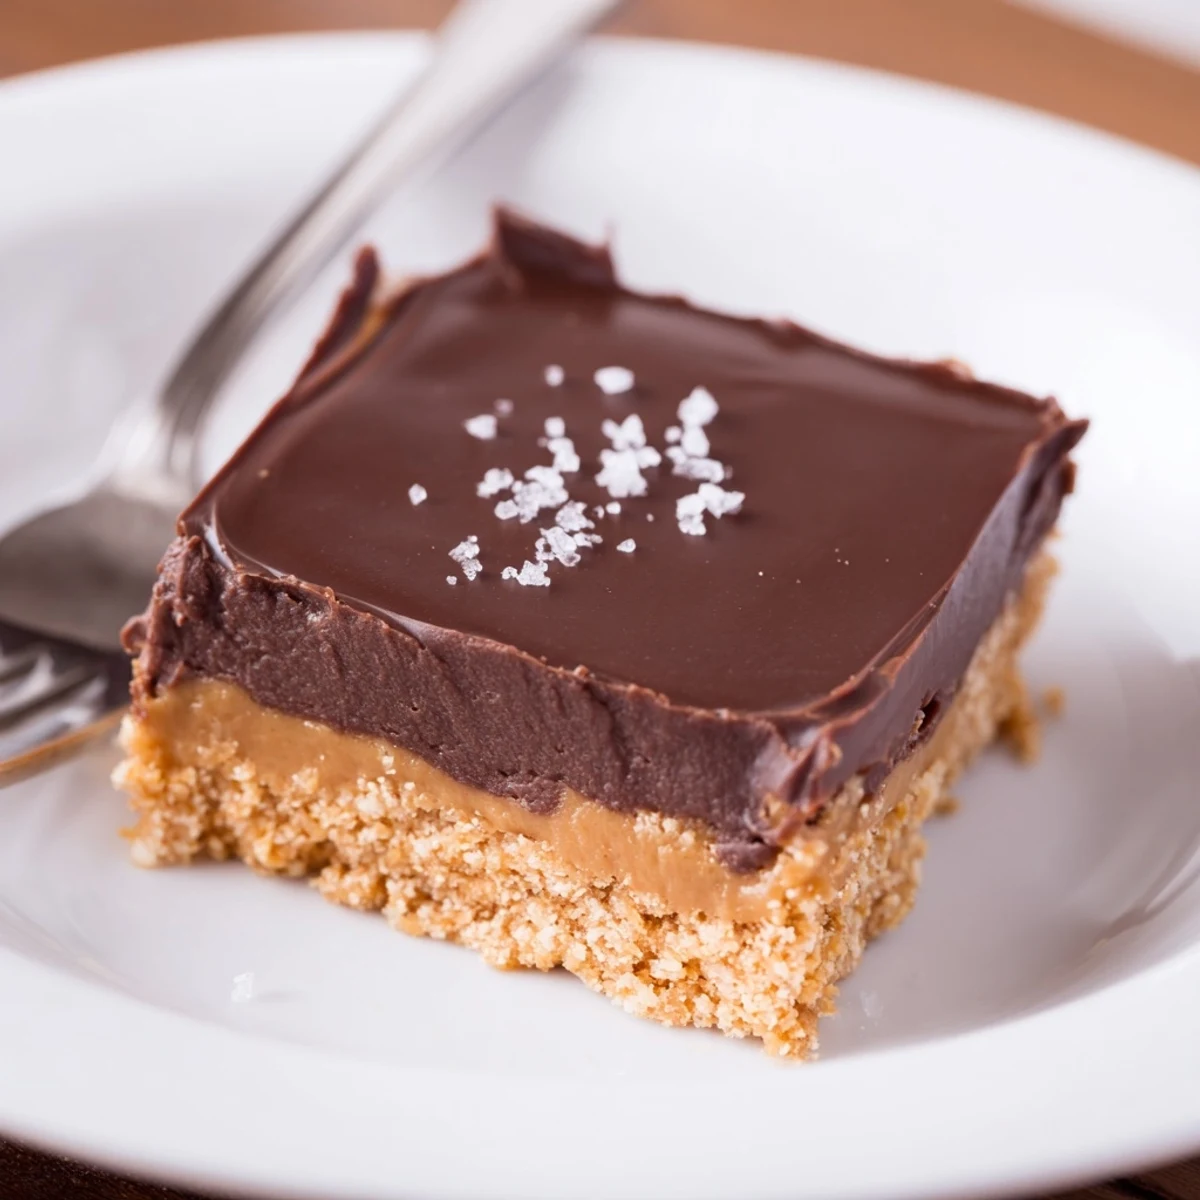
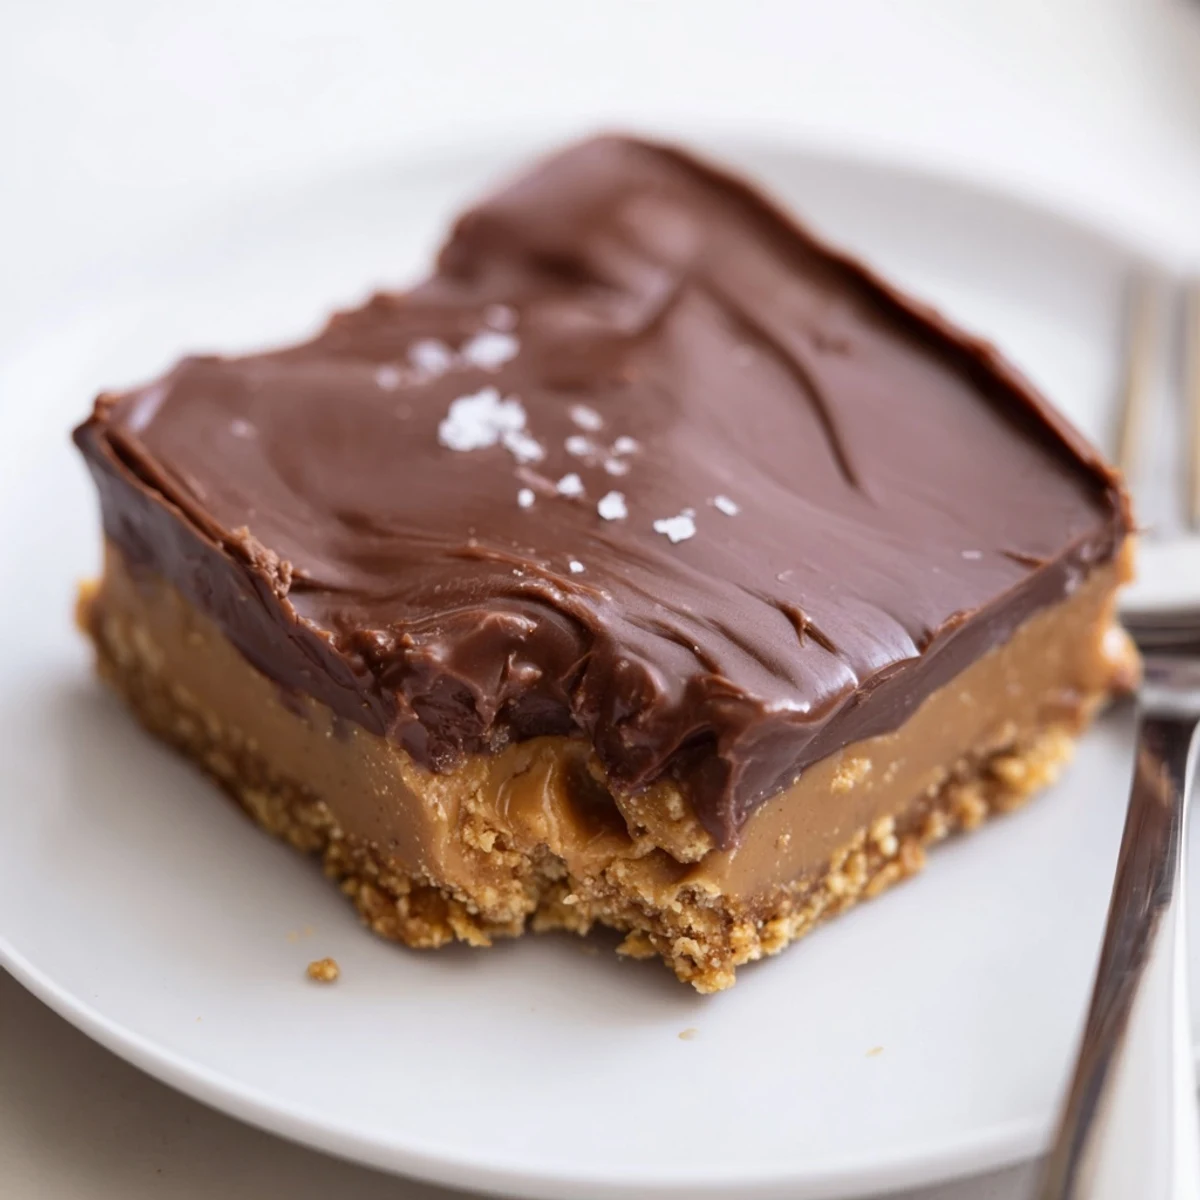
Save These no-bake peanut butter bars layer a rich, buttery peanut base with a glossy chocolate-peanut topping. Combine melted butter and peanut butter with powdered sugar and graham cracker crumbs, press into an 8x8 pan, then melt chocolate with extra peanut butter for a smooth glaze. Chill at least 2 hours until firm; yields 16 bars. Variations: use chunky peanut butter, sprinkle sea salt, or swap gluten-free cookies for the crumbs.
The unmistakable aroma of melted peanut butter swirling together with chocolate is forever linked in my mind to a spontaneous kitchen night last winter, when a craving for something sweet but effortless sent me rifling through the pantry. The fact that these bars come together without ever turning on the oven makes them a personal go-to, especially when the air is heavy with summer heat or the mood simply calls for no-fuss comfort. More than once, the quiet scrape of a spatula spreading chocolate has been the highlight of my evening. These no bake peanut butter bars have a way of turning the plainest night into an occasion.
One evening, I assembled these after an impromptu game night with friends. It was late, laughter echoed from the living room, and not a soul wanted to pause for anything complicated—I silently thanked this recipe as it let me serve decadent bars without skipping a beat in the conversation.
Ingredients
- Creamy peanut butter: The heart of the bars—make sure it’s at room temperature for easy mixing, and smooth for that classic texture.
- Unsalted butter (melted): Gives body and richness to the base, and using unsalted keeps the flavor balanced.
- Powdered sugar: Sweetens the bars and helps bind everything, but sift it for a flawless texture.
- Graham cracker crumbs (or digestive biscuit crumbs): These give structure; crush them as fine as you can for a tender, even base.
- Vanilla extract: Just a half teaspoon but it makes the flavors sing—go for real vanilla if you can.
- Semi-sweet chocolate chips: They melt into a glossy layer that’s not too sweet, just right against the peanut butter beneath.
- More peanut butter (for topping): Adds a creaminess to the chocolate layer that’s completely worth it.
Instructions
- Get ready to go:
- Line an 8x8 inch pan with parchment so you can lift the set bars out in one easy swoop—leave some extra hanging over the sides.
- Mix up the magic:
- In a big bowl, stir together melted butter and peanut butter until glossy and smooth; it should smell rich and downright irresistible.
- Blend to perfection:
- Add the powdered sugar and graham cracker crumbs, followed by the vanilla, and mix until a dense dough forms—don’t worry if it’s a little crumbly at first, it will press together.
- Shape your base:
- Press the peanut butter layer evenly into the pan, using a spatula to smooth it with gentle, patient strokes.
- Melt and swirl:
- Microwave the chocolate chips with the remaining peanut butter in thirty-second bursts, stirring between each—stop as soon as it’s satiny smooth and tempting.
- Blanket with chocolate:
- Pour and spread the chocolate-peanut butter blend over the base, letting it flow to the edges, then tap the pan to even it out.
- Let time do the work:
- Refrigerate until fully set, at least 2 hours—the hardest part is keeping everyone from sneaking a peek.
- Slice and serve:
- Lift out the slab using the parchment, slice into tidy squares, and share (or don’t... I won’t tell).
 Save
Save The night I first made these for my family, we found ourselves chatting long after dessert, each of us holding a bar with smudges of chocolate on our fingers—it was one of those small moments that turns dessert into a memory.
Making It Your Own
I once tossed a pinch of flaky sea salt onto the glossy chocolate right before chilling, and now it’s standard in my house—there’s something about the way the saltiness sharpens the peanut and chocolate flavors that makes each bite sing.
Troubleshooting Sticky Situations
On a humid summer day, the bars were almost too soft to slice—turns out an extra half hour in the fridge does wonders, or even a quick transfer to the freezer if you’re getting impatient for dessert.
Serving, Storing, and Gifting
These bars are right at home on dessert tables but also make a surprisingly welcome homemade gift when wrapped in parchment and twine for friends or neighbors.
- Store leftovers in the refrigerator to keep them firm and fresh.
- Use parchment between layers if stacking in a container, so they don’t stick together.
- Don’t forget to bring them to room temperature for a few minutes before serving—the flavors bloom as they warm.
 Save
Save May your next batch disappear as fast as mine always seem to. There’s something irresistible about these rich, no bake squares—don’t be surprised if you start making them even when nobody’s around.
Recipe FAQs
- → How long should the bars chill before cutting?
-
Chill for at least 2 hours in the refrigerator to allow the base and topping to set firmly. For cleaner slices, chill longer or briefly freeze before cutting.
- → Can I use crunchy peanut butter instead of creamy?
-
Yes—chunky peanut butter adds pleasant texture. You can also stir in chopped roasted peanuts to the base for extra crunch without changing other proportions.
- → What is the best way to melt the chocolate topping?
-
Melt chocolate chips and peanut butter in 30-second microwave bursts, stirring between intervals until smooth. Alternatively, use a double boiler over gentle heat to prevent scorching.
- → How can I make these bars gluten-free?
-
Replace graham cracker crumbs with gluten-free cookies or crackers of similar texture and weight. Ensure all other ingredients are labeled gluten-free.
- → How should I store leftover bars?
-
Keep bars in an airtight container in the refrigerator for up to one week. For longer storage, freeze individual pieces between parchment layers and thaw in the fridge before serving.
- → Will natural peanut butter work in the base?
-
Natural peanut butter separates and can make the base looser. Whisk it thoroughly and consider slightly less melted butter or an extra tablespoon of powdered sugar to help firm the mixture.
