 Save
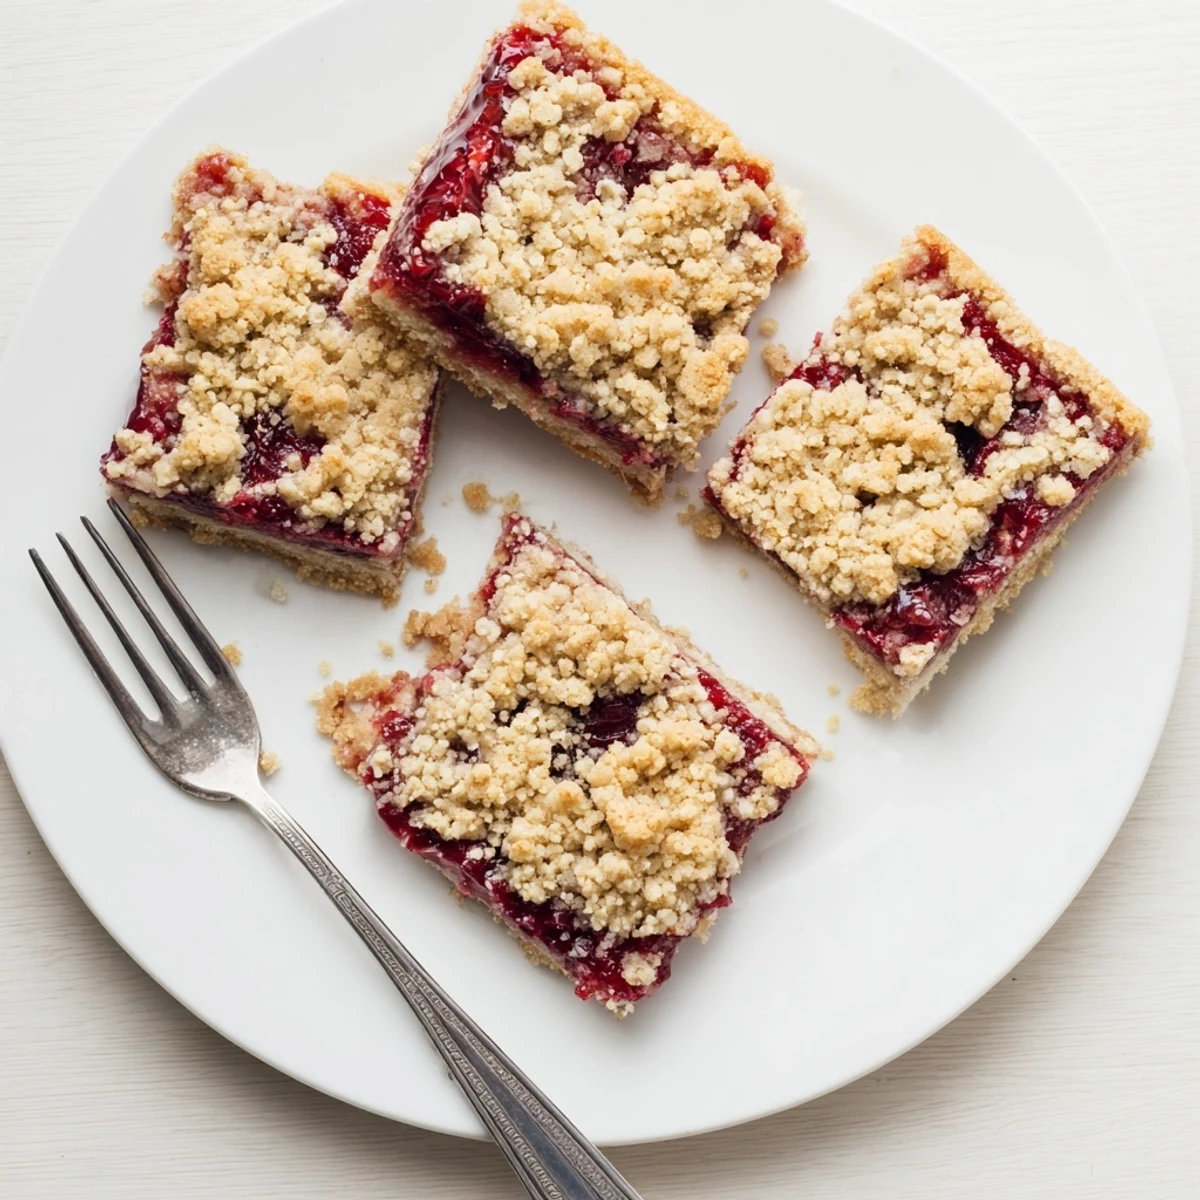
Save These cherry crumble bars feature a buttery oat crust pressed into the pan, topped with sweetened cherries, and finished with a golden crumble topping. The fresh or frozen cherries create a luscious filling that bubbles up beautifully while baking.
The preparation comes together quickly—mix dry ingredients, combine with melted butter, and reserve some for topping. The crust gets pressed into a lined pan, then topped with the cherry mixture before sprinkling the remaining crumble over the fruit.
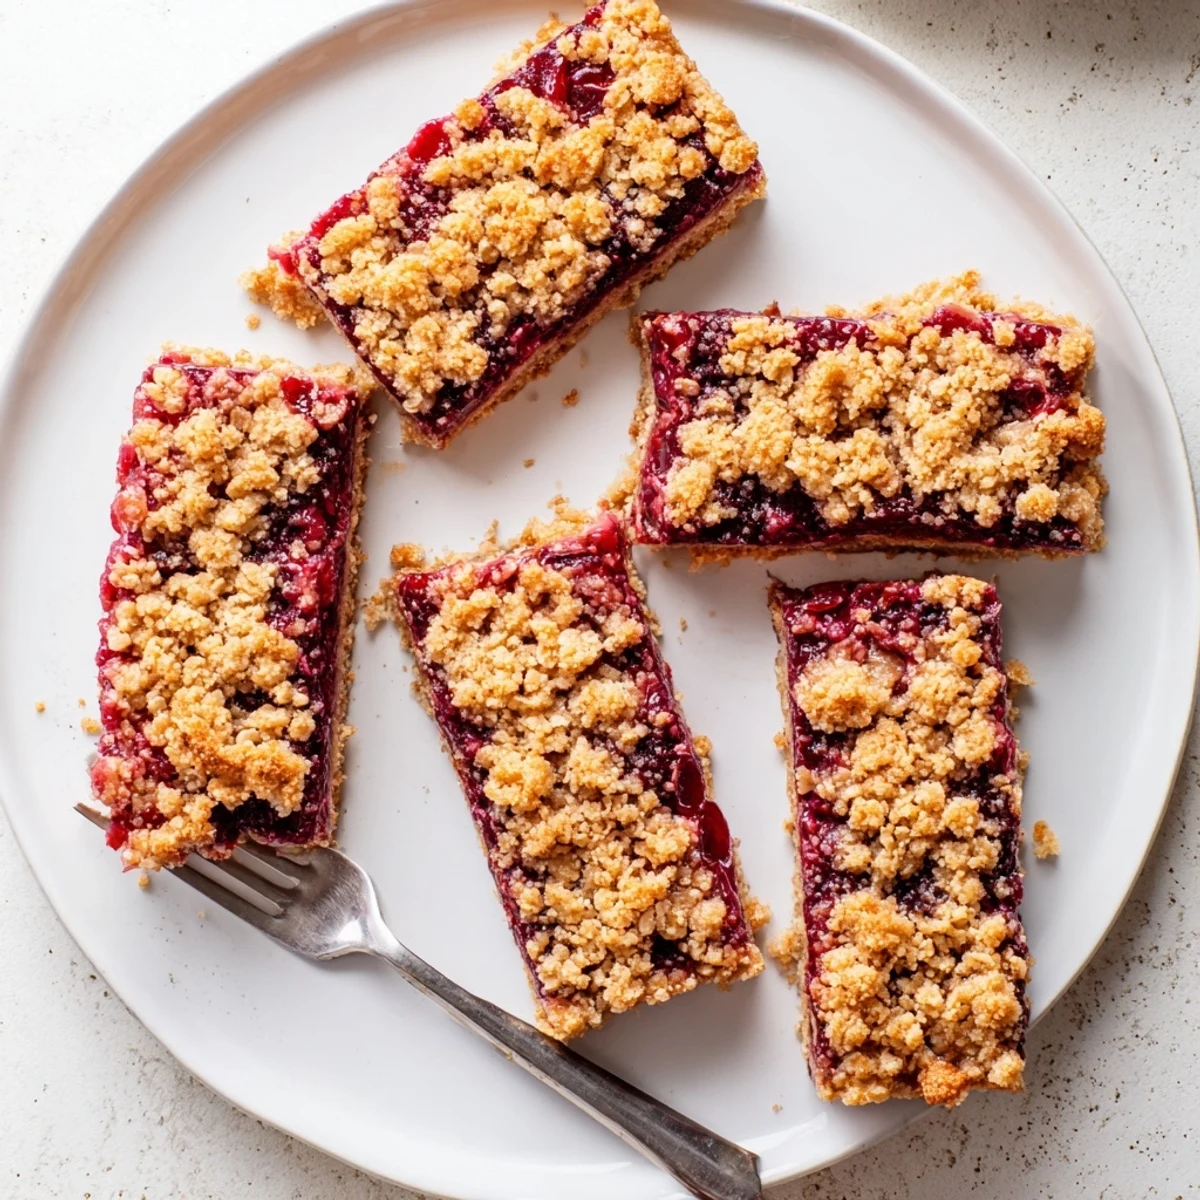
Bake until golden and bubbling, cool completely, then slice into bars. The texture contrasts perfectly—crisp and crumbly on top, tender underneath, with bursts of sweet-tart cherry throughout.
My grandmother always said the best desserts are the ones that make you want to sneak back to the kitchen at midnight for just one more square. These cherry crumble bars were born on a rainy Sunday when I had too many cherries from the farmers market and zero patience for a proper pie. The whole house smelled like buttery caramelized fruit, and my roommate wandered in from her room asking what magic I was up to. Now they're the first thing people request when I mention I'm baking something for a gathering.
I brought these to a friend's summer picnic last year and watched her three year old literally dance around the yard after taking his first bite. The combination of tart cherries and that buttery oat topping creates this perfect sweet tart balance that keeps you coming back for seconds. Someone asked for the recipe before they even finished their first bar which is always the sign of a winner.
Ingredients
- 1 ½ cups all-purpose flour: The foundation that gives the crust structure while staying tender enough to melt in your mouth
- 1 ½ cups old-fashioned rolled oats: Use these not quick oats for that satisfying nutty texture and hearty crumble topping
- ¾ cup granulated sugar: Sweetens the crust without making it cloyingly sweet letting the fruit shine through
- ½ cup packed light brown sugar: Adds a subtle caramel depth and keeps the crumble moist and golden
- 1 tsp baking powder: Helps the crust puff slightly creating a lighter texture that is not too dense
- ½ tsp salt: Balances the sweetness and enhances all the other flavors
- 1 cup unsalted butter melted: The essential fat that creates that irresistible rich buttery taste and perfect crumb texture
- 1 tsp vanilla extract: Rounds out the flavors and adds that classic baked warmth
- 3 cups fresh or frozen pitted cherries: The star of the show bringing sweet tart juiciness in every bite
- ⅓ cup granulated sugar: Just enough to tame the cherry tang while keeping their bright flavor
- 2 tbsp cornstarch: Essential for thickening the cherry juices so you get neat bars not a soggy mess
- 1 tbsp lemon juice: Brightens the cherry filling and cuts through the buttery richness
- ½ tsp almond extract: Completely optional but cherry and almond are best friends so do not skip this little trick
Instructions
- Get your oven ready:
- Preheat to 350F and line a 9x13 inch pan with parchment leaving those overhangs like handles for easy lifting later
- Mix the dry crumble base:
- Whisk together the flour oats both sugars baking powder and salt until everything looks evenly combined
- Add the butter and vanilla:
- Pour in the melted butter and vanilla stirring until the mixture looks like damp sand and holds together when squeezed
- Save some for later:
- Measure out 1 ½ cups of this crumbly mixture and set it aside for the topping
- Press the crust:
- Take the remaining mixture and press it firmly into the bottom of your prepared pan using the bottom of a measuring cup to get it even
- Prepare the cherry filling:
- Toss those cherries with sugar cornstarch lemon juice and almond extract until every piece is coated
- Layer the fruit:
- Spread the cherry mixture evenly over the pressed crust
- Sprinkle the topping:
- Scatter the reserved crumble mixture over the cherries in an even layer
- Bake until golden:
- Bake for 35 to 40 minutes until the top is golden brown and you see the cherry filling bubbling up around the edges
- Cool completely before cutting:
- Let the bars cool completely in the pan then use those parchment handles to lift them out and cut into squares
 Save
Save My sister called me from three states away last month demanding the recipe because her daughter would not stop talking about the cherry bars from her birthday party. There is something about that combination of fruit and crumble that feels like comfort food but impressive enough for company. I love watching people's eyes light up when they take that first bite and realize it is not just another generic bar cookie.
Making These Year Round
Frozen cherries work just as well as fresh here so you can make these in the middle of winter when you are craving something fruity and summery. No need to thaw the frozen cherries first just toss them with the sugar and cornstarch while they are still frozen. The baking time stays about the same though you might need an extra five minutes if the cherries were really frozen solid.
Storage and Freezing
These bars actually develop deeper flavor after sitting for a day so they are perfect for making ahead of parties or gatherings. Store them in an airtight container at room temperature for up to three days or in the fridge for up to a week. You can also freeze them individually wrapped for up to three months and they thaw beautifully at room temperature in about an hour.
Serving Suggestions
These bars are perfect on their own but a scoop of vanilla ice cream while they are still slightly warm takes them to another level. For a dinner party presentation dust them with powdered sugar right before serving to make them look extra elegant.
- A dollop of whipped cream or Greek yogurt adds a nice tangy contrast to the sweet cherries
- Try serving with a cup of Earl Grey tea the bergamot pairs beautifully with cherry flavors
- For extra decadence drizzle with warm salted caramel sauce just before serving
 Save
Save Whether you are making these for a crowd or just to have in the kitchen for random snacking they are bound to become one of those recipes you turn to again and again.
Recipe FAQs
- → Can I use frozen cherries instead of fresh?
-
Yes, frozen cherries work beautifully. No need to thaw them first—just toss with the sugar and cornstarch mixture as directed. Add about 5 extra minutes to the baking time to ensure the filling bubbles properly.
- → How should I store these bars?
-
Store in an airtight container at room temperature for up to 3 days. For longer storage, refrigerate for up to a week. The bars also freeze well—wrap individually and freeze for up to 3 months.
- → Can I substitute other fruits for the cherries?
-
Absolutely. This same method works well with blueberries, raspberries, peaches, or a mix of summer berries. Adjust the sugar slightly based on the fruit's natural sweetness.
- → Why do I need to cool the bars completely before cutting?
-
The cherry filling needs time to set as it cools. Cutting while warm will cause the bars to crumble and the filling to run. Cooling ensures clean slices and the best texture.
- → Can I make these gluten-free?
-
Yes. Substitute the all-purpose flour with a 1:1 gluten-free flour blend. Ensure your oats are certified gluten-free, as regular oats may contain traces of wheat from processing.
