 Save
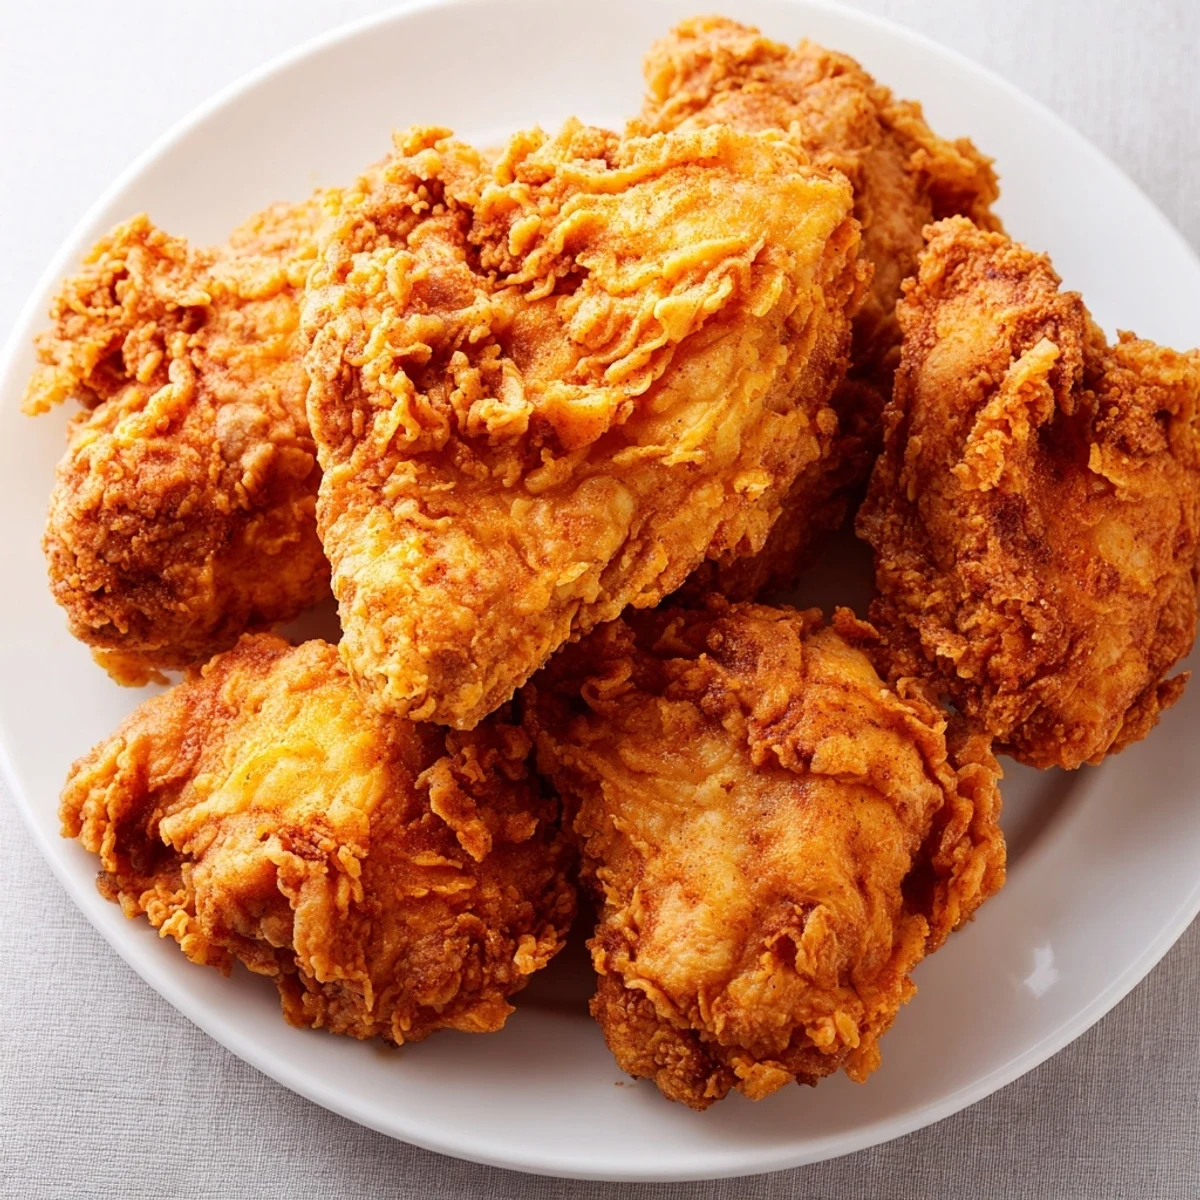
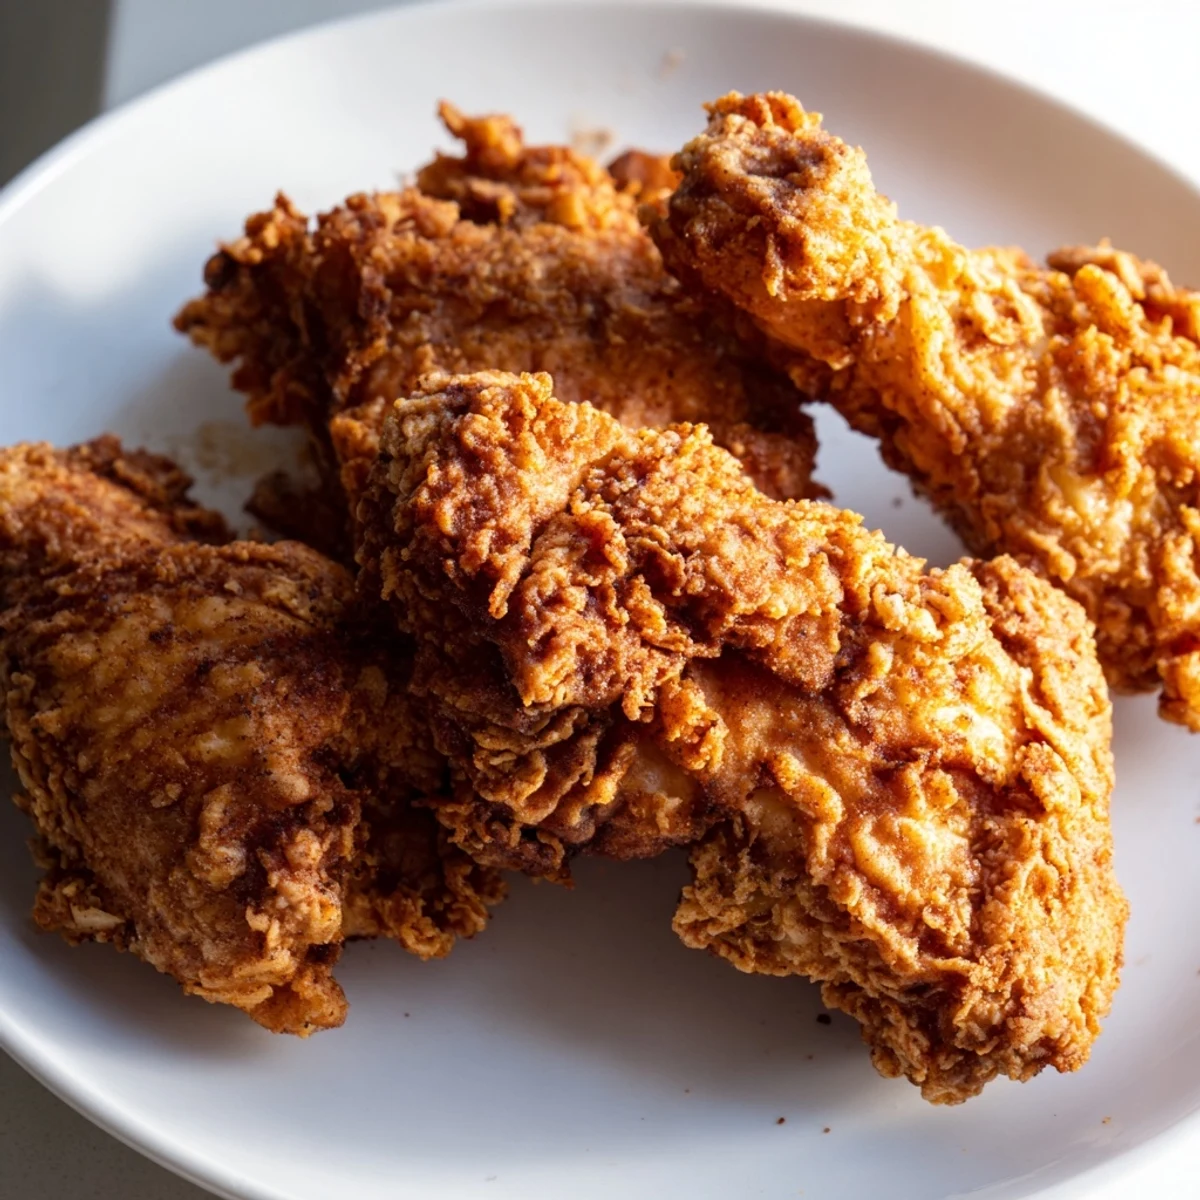
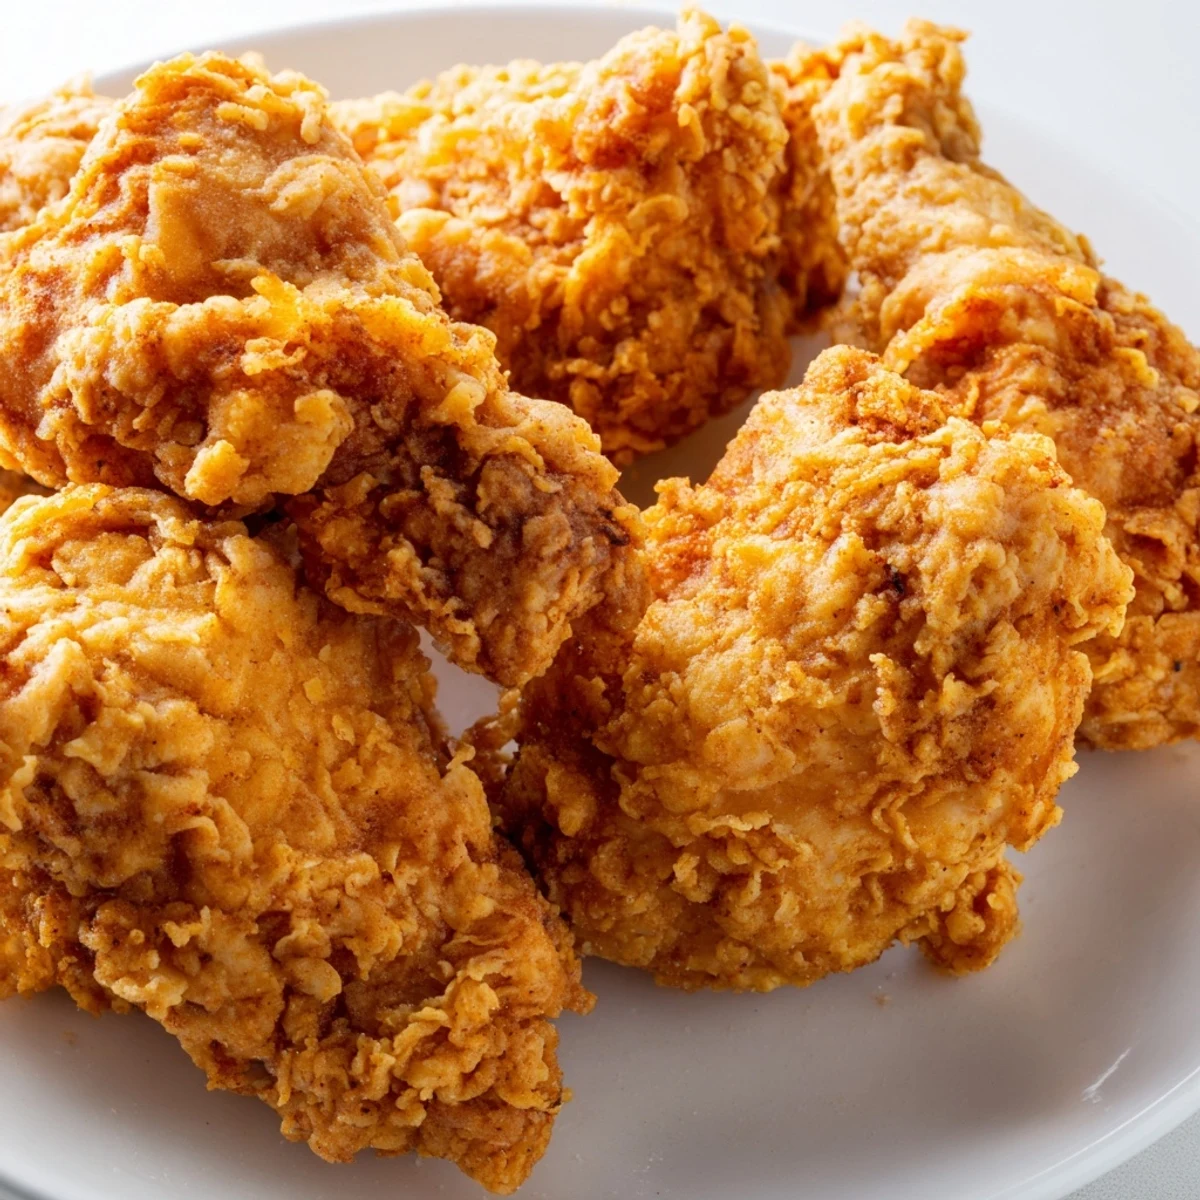
Save Achieve restaurant-quality fried chicken at home with this time-tested method. The buttermilk marinade tenderizes the meat while infusing it with savory flavors, while the double-coating technique creates that irresistible crunch. This American classic delivers juicy, flavorful chicken encased in perfectly seasoned, golden-brown coating that's satisfyingly crisp.
The smell of frying chicken hitting hot oil still transports me back to my grandmother's cramped kitchen where we'd take turns at the stove dodging grease splatters. She insisted on bone-in pieces for flavor and never let us crowd the pan, wisdom I didn't fully appreciate until my first batch turned soggy from impatience. Now making fried chicken feels like Sunday dinner regardless of the day.
Last summer I made this for a backyard gathering and watched the platter disappear in under ten minutes. Someone actually asked for the coating recipe while still chewing, which felt like the highest compliment possible. There's something about fried chicken that turns strangers into friends and makes ordinary moments feel like celebrations.
Ingredients
- Chicken: Bone-in skin-on pieces hold moisture better during frying and the skin becomes that coveted crispy layer everyone fights over
- Buttermilk: The acidity tenderizes the meat while creating the perfect sticky surface for the flour coating to cling to
- All-purpose flour: Forms the backbone of your crispy coating and creates that signature crunch when it hits hot oil
- Paprika: Adds beautiful golden color and subtle sweetness that balances the heat from cayenne
- Baking powder: The secret ingredient that creates tiny air pockets in your coating making it extra light and crispy
- Vegetable oil: Neutral flavor lets your chicken shine while handling high heat without breaking down
Instructions
- Let the chicken soak:
- Whisk buttermilk with salt, garlic powder, onion powder, cayenne, and black pepper until fully blended. Add chicken pieces turning to coat completely then cover and refrigerate at least 2 hours though overnight makes the flavor even better.
- Mix the coating:
- Combine flour, paprika, salt, black pepper, cayenne, and baking powder in a wide shallow bowl. Set up your dredging station with the marinade bowl and flour mixture side by side.
- Coat each piece:
- Lift chicken from buttermilk letting excess drip back into the bowl. Press firmly into flour mixture, flip and press again until thickly coated on all sides. Place on a wire rack and rest 10 minutes so the coating sets.
- Heat the oil:
- Pour oil into a deep heavy pot or Dutch oven until about 3 inches deep. Heat to 175°C (350°F) and maintain this temperature throughout frying using your thermometer to check frequently.
- Fry to perfection:
- Carefully lower chicken pieces into hot oil working in batches so the temperature doesn't drop too much. Fry 12–15 minutes, turning occasionally, until deep golden brown and internal temperature reaches 75°C (165°F).
- Rest before serving:
- Transfer chicken to a wire rack set over paper towels to drain. Let rest 5 minutes before serving to allow juices to redistribute and the coating to reach maximum crispiness.
 Save
Save My friend Sarah still talks about the first time she made this successfully after years of disappointing attempts. She sent me a photo of her proud golden batch and admitted she'd finally understood why I kept telling her to invest in a kitchen thermometer. Seeing someone unlock that kind of kitchen confidence is exactly why I love sharing these recipes.
Getting That Extra Crunch
The double-dip technique creates an incredibly thick coating that some people swear by. After your first flour coating, briefly dip the chicken back into buttermilk then press into the flour mixture again. Just know this makes an even heartier crust that some love and others find too much.
Heat Control Mastery
Watch your oil temperature carefully after each batch goes in because it will drop immediately. Let it recover fully between batches and resist the urge to increase the heat to compensate. Consistent medium heat produces better results than yo-yo temperatures that create uneven cooking.
Serving It Right
Fried chicken deserves to be the star of the plate so keep sides simple and complementary. Classic coleslaw with its crunch and acidity cuts through the richness beautifully, while mashed potatoes soak up any stray seasoning.
- Let pieces rest directly on a wire rack instead of paper towels so air circulates underneath and the bottom stays crispy
- Season lightly with salt immediately after frying while the oil surface is still glistening
- Keep fried chicken in a 200°F oven if you need to hold it but don't cover it or you'll lose that precious crunch
 Save
Save Fried chicken is one of those recipes that rewards practice and patience. Once you find your rhythm with the coating and timing, you'll wonder why you ever bothered with takeout versions.
Recipe FAQs
- → Why use buttermilk in the marinade?
-
Buttermilk contains lactic acid which tenderizes the chicken meat, breaking down proteins for a more juicy result. Its thickness also helps the flour coating adhere better, creating a more durable crust that stays crisp longer.
- → How long should I marinate the chicken?
-
Marinate for at least 2 hours to achieve good flavor penetration and tenderness. For optimal results, marinate overnight in the refrigerator. The longer marinade time allows the seasonings to fully penetrate and the buttermilk to work its magic on the meat texture.
- → What's the ideal frying temperature?
-
Heat your oil to 175°C (350°F) for best results. This temperature creates a golden crust while ensuring the chicken cooks through completely. Too low and the coating becomes soggy; too high and it burns before the meat is done.
- → How do I know when the chicken is done?
-
Use a kitchen thermometer to check the internal temperature reaches 75°C (165°F). Visual cues include golden-brown coating and juices running clear when pierced. frying typically takes 12-15 minutes depending on piece size.
- → Can I make this spicier?
-
Absolutely! Increase the cayenne pepper in both the marinade and coating, or add hot sauce to the buttermilk mixture. You can also add red pepper flakes or cayenne directly into the flour mixture for extra heat that builds a spicy kick.
- → Should I rest the chicken after frying?
-
Yes, let the chicken rest for 5 minutes after draining. This allows the juices to redistribute throughout the meat, ensuring each bite remains moist and tender. Resting also helps the coating set for maximum crunch.
