 Save
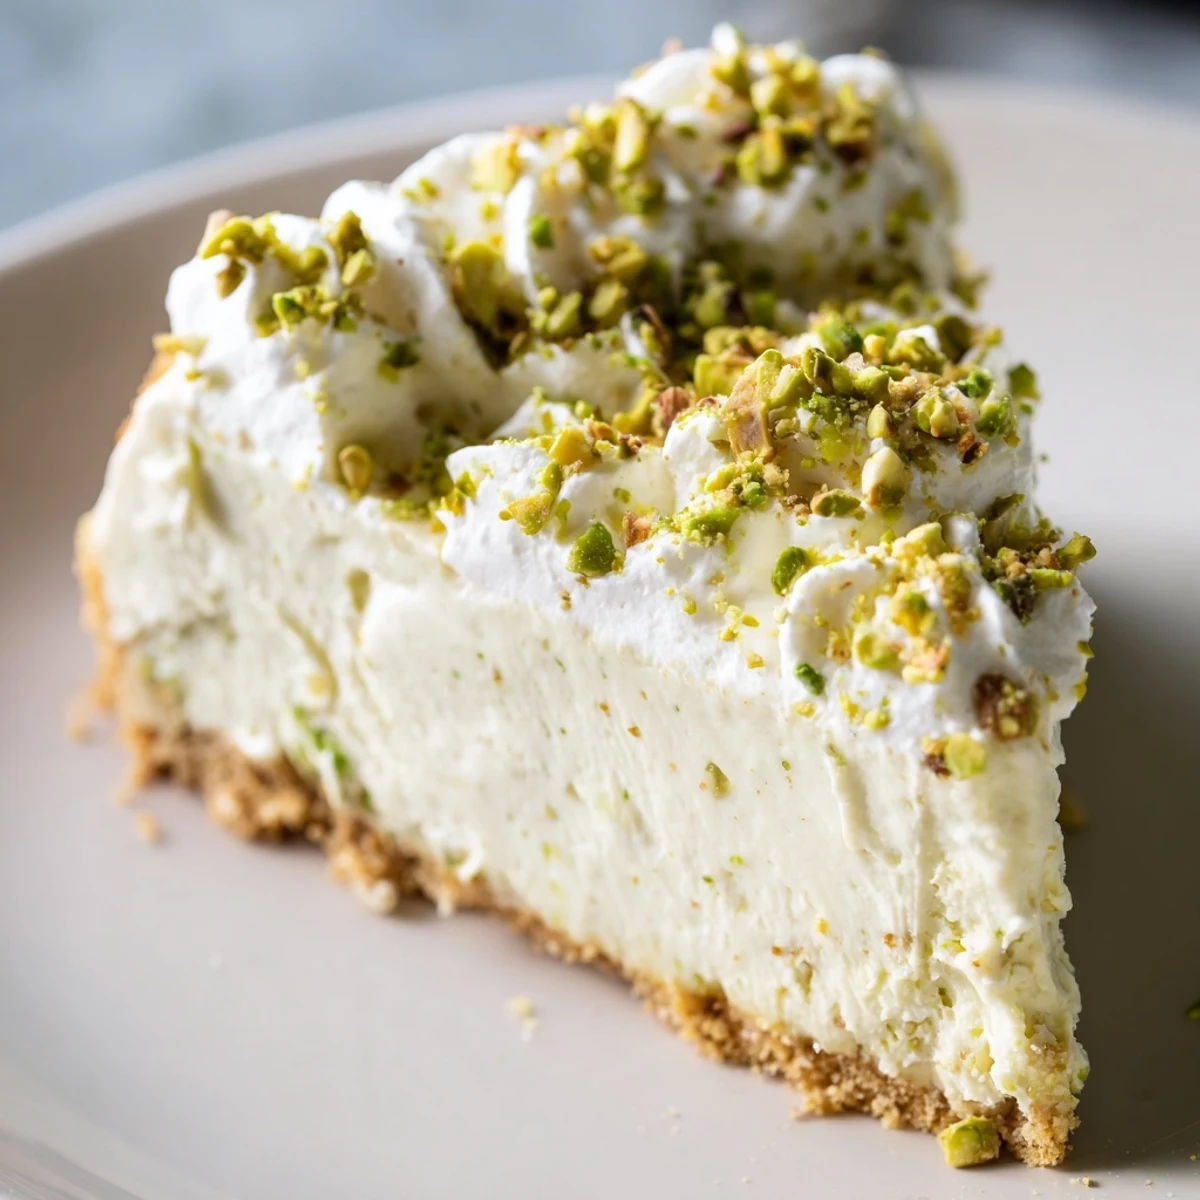
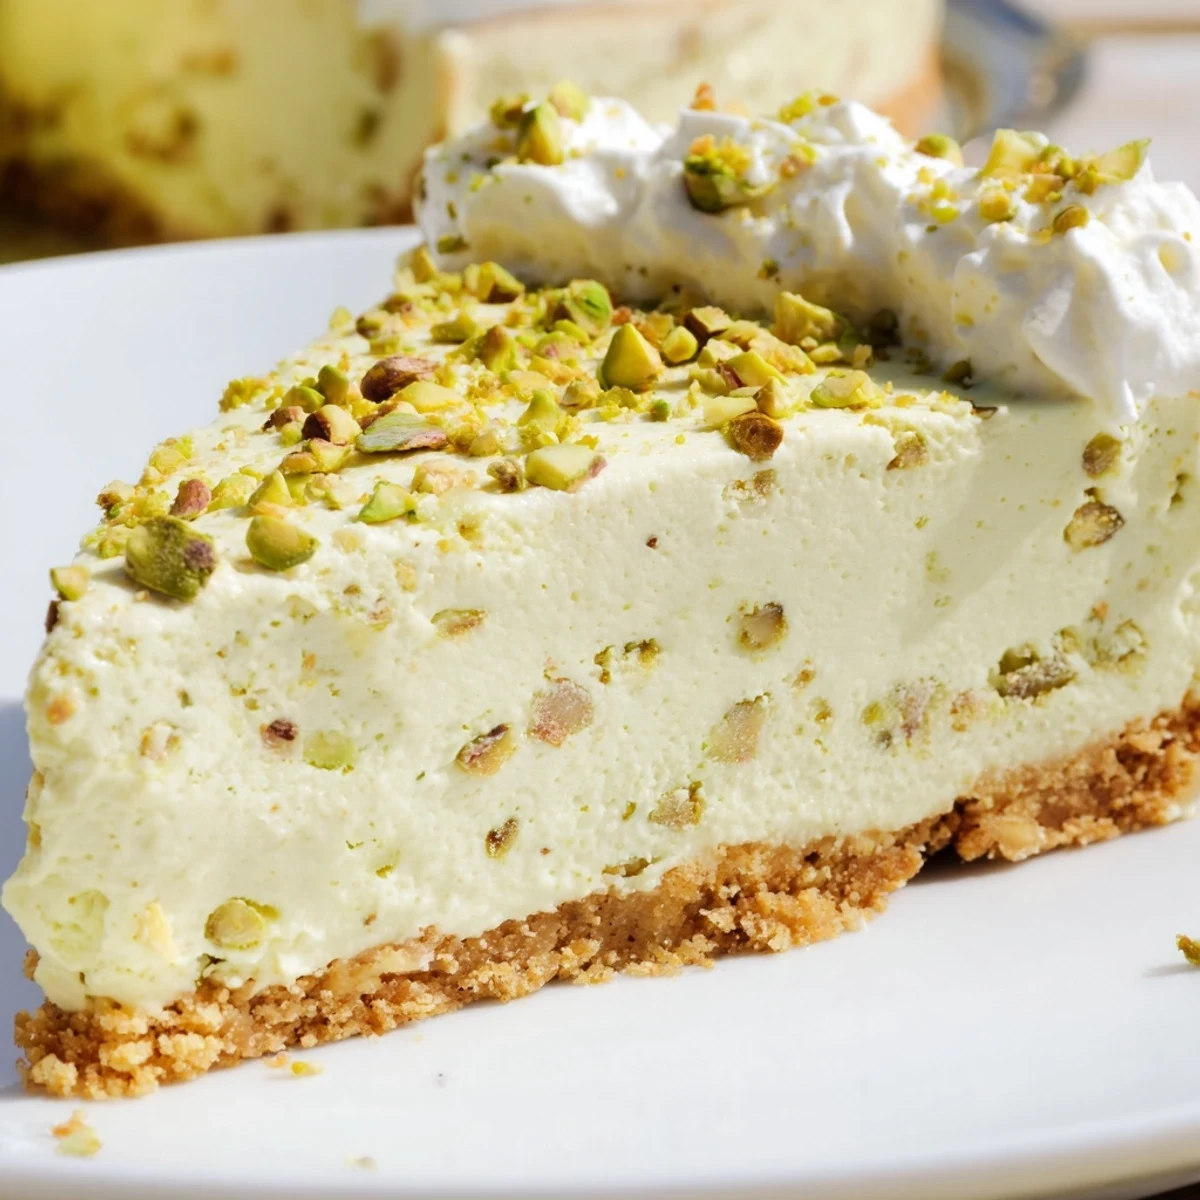
Save This indulgent pistachio cheesecake combines a crunchy, buttery crust made with crushed graham crackers and chopped nuts with a luxuriously smooth filling. The creamy base blends cream cheese, Greek yogurt, and finely ground pistachios for that signature nutty flavor and vibrant green hue. After baking to perfect set edges with a slightly jiggly center, the cheesecake requires proper cooling and chilling time to develop its silky texture.
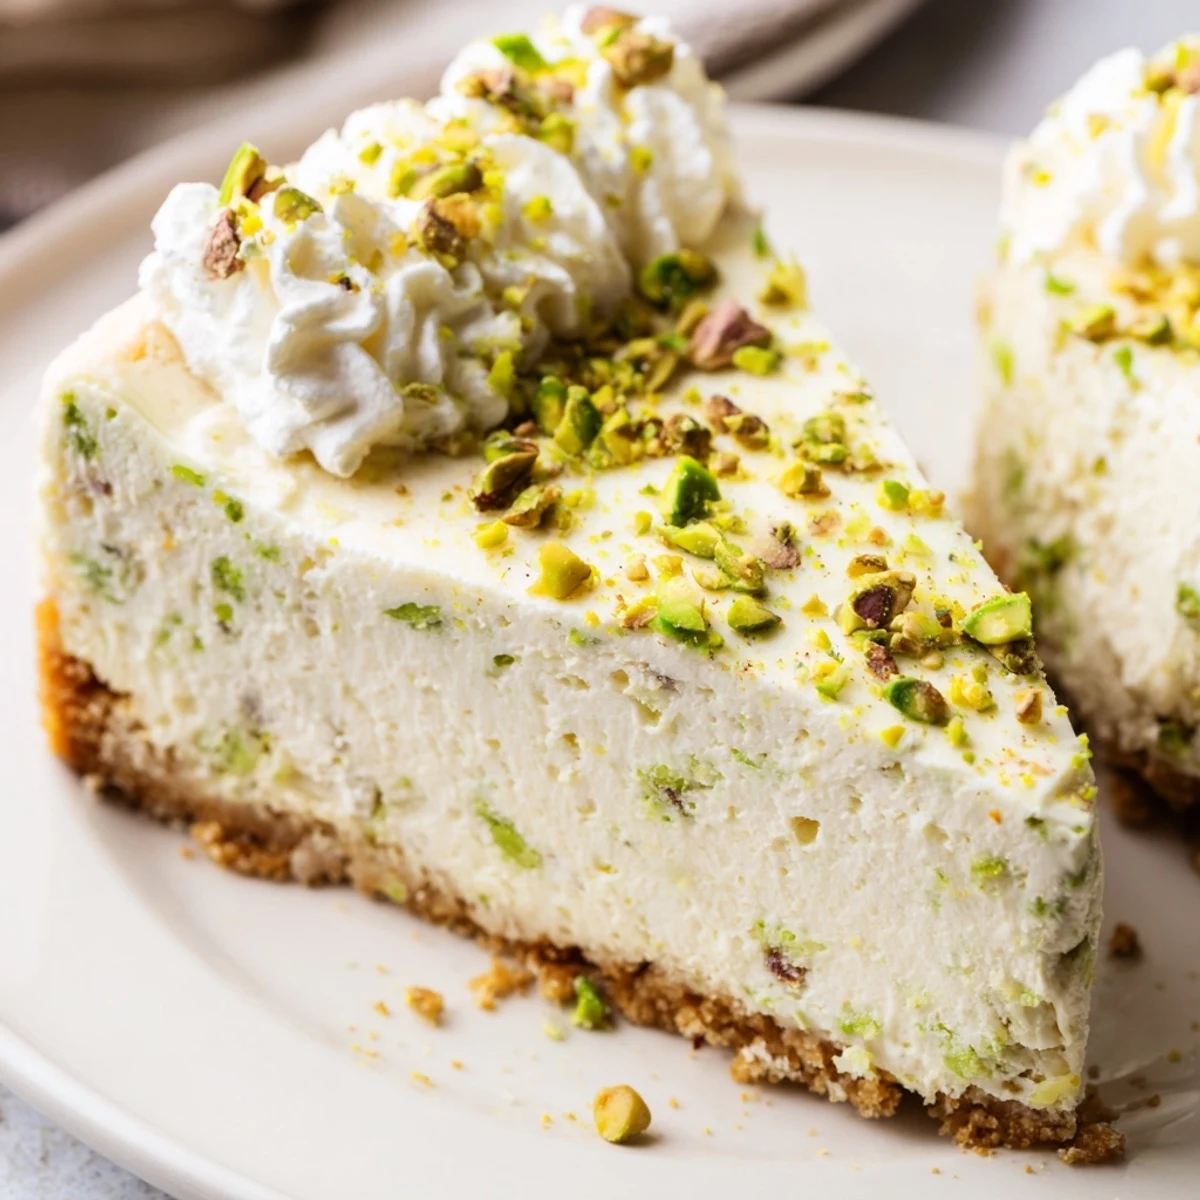
The optional whipped cream topping adds an extra layer of richness, while the finishing sprinkle of chopped pistachios provides delightful crunch and visual appeal. This dessert truly shines when made ahead, allowing flavors to meld overnight.
The first time I made pistachio cheesecake, my kitchen smelled like a fancy Italian bakery. That buttery nutty aroma filled every corner and I knew this was going to be something special. My husband kept wandering in asking if it was done yet.
I brought this to my book club meeting last spring and suddenly became the person everyone wanted sitting near them. Theres something about a homemade cheesecake that makes people feel genuinely celebrated. Now its my go to for birthdays and dinner parties alike.
Ingredients
- 180 g graham crackers crushed: These form the sturdy foundation of our crust, digestive biscuits work beautifully too
- 70 g unsalted butter melted: Butter binds everything together while adding that rich golden color we want
- 50 g shelled pistachios finely chopped: These add irresistible crunch and that gorgeous green speckled look throughout the crust
- 2 tbsp granulated sugar: Just enough sweetness to balance the slight bitterness of the nuts
- 500 g cream cheese room temperature: Room temperature is crucial here for that velvety smooth filling texture
- 200 g Greek yogurt or sour cream: This adds a lovely tang that cuts through all that richness perfectly
- 150 g granulated sugar: Sweetens the filling without overpowering the delicate pistachio flavor
- 3 large eggs room temperature: These give structure while keeping the cheesecake creamy rather than dense
- 2 tsp pure vanilla extract: Vanilla enhances all the other flavors and adds aromatic depth
- 100 g shelled pistachios finely ground: Ground to a fine meal these infuse every bite with nutty goodness
- 1 tbsp cornstarch: My secret for preventing cracks while maintaining that luxurious mouthfeel
- 100 ml heavy cream: For the optional topping that takes presentation to the next level
- 1 tbsp powdered sugar: Sweetens the whipped cream just enough without making it cloying
- 30 g shelled pistachios chopped: These create the most beautiful garnish while adding one more layer of texture
Instructions
- Prepare your oven and pan:
- Preheat your oven to 170°C (340°F) and line the bottom of a 23 cm springform pan with parchment paper. Grease the sides thoroughly with butter to prevent any sticking later on.
- Build the crust:
- Mix crushed graham crackers, melted butter, chopped pistachios, and sugar in a bowl until combined. Press the mixture firmly into the base of your prepared pan, then bake for 10 minutes until golden and fragrant. Let it cool completely while you make the filling.
- Start the creamy base:
- In a large bowl, beat the cream cheese and sugar until completely smooth and fluffy. This step is worth the extra minutes to ensure no lumps remain in your final cheesecake.
- Add the tangy elements:
- Mix in the Greek yogurt or sour cream along with the vanilla extract until everything is incorporated. The mixture should look glossy and feel thick like frosting.
- Gently incorporate eggs:
- Add the eggs one at a time, mixing gently after each addition just until blended. Overmixing here can introduce too much air and lead to cracks later.
- Infuse with pistachio flavor:
- Fold in the ground pistachios and cornstarch until fully incorporated. The batter will turn a lovely pale green with flecks throughout.
- Assemble and tap:
- Pour the filling over your cooled crust. Tap the pan gently on the counter several times to release any trapped air bubbles that could cause cracking during baking.
- Bake to perfection:
- Bake for 45 minutes until the edges are set and firm but the center still has a slight wobble when you gently shake the pan. This residual heat will finish cooking the center as it cools.
- The gradual cooling method:
- Turn off the oven and crack the door open slightly, letting the cheesecake cool inside for a full hour. This slow cooling helps prevent those frustrating cracks that can appear with sudden temperature changes.
- Chill thoroughly:
- Cool to room temperature, then refrigerate for at least 4 hours though overnight is even better. This resting period lets all the flavors meld and the texture fully set.
- Add the finishing touch:
- Whip the heavy cream with powdered sugar to soft peaks just before serving. Spread over the chilled cheesecake and sprinkle generously with chopped pistachios for that stunning restaurant style presentation.
 Save
Save Last Thanksgiving my aunt asked for the recipe before she even finished her first slice. Seeing people close their eyes and genuinely savor something you created from scratch, thats what baking is really about.
Getting The Texture Right
The key to restaurant quality cheesecake is patience at every stage. Take your time beating the cheese until completely smooth, fold eggs gently instead of whipping them in, and respect that slow cooling process. Rush any step and you will taste the difference.
Perfect Pistachio Preparation
Grinding pistachios to the right consistency takes some practice. For the crust aim for small visible pieces that add crunch, but for the filling you want a fine meal almost like flour. Pulse in short bursts and check frequently to avoid turning them into pistachio butter.
Serving And Storage Tips
This cheesecake actually improves after a day in the fridge as the pistachio flavor intensifies. Use a sharp knife dipped in hot water for clean slices that show off those beautiful green flecks.
- Let the cheesecake sit at room temperature for 20 minutes before serving for the creamiest texture
- Garnish right before serving so the chopped pistachios stay perfectly crunchy
- Wrap any leftovers tightly and they will keep beautifully for up to five days
 Save
Save There is something deeply satisfying about serving a dessert that looks this impressive and tastes this good. Every slice reminds me why I started baking in the first place.
Recipe FAQs
- → How long should I chill the cheesecake before serving?
-
Refrigerate for at least 4 hours, though overnight chilling produces the best texture and flavor development. The extended chilling time allows the filling to set completely and the pistachio flavors to intensify throughout the creamy base.
- → Can I make this cheesecake gluten-free?
-
Yes, simply substitute gluten-free biscuits or cookies for the graham crackers in the crust. The rest of the ingredients are naturally gluten-free, making this an easy adaptation for those avoiding gluten while maintaining the same rich, nutty flavor profile.
- → Why does my cheesecake crack and how can I prevent it?
-
Cracks typically occur from overbaking or rapid temperature changes. Follow the technique of cooling in the oven with the door slightly ajar for one hour. This gradual cooling prevents the sudden contraction that causes cracking. Also avoid opening the oven door frequently during baking.
- → Can I use roasted pistachios instead of raw?
-
Roasted pistachios will work but may result in a darker green color and slightly more intense nutty flavor. For the most vibrant appearance and delicate pistachio taste, use raw, unsalted pistachios. If using roasted, reduce the amount slightly as their flavor is more concentrated.
- → How do I know when the cheesecake is done baking?
-
The cheesecake is properly baked when the edges are set and slightly puffy, but the center still has a gentle jiggle when you gently shake the pan. This residual heat will finish cooking the center as it cools, resulting in the perfect creamy texture without being overdone or dry.
- → Can I freeze this pistachio cheesecake?
-
Absolutely! Wrap the fully chilled cheesecake (without topping) tightly in plastic wrap and foil, then freeze for up to 3 months. Thaw overnight in the refrigerator before adding the whipped cream topping and serving. The texture remains remarkably smooth after freezing.
